Tuesday, April 30, 2013

Disney bags for our trip

how to make a drawstring bag
Welcome to our week of Disney! We will have five fantastic Disney inspired posts for you this week and a few giveaways! Make sure you come back each day and enter!

Measure and Cut the following in fabric:
2 pieces of fabric 14" by 30" (outer and inner bag)
1 piece 3 1/2" by 26" (casing)
1 piece of 1/2" ribbon measuring 2 yards


Fold your two long piece of fabric in half (right side to right side), sew each down the sides and finish the edges with a zigzag stitch.
how to make a drawstring bag

how to make a drawstring bag

Turn one of the pieces right side out. Place the lining inside outer fabric with wrong sides together, matching side seams.
how to make a drawstring bag

Pin them together, starting at the seams and zigzag stitch together close to edge. Set aside.
how to make a drawstring bag

Take your casing piece of fabric and press each short end down 3/8" and stitch to closed.


how to make a drawstring bag

Fold casing in half, lengthwise, and zigzag edges together leaving ends open. Match casing on outer fabric of bag with the ends meeting in the middle of the bag and straight stitch to bag.
how to make a drawstring bag


Press the casing around the the bag upwards and stitch a 1/4" straight stitch to keep the casing upright.
how to make a drawstring bag

Thread your ribbon through the casing and pull throught so that both ends are even in length. Pin the right end to the left corner of the bag and the left end to the right corner of the bag.

how to make a drawstring bag


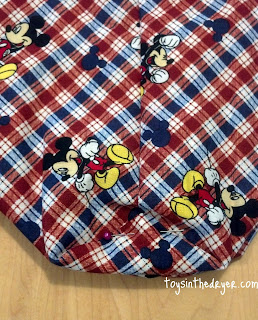
Stitch the ribbon in place and snip off excess. Turn bag inside out and fold bottom corners so the seam of the bag falls on the center bottom of the bag.
how to make a drawstring bag

Measure 1/2" from  the corner along the stitching line, and draw a 1" line at a right angle to stitching line and stitch across. Repeat on other corner.
how to make a drawstring bag

Turn the bag right side out and enjoy!
how to make a drawstring bag

Monday, April 29, 2013

Make your own Disney character autograph book

Disney autograph book
Welcome to our week of Disney! We will have five fantastic Disney inspired posts for you this week and a few giveaways! Make sure you come back each day and enter!

We're planning a surprise trip to Walt Disney World for the spring of 2014. I am over the moon excited! I'm looking forward to seeing their faces and enjoying this special place with them. We want to be able to reserve our money for doing the special things there that you can't do anywhere else therefore, I am planning on making a bunch of things at home before our trip. First up? Autograph books! At Disney they range from $15-$49 and I have four kids...so that's a boat load of money! I spent quite a bit of time finding the correct fonts for each character so I hope you like it!


Disney autograph book
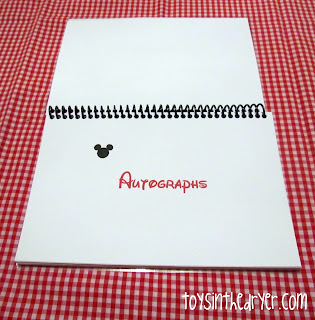
I personalized the covers for each child (Cate is just a fake name I made so you could see what it looked like). The next page is in Disney's famous font "Autographs." Each character has a blank page above it for a photo of your child and that character!
Disney autograph book
Merida from Brave was the hardest font to find but I finally did it! YAY! I grabbed some free, copyright free photos of each character so that the kids who can't read knew who they were looking for.
Disney autograph book
Each page has a character or two and their photo. I love how they turned out!
Disney autograph book
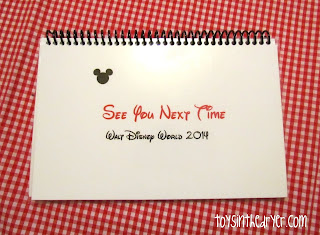
The last page has a well wish to see you next time. I took them to my local copy center and had them put together with a coil binding. It's perfect for sneaking a pen in there for those autographs! Now the challenge for me is to keep these secret until March of 2014! AHHH
If you've kept reading then you're in luck! I'm giving away a book to one of our lucky readers!  Enter below for your chance to win! Also, if you want to make your own I am attaching the files! Click on the words below to download.

Disney Autograph Book

a Rafflecopter giveaway

Friday, April 26, 2013

We're Moving!

We interrupt our normal Pinned it, Did it! to bring you an exciting announcement!  
Yes, you read that right,

ToysInTheDryer.com is moving from Blogger to Wordpress!


We could not be happier!  Thanks to the Ultimate Blog Party at 5 Minutes for Mom we won a Blogger to Wordpress transfer from Blogelina!

So far, Blogelina has been nothing but helpful so we're not anticipating any major transition problems, but pardon our dust as we make the move in the next week or two...

Thursday, April 25, 2013

Good-Bye ol' Pal


To our readers:
Today Jamie and her family lost a beloved family member. Their Boxer T.J. His life was tragically cut short and her family is very sad. I just wanted to share the photo of TJ because his face will make you smile and because Jamie could use the support!
Lindsi

Chicken Enchiladas

Chicken Enchiladas
Homemade chicken enchiladas comin' at ya! We love Mexican inspired food in our home and we hope you do too cause today you're getting a fantastic recipe to make your own chicken enchiladas.

Here's what you need:
cubed chicken (I cheat and buy Oscar Mayer oven roasted chicken, it comes cubed and cooked)
1 can of Rotel
1/2 cup sour cream
8 ounces of pepper jack cheese, shredded
1/2 packet of taco seasoning
tortillas
 
Chicken Enchiladas
Mix your ingredients up really well and scoop enough to fill the tortilla shells. Roll them up and place them in a deep dish pan. I spray a little vegetable oil on the top to keep them from drying out. I bake them at 350 degrees for about 15 minutes and then scarf!!!
Chicken Enchiladas

Wednesday, April 24, 2013

Crayola's Big Colorful Birthday Adventure

To celebrate their 110th birthday, the 8 original crayons are throwing a birthday bash at the new fun-omenal Crayola Experience, the world's only interactive Crayola family attraction. Right now, they're out on a colorful adventure to spread the news, and you're invited to join the fun!

How can you join in on the fun? You can FOLLOW the crayons on their adventure, LEARN more about each color and enter to WIN a trip for 4 to celebrate their birthday and the Grand Opening of the all new Crayola Experience this coming May, 2013! Visit the Crayola Facebook page and click "enter now" for your chance to be first in line when the Crayola Experience reopens.

The new Crayola Experience features four floors of new interactive exhibits and one-of-a-kind attractions that will bring the magic of color and your child's creativity to life! The winner will be among the first to experience the fun, along with a three- night, all-expenses paid stay. It's an experience your kids will never forget - and neither will you!

In the past we have done a ton of fun crafts and activities using Crayola, be sure to check them out!

Chalk Drawings- Coloring inside the cracks


Making your own crayon shapes- Melting crayons


Melted Crayon Formations- melting crayons at its best


Scratch Drawing- layering colors on top of each other


Encourage special time- coloring with your kids


Leaf Drawings- using things in nature with crayons


This is a sponsored post written by us on behalf of Crayola.  The information above was provided to us by Crayola and we are passing it on to you.  All thoughts and opinions are 100% our own.

Tuesday, April 23, 2013

TempleTouch™ Thermometer Review and Giveaway

When Lindsi and I were contacted by Medisim to review their TempleTouch™ thermometer we jumped all over the chance.  After all, we've had our share of sick kids during this never ending winter.

Lindsi's review of the Premium Temple and Underarm Thermometer: 

It was perfect timing to receive these TempleTouch™ Thermometers when we did. I unfortunately became ill (with pneumonia of all things). I will be honest and say that I was leery of the accuracy of the TempleTouch™ at first because, being a nurse, I knew all too well the inaccuracy of thermometers that weren't under the tongue. I was running a low grade fever throughout my recovery. I used my trusted under the tongue thermometer as well as the TempleTouch™ Thermometer to compare the accuracy of them. My under the tongue thermometer read 100.4 at one point and the TempleTouch™ read 100.1. I'd say that was pretty close to the same.

When I tested it under my arm my thermometer read 99.5 and the TempleTouch™ (when changed to the under arm setting) read 97.9. That's pretty far off if you ask me. I continued to use the TempleTouch™ along with my home thermometer and each time I used it with the temple setting it was incredibly accurate. Overall I was impressed with this thermometer and will continue to use it in our home, especially when my kids are ill and sleeping. I LOVE the fact that I can get a trusted reading without having to wake them! That is a HUGE positive! Will I use it to check temperatures under the arm? No...and in all honesty I rarely check that way anyway so it wasn't a big deal to me.

Jamie's review of the Temple Touch Mini: 

I, fortunately, did not get to test my thermometer as well as Lindsi did.  Thank goodness no one in my family has been sick enough to take temps lately.  I basically just went around taking everyone in my family's temps randomly through the day with both my TempleTouch™ thermometer and my oral thermometer.  They were within .5 degrees of each other so I'd say it was pretty accurate.

While the TempleTouch thermometers are super easy to use, there are some key points to keep in mind when using "heat flow" (as they call it) thermometers:
  • You need to wait at least 2 minutes between readings for the thermometer to adjust to room temperature again or you will not get an accurate second reading
  • You need to wait a few minutes to use the thermometer if your temple has been exposed to any heat or cold such as direct sunlight, or hot/cold compresses
  • It is best to place the thermometer on the temporal artery (just slightly above the eye line by your hair line)
If you keep these three things in mind, your TempleTouch™ thermometer should be as accurate, and much easier to use, than your oral thermometer!

TWO of our lucky readers will win a TempleTouch™ thermometer of their own!


a Rafflecopter giveaway
We received TempleTouch™ thermometers for our review and to keep. We were not compensated in any other way. All opinions are 100% our own.

Monday, April 22, 2013

Blast from the past- teach them OLD card games


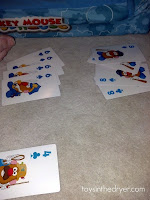
For Easter this year my mom scored on some AWESOME card games for my kids at the dollar store! I was looking through them and it got me to thinking about all the fun, and easy, card games I used to play when I was a kid.

Go Fish-

Go Fish is best for 2-5 players. A regular deck of card may be used, or you can purchase fun kid-friendly cards as well.. The dealer deals 5 cards to each player  All of the remaining cards are placed face down to create a pond (or stock).
The player to dealer's left starts.  The first player may start by asking for a specific persons cards, for example- "Johnnie, may I please have your 5's?" The player who asks must already hold at least one card of the requested. If the player who was asked has cards of the named  (5's in this case), he must give all her cards of this rank to the player who asked for them. That player then gets another turn and may again ask any player for any rank already held by the asker.

If the person asked does not have any cards of the named rank, they say 'Go fish!'. The asker must then draw the top card of the un-dealt stock. If the drawn card is the rank asked for, the asker shows it and gets another turn. If the drawn card is not the rank asked for, the asker keeps it, but the turn now passes to the player who said 'Go fish!'.

As soon as a player collects a book of 4 cards of the same rank, this must be shown and discarded face down. The game continues until either someone has no cards left in their hand or the stock runs out. The winner is the player who then has the most books.

Rummy-

Rummy is best for 2-4 players. The dealer shuffles the cards and deals 6 cards to each player. If there are only two players, each player is dealt 7 cards. Place the remaining cards between the 2 players, face down on the table. Turn only the top card over and place it next to the deck face up. This is the discard stack.

The player to the dealer's left goes 1st. He draws a card from the stack and discards one from his hand. During a turn, if a player has 3 of a kind (same picture, same number) then he may lay them out on the table in from of them face up as a set. They may also lay down a card to add to a set that has already been played by themselves or another player.

1 card must be placed on the discard stack at the end of each turn. If there are no cards left to play from the stack, shuffle the discard pile and place it face down. If the game is played twice thru the deck with no winner, each player adds up their cards left in their hands, the player with the lowest value wins.

War-

Start by dealing out the deck one card at a time, face-down, so that each player gets 26 cards. Keep your cards in a pile and don’t look at them. Each player turns over one card simultaneously; whoever turns over the highest card picks up the two cards and puts them face-down at the bottom of his pile.

The cards have the normal rank from highest to lowest: ace, king, queen, jack, and then 10 through 2.

The game continues in this manner until both players turn over a card of the same rank, at which point you enter a war. A war can progress in one of three ways.
  • Each player puts a card face-down on top of the tied card and then one face-up. Whoever has the higher face-up card takes all six cards.
  • Each player puts three face-down cards on the table and one face-up card, so the competition is for ten cards. This option speeds up the game, which often drags a little — especially for children!
  • Each player puts down cards depending on the rank of the tied cards. If the equal cards are 7s, you each count off seven face-down cards before turning a card over. If the equal cards are kings, queens, or jacks, you turn down 10 cards before flipping one up and squaring off. For an ace, count out 11 face-down cards.

Crazy 8s-

One player, chosen as the dealer, deals out five cards (seven cards if only two are playing) to each player. The rest of the cards get placed face down as the stock pile. The top card on that pile is turned over face up beside the pile to start the discard pile. The game goes clockwise from the dealer, and the first player must play a card on the discard pile or take one from the stock pile. The game keeps going until someone gets rid of all of his or her cards.

To be able to play a card on the discard pile, the card must match either the number or the suit of the card on top of the discard pile. For example, if the queen of diamonds is on top, the card to be played must be either any queen or any diamond. All eights are "crazy," meaning you can play them anytime. However, you must say which suit will be played next when you play the eight card.  Be the first player to get rid of all of your cards to be the winner.

Memory-

Memory is a card game designed for two people, although single player modes are available. Cards are laid out in a grid face down, and players take turns flipping pairs of cards over. On each turn, the playerwill first turn one card over, then a second. If the two cards match, theplayer scores one point, the two cards are removed from the game, and the player gets another turn. If they do not match, the cards are turned back over.

The object is to match more pairs of cards than the opposing player.(One point is scored for each matched pair, and the player with the highest score after all cards have been matched wins.) When cards are turned over, it is important to remember where they are for when the matching card is turned up later in the game.

In this online version of memory, there are twelve unique pairs of cards, making 24 cards total.

What was your favorite card game you played when you were younger?

Friday, April 19, 2013

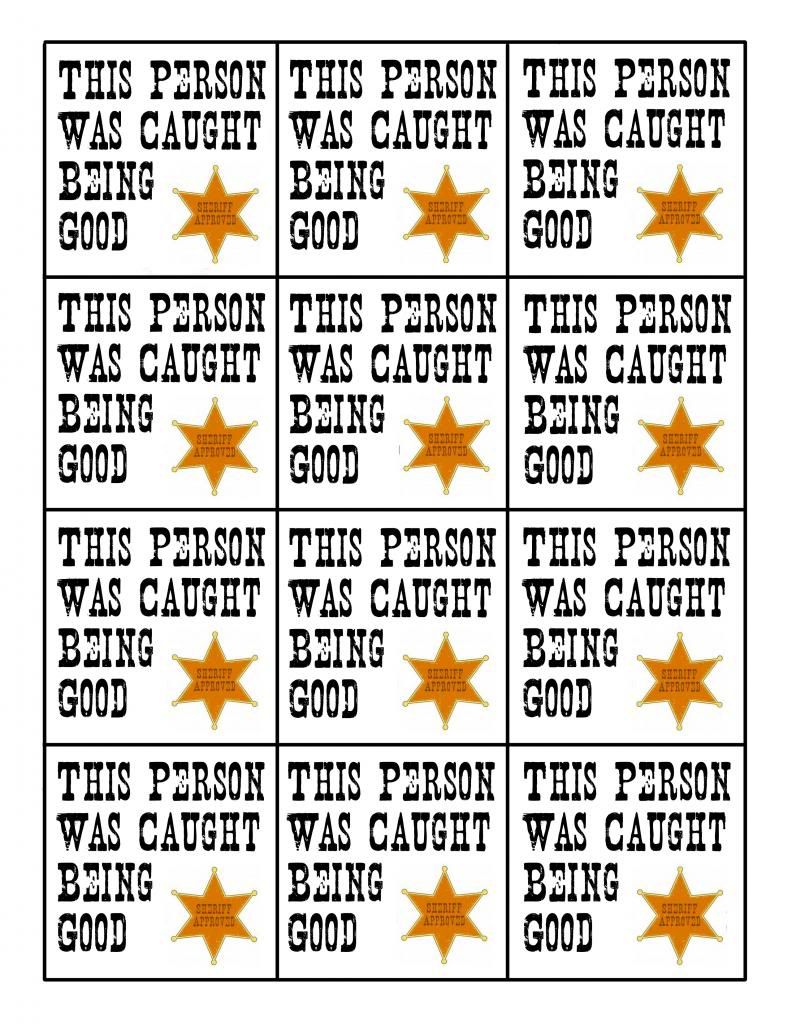
Caught You Being Good FREE Printable--Pinned it, Did it!

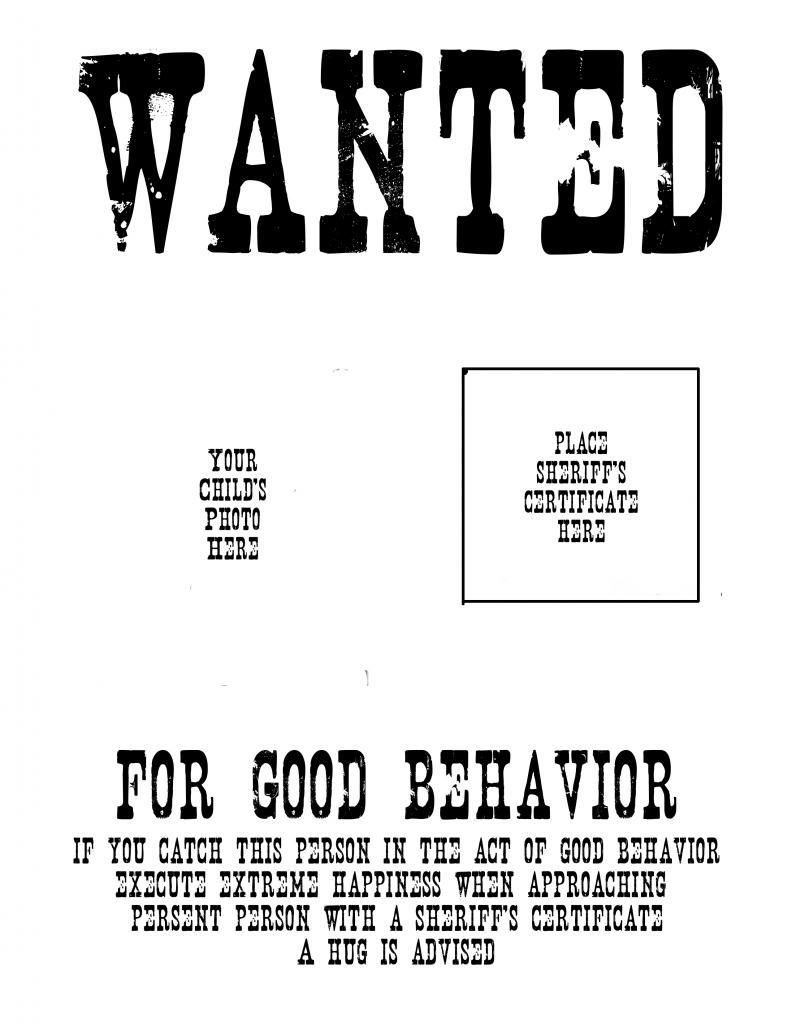
I'm sure you've seen a bunch of those "Caught Ya Being Good" ideas all over Pinterest.  If you haven't, here and here are a few of them.  I LOVE the idea of "Caught Ya Being Good", and while I thought the jars were cute, I wanted make my own version of it.
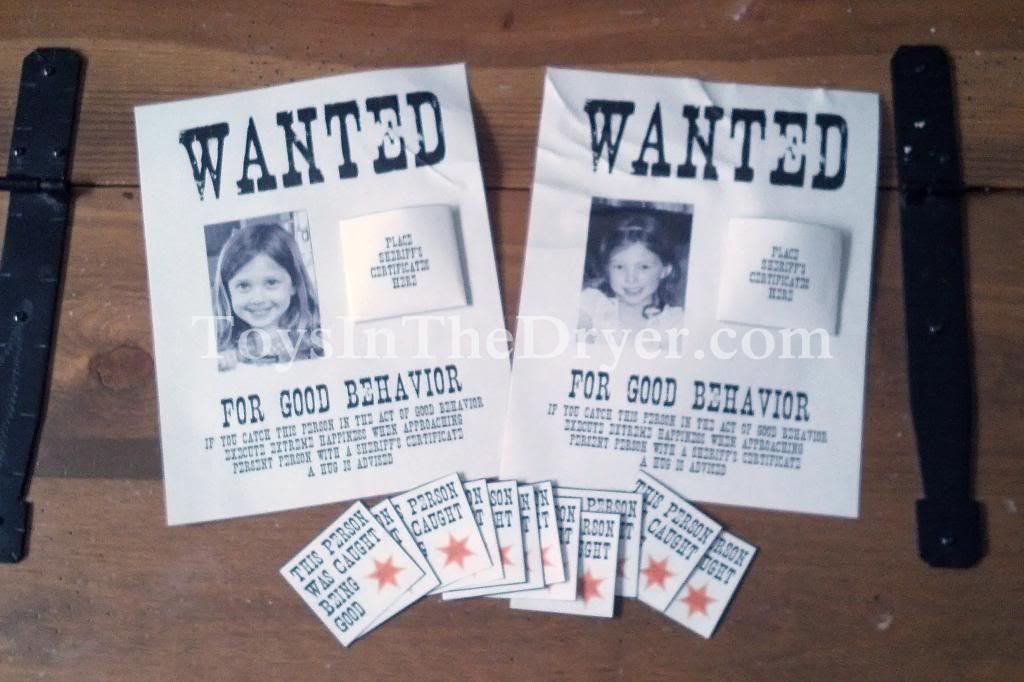
My variation is more like "Wanted For Good Behavior" and has a kinda western theme.  Yes, I know I have girls but I just couldn't resist a wanted poster so I had to tie in the rest. 

The principle is still the same--reward my girls for good behavior.  I'm just so sick of yelling at them all the time that I thought I should start acknowledging when they are good.  Now when I catch them being good (without me asking) they get a sheriff's certificate.  After they've gotten 10 certificates, they get a reward of their choosing whether it be $5.00 for their piggy bank, a date with mom or dad, or an extra treat before bed.
 photo caughtyabeinggood2.jpg
These certificates, however, are not easy to earn.  The girls only get them when they are CAUGHT being good, not when they are good after they have been asked to be.  They get them when they are nice to each other without being told to be, they get them when they play nicely by themselves, they get them for eating dinner without being hounded to eat (yes, it is a battle every night to get them to eat!), and they get them for doing chores above and beyond their normal ones.  These certificates are as much fun to give as they are to receive!

You can make a Caught You Being Good/Wanted For Good Behavior with these FREE PRINTABLES!!

caught you being goodpocketcaught ya being good
Click on each of the three parts to download them.

Hints for making your poster:
  • You can use photo editing software to replace the words "place your child's photo here" with your child's photo before printing, or you can simply print out the poster as is and glue your child's photo to it.
  • Cut out the pocket (second photo) and fold the flaps to make a pocket for your child to store their sheriff's certificates until they get enough for an award.
  • I laminated all of my parts to make them last longer.  You can do the same or just have them as paper.
  • Print your poster on off-white or yellowish paper to make it look more authentic (I wish I would have done that!) 

Thursday, April 18, 2013

Brownie Mix

brownie recipe


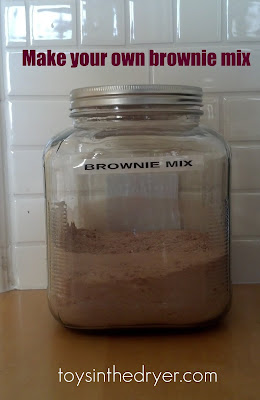
If you are like me, and you should be cause I'm cool, you are kind of bothered by all the "odd" ingredients in mixes you find today. I searched high and low and couldn't find a brownie mix that contained ingredients that I could pronounce, let alone knew what they all were. So I created my own! And lucky you, I am sharing it with you today! I have a large family (there are six of us) so I make it in bulk and store it in a canister. You can divide the recipe up evenly and it will turn out the same for you. Best part, you can pronounce EVERY ingredient in it!

Lindsi's Fabulous Brownie Mix

2 T salt
3 T baking powder
4 Cups cocoa powder (like Hershey's)
12 Cups of unbleached flour (you can use bleached if you want but IMO-yuck)
16 C sugar

Mix well and store in a covered jar or tub
brownie recipe

To make a batch of brownies you need
2 1/4 Cups of your brownie mix
2 eggs
1/3 Cup vegetable oil
2 T water
2 tsp vanilla
brownie recipe

Bake at 350 degrees for 28-30 minutes in a small square pan....yum!

Tuesday, April 16, 2013

Creating a special reading place- on a budget

book nook
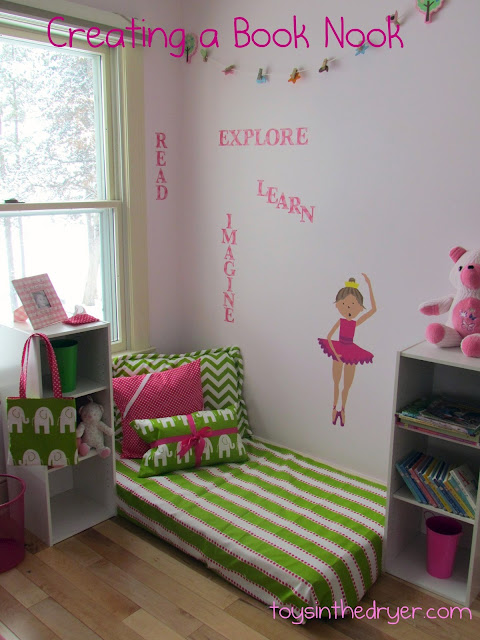
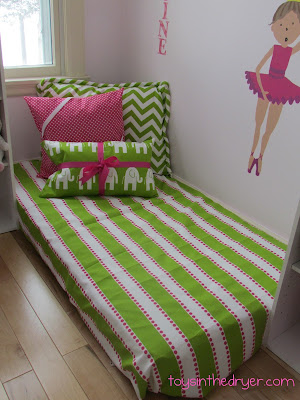
With four kids I don't have a lot of extra cash floating around (who does these days?). My daughter asked me to create a Book Nook for her. I have to admit, I giggled, because I thought "um, you're 5 what do you know about a Book Nook?" While on bed rest from my surgery (coming soon in another post) I got to work and did some pinning on Pinterest. Apparently Book Nooks are where it's at these days! I was able to create a special place for my princess with less than $50. Sweet!!!!!!  We had several extra crib mattresses laying around (which may not sound normal to you but at one point we had three cribs in use at our house). I knew I could make a custom cover for the mattress and add some special flare to it as well.


book nook
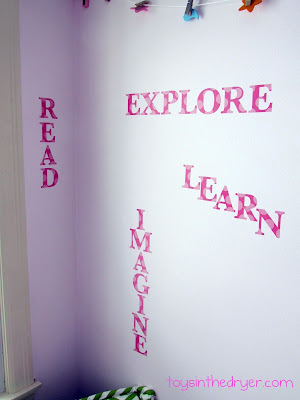
 I found these stick on letters at Target in the clearance section for only $3.46. I thought they were perfect for the wall. They didn't have enough "R's" so I had to get creative and make an extra "r" out of a "p" (can you tell which "R" is made by me?)
book nook
 I Google searched the measurements of a crib sheet (because I couldn't remember what it was) and quickly sewed up a sheet for the crib mattress. I LOVE the colors my daughter and I picked out! I think they POP! The pillows were easy too! I sewed up some covers for some pillows we had laying in our basement and added some ribbon to a couple of them for added fun. (I will admit the largest one- with the piping) is my favorite, ahhh, OK, I take that back, I love the elephant one...no wait...ahh, shoot they're all cute!)
book nook
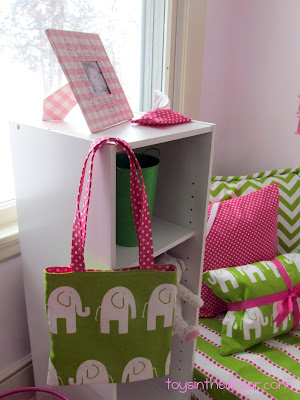
 I had extra fabric left over I made her a completely reversible and lined library bag from a pattern I found online too. You can go HERE to find it. See the pink pocket on top of the shelf with the tissue sticking out of it? It's a cute tissue holder! (She loves that!) You can go HERE to find out how to make one of these. I made an extra one for my purse.
book nook
I had the white shelves sitting in my basement from college...so they were "free" for my project. The only thing I ended up purchasing was the fabric, the wall decals and the hot pink garbage can.


Would you like to win your own cutesy facial tissue holder? Enter below! We're giving away FOUR to our US readers.
a Rafflecopter giveaway

Monday, April 15, 2013

Things for the kids to do when mom or dad are sick

entertainment for the kids when I am sick
Mom is sick....uh oh....here are 15 things for the kids to do when mommy or daddy are sick

1.Have a Dance Party- turn up the radio and let them boogie on down

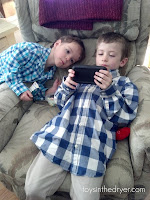
2. Educational games on your smart phone-this keeps my boys entertained for hours, or until the battery dies
entertainment for the kids when I am sick 3. Indoor bowling- yup, you read that right!

4. Create some crazy shapes out of exploding soap
entertainment for the kids when I am sick 
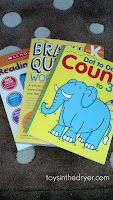
5. Dot to Dot, brain quiz or workbooks- I have a stash of these just for the days when I am under the weather, they love them!

6. Make rainbows and prisms on the wall

7. Popsicle Stick puzzles out of old photographs of your kids

8. Scratch pads. Seriously these things are genius! Let us show you how to make them.
entertainment for the kids when I am sick

9. Have your kids run an obstacle course while you rest

10. Paint with marbles- it's easy and so much fun
entertainment for the kids when I am sick
11. Stickers- let's be real all kids love stickers!

12. Play with shaving cream- I know it sounds messy but it will clean your table and it smells SO good!

13.Make a paper chain

entertainment for the kids when I am sick14. Teach them a new card game

15. When all else fails...see my kids in the first photo? Watch a movie!
Related Posts Plugin for WordPress, Blogger...