Monday, July 30, 2012

Recycling for toy storage

Disclaimer- this is NOT a product review post and we're not endorsing Tide Pods, this is simply an example. Also we'd like to take a second to remind you to keep all cleaning products out of reach of children. This very product has been mistaken for candy by some children, please be careful, we love your kids and so do you.
recycling Tide Pods

I personally love my laundry soap choice, it's quick and easy. The one thing that I do not like is the massive bottle of plastic I toss afterwards. I feel guilty and bad that I just added to the landfill. I love the way I re-use these containers for toy storage! Check it out....
recycling Tide Pods

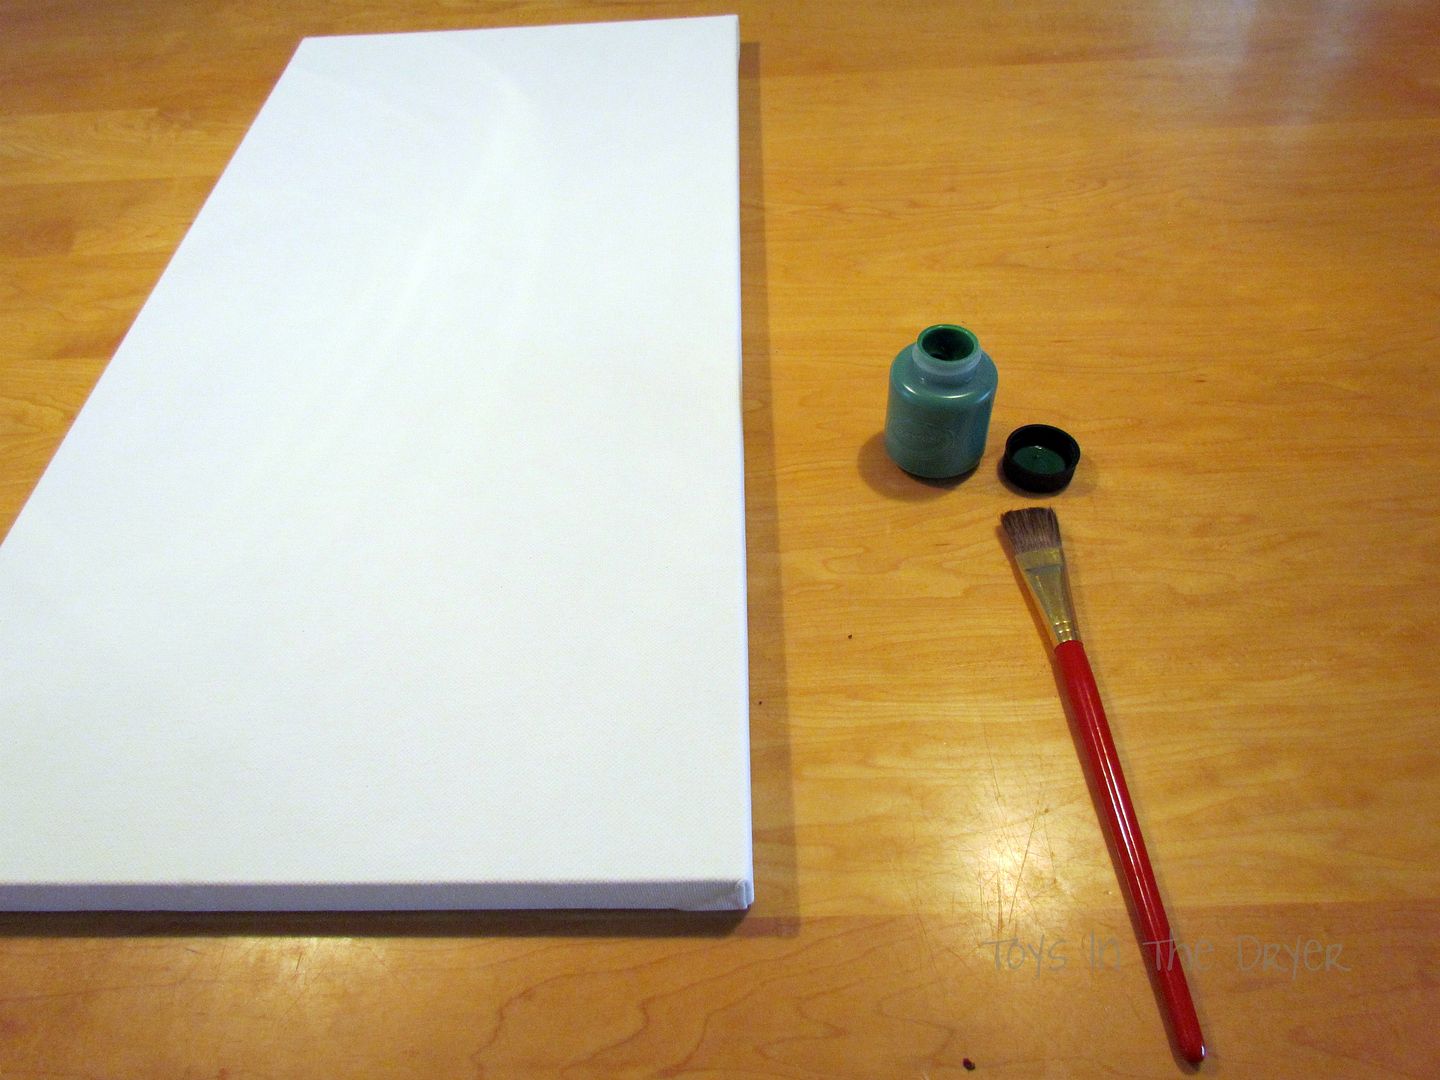
First things first, wash and thouroughly dry the container out.
recycling Tide Pods

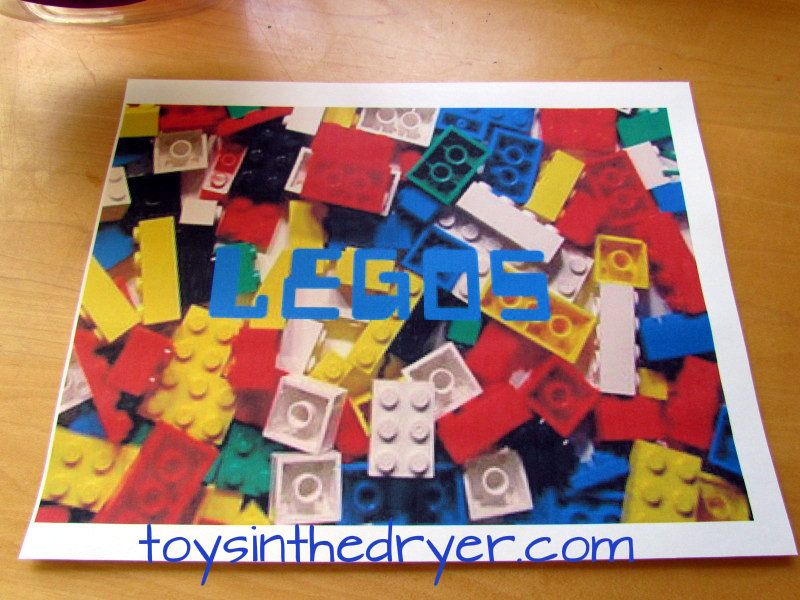
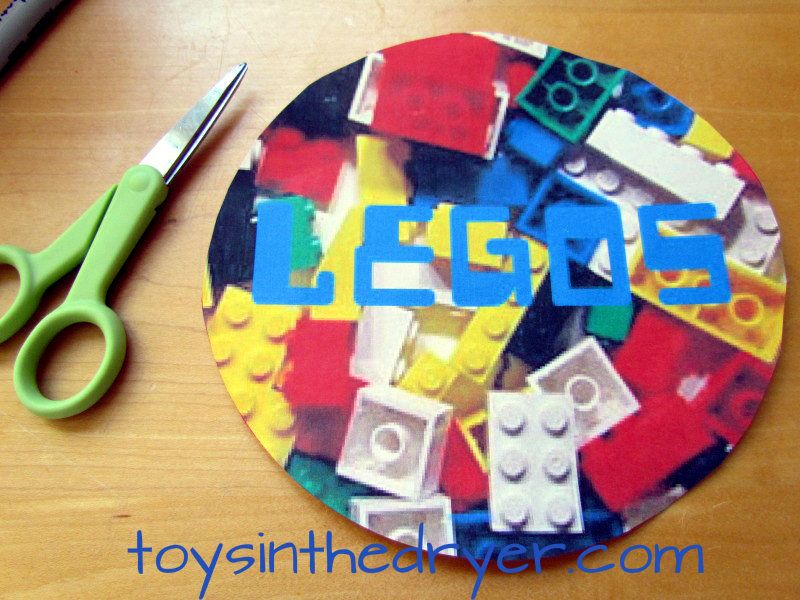
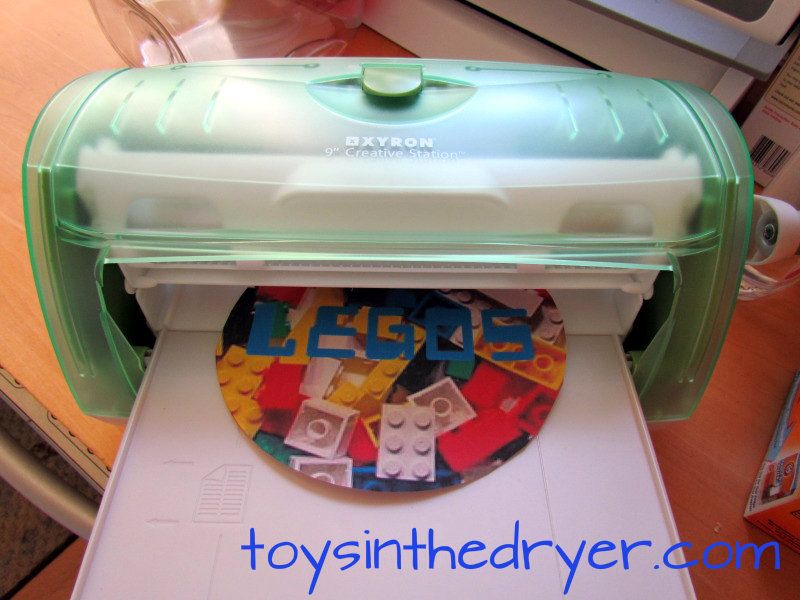
Print out a photo of the object you are going to store in the container and add the word to it as well. By doing both you are teaching your child a few things---first, they are learning that things have a place and it makes things easier if they know where they go. Second they learn to match the way the word looks with what the object is. It's a win-win!
recycling Tide Pods
Carefully trim your photo to the size you want it to be. I used an old plastic bowl and traced around it before I cut it out, it worked perfectly!
recycling Tide Pods
If you have a fancy-shmancy sticker maker you can use that...or you can also use glue or really sticky tape and attach it to the back of your photo.
recycling Tide Pods
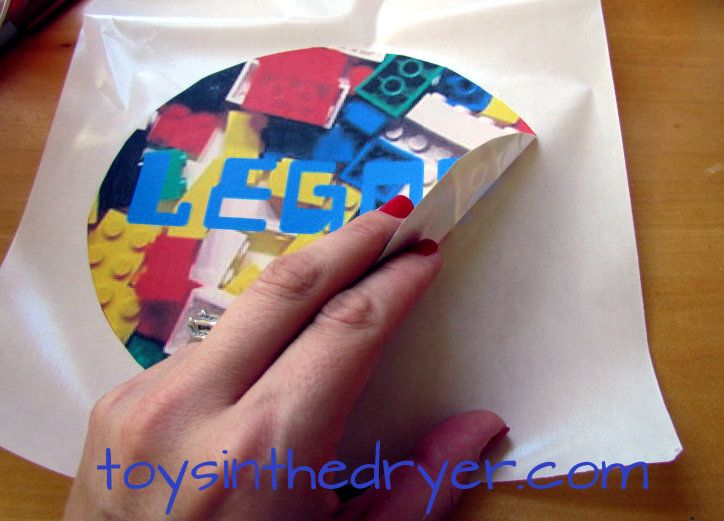
Smack that photo onto your plastic storage bin recycled container and smile.
recycling Tide Pods
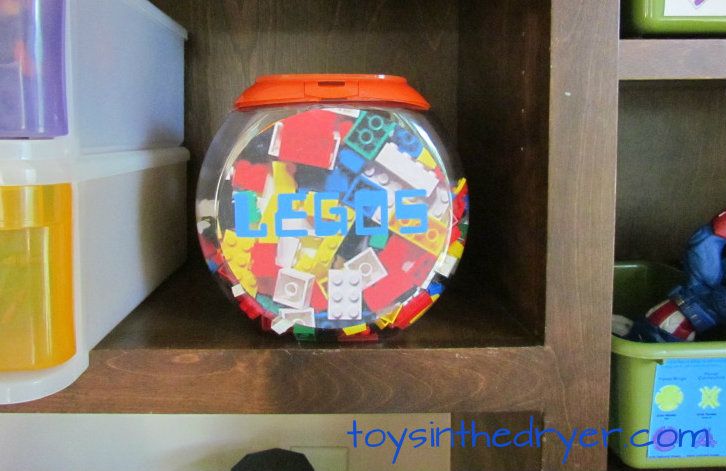
Fill that newly repurposed container up with the correct contents.
recycling Tide Pods
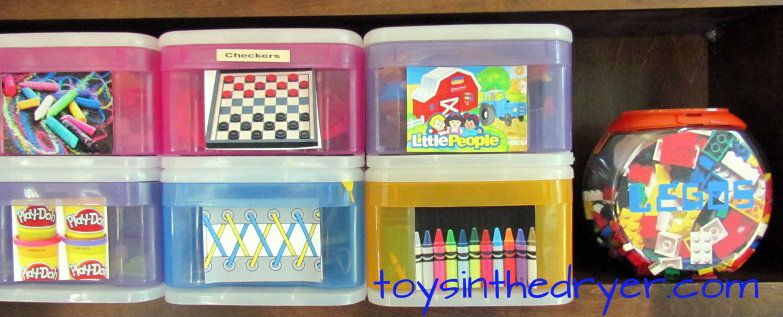
Here is another example of my storage containers for toys. I am kinda cuckoo when it comes to organization. But I like it that way.....believe it or not it keeps me sane.

Friday, July 27, 2012

Christmas in July- Santa Trail Mix


Santa Trail Mix- You know you NEED to make some!!

Here's what you will need:
2 cups of red and green M&Ms
1 cup of dry roasted peanuts
1/2 cup of Craisins or other dried fruit
2 cups of Chex cereal (I used the rice version)
Pretzels (holiday shaped ones are best)
Bugles
mini marshmallows
coarse sugar
1 package of red melting discs (candy aisle)
1 package of green melting discs (same aisle)
1 package of white chocolate chips (or almond bark)
Shortening
recipe for Santa trail mix

Assembling the Santa hats, melt your red discs in the microwave in 30 second intervals, stirring after each interval (I added about 2tsp of shortening after the first round to help thin it out a bit). Or you can melt them in a double boiler if you wish too!
recipe for Santa trail mix

Dip your Bugles in the red stuff (tee hee hee) and set aside on a piece of wax paper to dry and harden.
recipe for Santa trail mix

Dip the larger end of the red Bugles in left over red discs or melted white chocolate and then dip immediately in coarse sugar.
recipe for Santa trail mix

Snip the mini marshmallows in half and attach the sticky part to the top of the Bugles. Ta da- you have adorable Santa hats.
recipe for Santa trail mix

Take your holiday pretzel bag and sort out the Christmas tree shaped ones. Melt the green candy discs in the same fashion and dip the trees in it and set aside to harden.
recipe for Santa trail mix

In a large bowl combine your cereal, Craisins, and peanuts. Then spread this mixture out onto a cookie sheet.....cover with melted white chocolate and wait until that sets.
recipe for Santa trail mix

Transfer this to your large bowl and mix in your M&Ms, Christmas trees, and Santa hats! ENJOY!!!
recipe for Santa trail mix

Thursday, July 26, 2012

Christmas in July- Make your own play make-up


Want a super fun Christmas gift for your little girl?  Try play make-up!

My daughter LOVES to be "grown-up!" I just am not ready for her to be really grown up. Cue the play make-up! It's kind of ridiculously expensive and to be honest it's just junk. I feel like the stuff is REALLY hard to wash off too! I made my daughter her own set of make-up the other day and I thought I'd share it with you.

You will need the following items:
empty make-up containers
nail polish

Wash out the empty make-up containers and dry them well.
make your own play make-up
(If you don't have any empty ones you are willing to share then you can always go to the dollar store and buy some there and empty them out.)
Choose the colors of nail polish you wish to use. I chose a cream for the "foundation," a rose color for the "blush," and some vivid greens for "eye shadow." Shake your nail polish really well and let set for a minute to allow the air bubbles to rise. Then, carefully pour the selected color into the container of your choosing.
make your own play make-up
Ignore the blurry quality of this photo- I should have taken more than one shot- oops
Set them up and away from curious fingers (and husbands) and let them air dry for 3-4 days. After that time they will be sufficiently dry and will look amazingly real!
make your own play make-up
Present them to your princess in a cute make-up bag and let her play!
make your own play make-up

AstroBrights for Back to School Crafts #goastrobrights

This post brought to you by Astrobrights Papers by Neenah Paper. All opinions are 100% mine.

It's back to school time!  Ok, so it's only the third week in July but there's already tons of back to school ads on TV, online, and in stores.  Where did the summer go?  Don't we still have a little over a month to go?

AstroBrights papers would like to help you support your local elementary school with the "Give a Brighter Year" sweepstakes.  You can win a cash prize and school supplies valued at $30,000 for the school of your choice!  Just click on the link!

AstroBrights papers come in 23 bright colors, so your ideas always get attention. And they’re perfect for projects at home, school or the office. Stand out from the crowd — choose a lively AstroBrights papers for your next brochure, invitation, flyer, announcement or craft project.  AstroBrights papers are about creativity and getting noticed.  They provide a bold color canvas because they believe that ideas are important, thougts aren't shy and they are not afraid to stand out from the crowd.

Participate in the family friendly "Make Something Astrobright" design challenges and unleash your creativity for a chance to win AstroBrights papers and other prizes.  Share your projects with pictures and videos.  If you share anything via Pinterest or Twitter, use the hashtag #gostrobrights

How will you organize and get ready for back to school this year?  Astrobrights can help you with anything from after school chore charts, to PTA flyers, to book reports with a flare!  What else will you use Astrobrights for?

Visit Sponsor's Site

Wednesday, July 25, 2012

Christmas in July- Make your own Snow

Do you ever want to play with snow inside and not have it melt all over the place?  Make your own fake snow!  Perfect for these HOT July days! It's great for decorating , letting your kids drive their toy cars through or just plain playing in!
All you will need is:
  • A few unused disposable diapers (It would be super gross to use dirty diapers.)
  • Water
  • A container to mix in 
  • silver glitter (optional) 
     

    Ok, now this is so easy you are going to think you missed something!


    1) Cut open the diaper and pull out the inside absorbent layer.


    2) Put it in the container and slowly add water


    3) Mix until it becomes snow consistency!  For powdery snow use less water, for slushy snow use more water.

    4)  Add a bit of glitter for some sparkle. (optional)


    My girls had a TON of fun playing with the snow! 


    We attempted to add more water and make a snowman but it wasn't really successful.  My girls did however, enjoy adding more and more water to see how slushy they could make their snow.  We are currently freezing the slush mixture to see what it does...

    What would your kids do with their fake snow?

    Tuesday, July 24, 2012

    Christmas in July- Make your own I Spy Bottle

    Are you looking for a great gift? Perfect for all ages? Customized for each age, interest, gender and preferences. Make an "I Spy" bottle!  It's super simple to make, and is good for kids of all ages (my husband loves it as much as my 2 and 5 year old!)  Use the "I Spy" bottle for long car rides, laying low when your kids are sick, or keeping your little monsters busy when you need to clean. 


    Here's what you'll need:
    • A bunch of objects that are small enough to fit into a water bottle.
    • An empty, completely dry water bottle without the label.
    • Paper and pen
    • Funnel (or a piece of paper to roll into a funnel)
    • White rice
    • Glue
    • String, yarn, or ribbon
    • Clear contact paper or laminating paper (optional)
    Now how to make it:

    Step 1) Have your kids help you hunt all over the house, garage, and outside for things to put in your bottle.  Make sure to write on your paper everything you collect.  Coins, nails/screws, Barbie or Polly Pocket accessories, Legos, hair stuff, rocks, office supplies....anything goes (as long as it is something that can't rot)!


    Step 2)  Pour some rice in the bottom of the bottle.  Then put a few objects on top of the rice.

    Step 3)  Pour rice over those objects and continue to layer rice and objects until your bottle is near full.  Make sure you end with rice.


    Step 4)  Glue the top onto the bottle.  I learned this the hard way when my girls decided it would be fun to open the bottle and rice went everywhere!


    Step 5)  Laminate (optional) your paper with the objects written on them, punch a hole in the corner and tie it to the top of the bottle.

    You're done!  Shake the bottle a little then have your kids try to find everything on the paper!  It's harder than it looks for some objects (the penny, nickel, and dime are always really hard to find in ours!).

    Have you ever tried to make an "I Spy" bottle?  What type of stuff did you put in it?  If you haven't made one yet, do you think your kids would like it?


    Monday, July 23, 2012

    Christmas in July- Christmas Tree Handprint

    This just so happens to be an all time favorite Christmas present and is one of my all time favorite projects I have done with my kids.  It's really easy and turns out just adorable!

    Gather the following supplies from your craft store or craft closet:
    1 piece of white paper (large) (or a canvas-which is what I used- you can get them for pretty cheap)
    Green, yellow and brown paint
    1 kid willing to get ooey and gooey

    make a Christmas tree out of hand prints
    carefully paint your child's hand with the green paint- make one row of 4 hand prints
    make a Christmas tree out of hand prints
    Then paint your child's hand again and make a row of 3 hand prints

    make a Christmas tree out of hand prints
    Next you will make a row of 2 hand prints on top of that
    make a Christmas tree out of hand prints
    Finally, 1 hand print on the very top
    make a Christmas tree out of hand prints
    Brown paint makes a stump and the yellow to make a star on the top. (Have your child autograph the tree with the year to mark the date)
    make a Christmas tree out of hand prints
    These make GREAT presents and they are always adored by grandparents. While making the tree I thought to myself....hmmm, what if I traced a circle really lightly in pencil and did the same thing?
    make a wreath out of hand prints
    All finished! Aren't you excited? A pretty and festive wreath...I think I am going to add a real red bow on the top to complete it and wrap it up as a gift. Hope you enjoy and have fun making one too!
    P.S. one great tip I learned- we got a little paint on the canvas where we didn't really want it...I waited until it dried and it washed right off with a damp towel (we used- Crayola's washable finger paints)


    Related Posts Plugin for WordPress, Blogger...