Wednesday, February 29, 2012

Egg Carton School Buses

crafts to make with egg cartons
The Wheels On The Bus- It's a song we all know, right? Well I saw these hanging in the classroom of my middle son. I couldn't resist sharing with you how to make them because they are SO adorably cute!

crafts to make with egg cartons
Here is what you will need
Egg carton
Yellow paint
Black marker


crafts to make with egg cartons

Have your child(ren) paint the egg carton in a school bus yellow color.Water color paints don't work very well because the color doesn't dry very bold and it leaves the bus looking blah!


Let the "bus" dry over night so that it is read for the wheels and label tomorrow.
Color two black circles on the egg carton and write SCHOOL BUS on the top.
I couldn't help but fall in love with the way these adorable buses were displayed. It would take us a while to save enough egg cartons to make an entire mobile but nonetheless it was worth making!
crafts to make with egg cartons
Hope you will make some buses with your kiddos and will share with us how they went!

Tuesday, February 28, 2012

Ooey gooey Caramel Rolls

I will admit (for my mom) that I didn't get a lot of home cooked meals growing up. My mom wasn't really a fan of the kitchen (I think she got one cause it came with the house.) One thing I do remember were her AWESOME caramel rolls. One of the companies no longer makes one of the ingredients so I searched the web for a suitable replacement and tweaked it to make it even better!
caramel roll recipe

Here is what you will need to make Ooey Gooey Caramel Rolls
2C warm water (do not use HOT)
2T yeast
1/2C sugar
1 tsp salt
1/2 stick of butter (softened at room temperature)
1 large egg
6 1/2C flour (divided)
1C sugar and 1/4C cinnamon mixed together

Caramel
1 1/2C packed brown sugar
3T water
1 1/2 sticks of butter

2- pans for baking

Mix warm water and yeast into a bowl and let ferment for 5 minutes. Then add sugar, salt, butter, egg, and 2 cups flour to yeast and water. Mix well. Add remaining flour (4 1/2 cups) to mixture and mix until well incorporated. If the dough is still sticky then you can add a few tablespoons of additional flour. The dough should be able to be handled without sticking to your hands.
caramel roll recipe

Set dough aside for 45 minutes and cover with a light towel (this will allow the dough to rise). After dough has doubled in size. Sprinkle flour out on your counter and roll dough into a long rectangle. Spread a light layer of butter on the dough and sprinkle cinnamon and sugar mixture on top. Roll the dough into one long log shape. Using a sharp knife, cut the dough in half. Cut each half into 6 equal parts. Melt caramel ingredients in microwave and our half into one pan and half into another. Place 6 rolls on top of the caramel mixture and let sit for an additional 45 minutes.
caramel roll recipe

Bake at 325 degrees for 20-25 minutes. Remove from oven and turn pan upside down onto a plate (do this while it is hot or your caramel will harden and stick to the pan.

Here is how your plate will look when you are all done!
caramel roll recipe

Monday, February 27, 2012

Popsicle Stick Puzzles

I had some extra craft sticks, a.k.a. Popsicle sticks, left over from another craft so I thought I'd put them to some good use. So I grabbed a bottle of Mod Podge (but school glue would work too) and a photo.
popsicle stick crafts

Here is what you will need:
craft sticks
a photo (or a colored picture)
mod podge (school glue)
scissors

Carefully attach the photo of your choosing to the craft sticks (line them up all nice and neat). Glob on a good layer of glue or mod podge and let it dry over night.
popsicle stick crafts

After they are completely dry you can use a scissors or a blade to cut them apart.
popsicle stick crafts
Then let your child see if they can put the puzzle back together again. My 5 year old son loved this...the only correction he gave me (ha ha ha) was that he wanted a photo of himself rather than his brother and sister.
popsicle stick crafts

Saturday, February 25, 2012

Crappy Closet turned Crafty Closet

I am a craft-a-holic....yep it's true, although I haven't found a 12 step program for it. I am not sure I'd care to change either. I find sewing, knitting, and crafting to be soothing, calming, and therapeutic. I really enjoy using the skills my grandma taught me too! I love sitting down with my kids and creating fun projects together (and for them). We have a junk closet.....much like a junk drawer but bigger, and it certainly needed to be revived with life. Because I do so many projects at once I thought it might be a good idea to get all my craftiness supplies in one central location rather than strewed about the house. Want to know how I turned my closet into this lovely thing? Well, then read on...
craft room organization

craft room organization
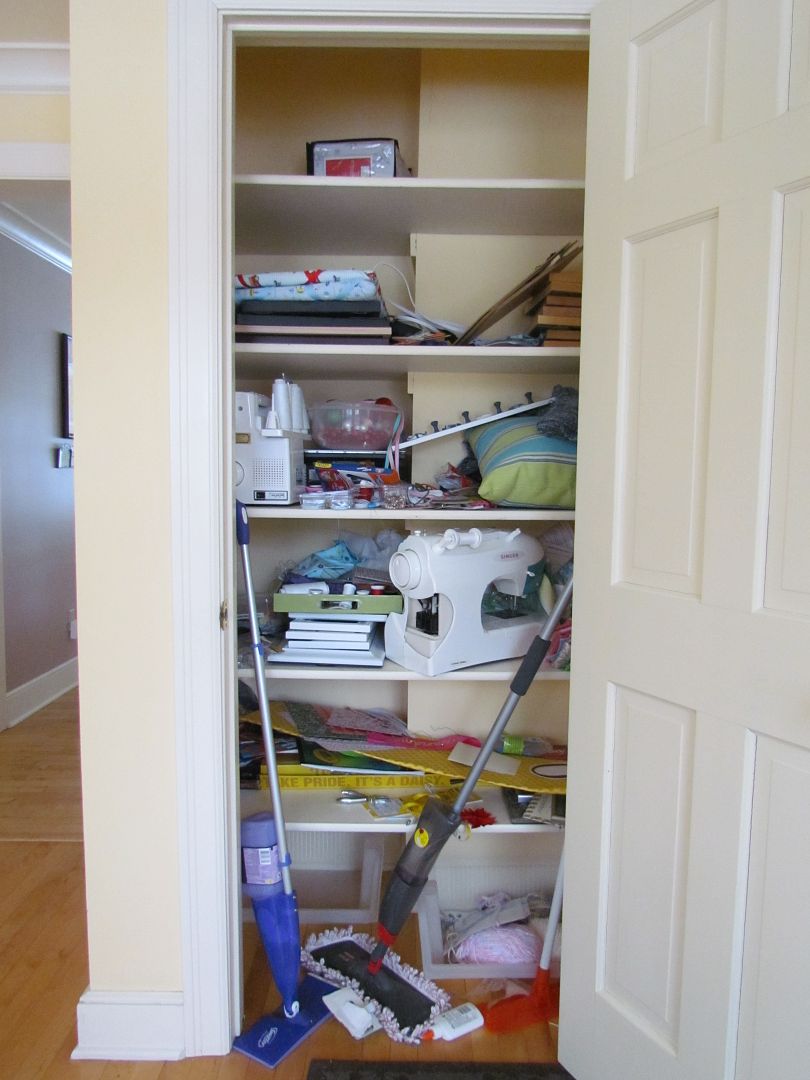
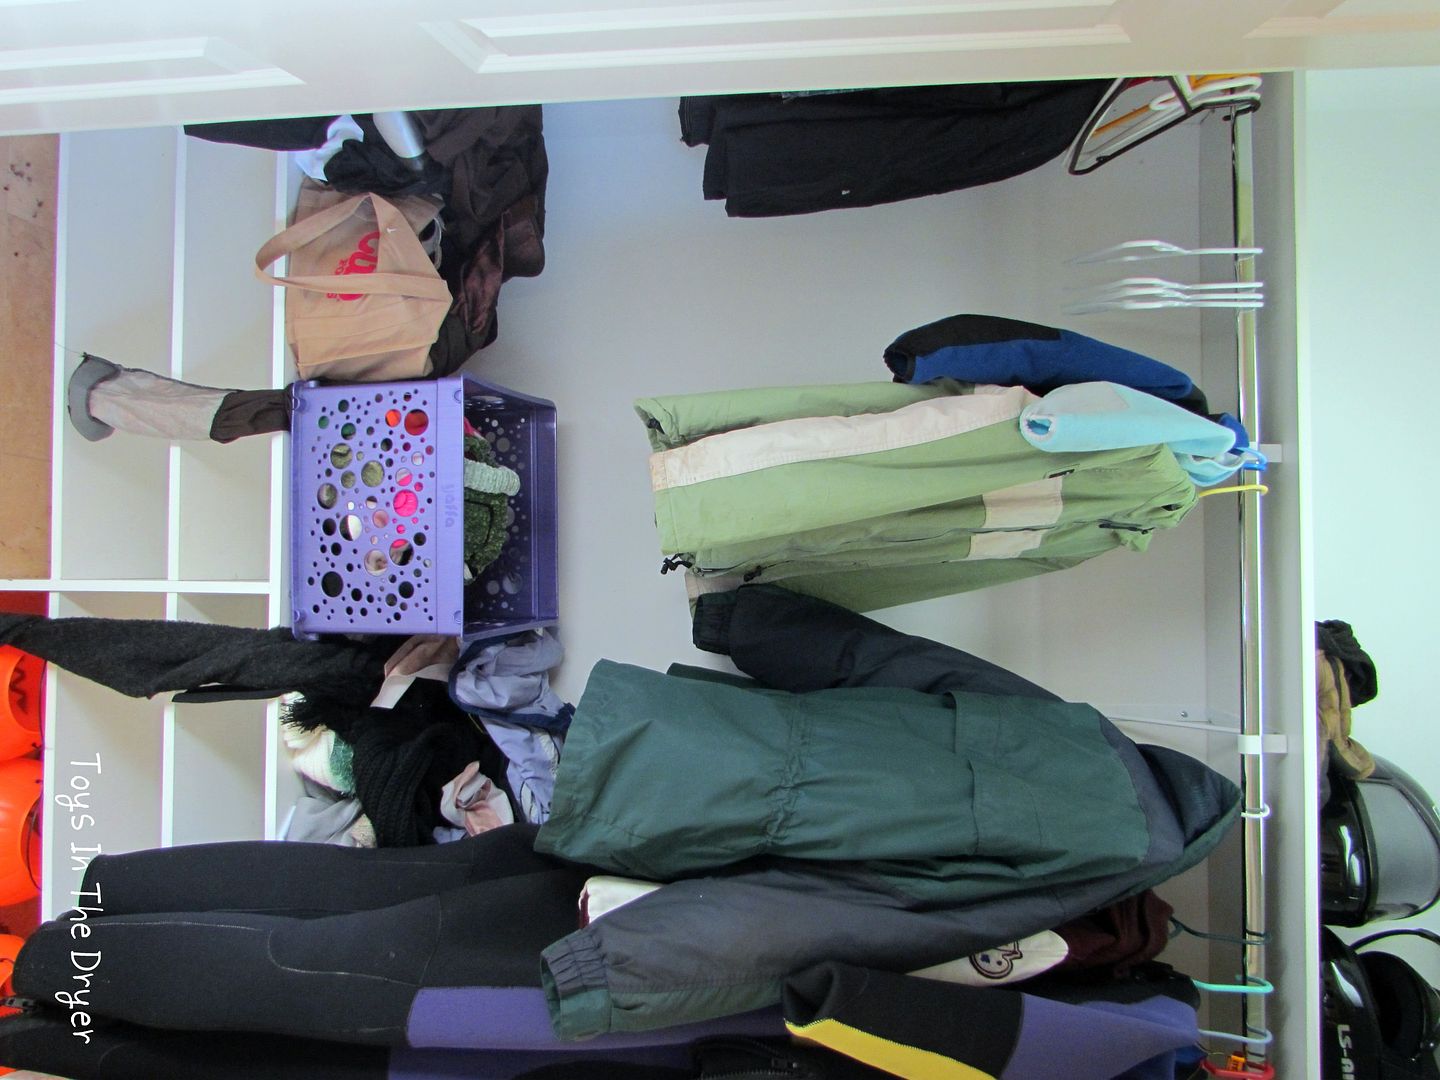
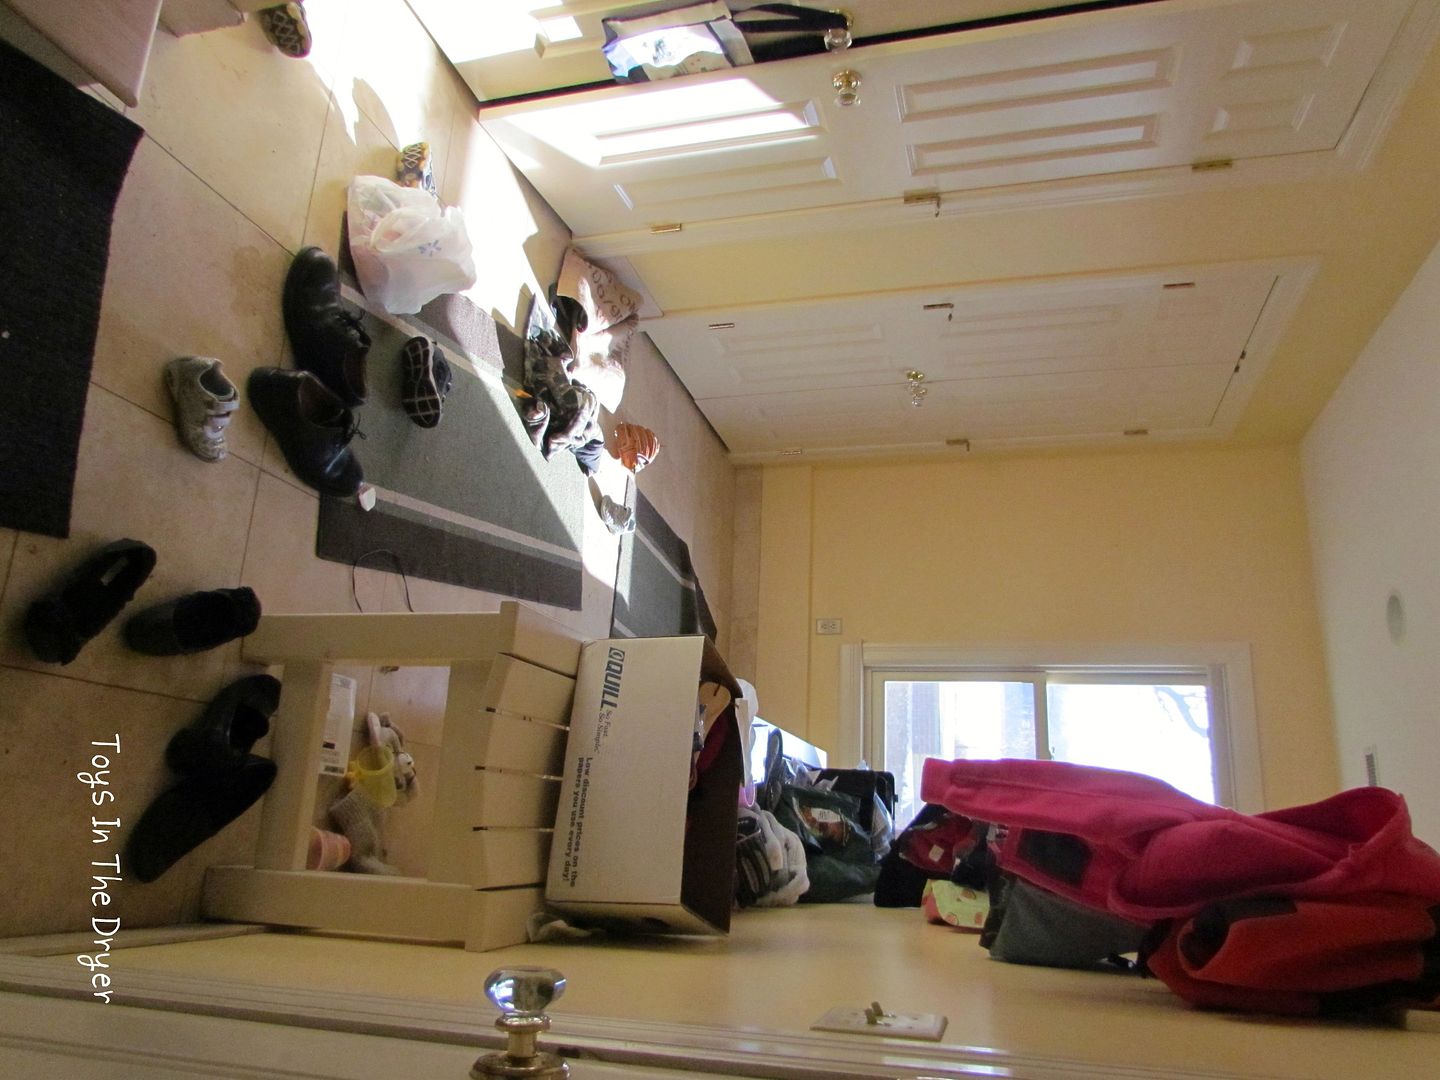
Like I said, I started with quite a junky looking mess. It was actually embarrassing for me to take a photo of it to share but I am doing it for the greater good. (tee hee hee) Here is what I started with. A heaped pile of disorganization! Oy that is so sad looking and completely NOT functional.

The first thing I did was take every single thing out and sorted the items into piles. I decided what needed to stay and what needed to go. Once I had an empty closet to work with I felt like the fun was about to begin.


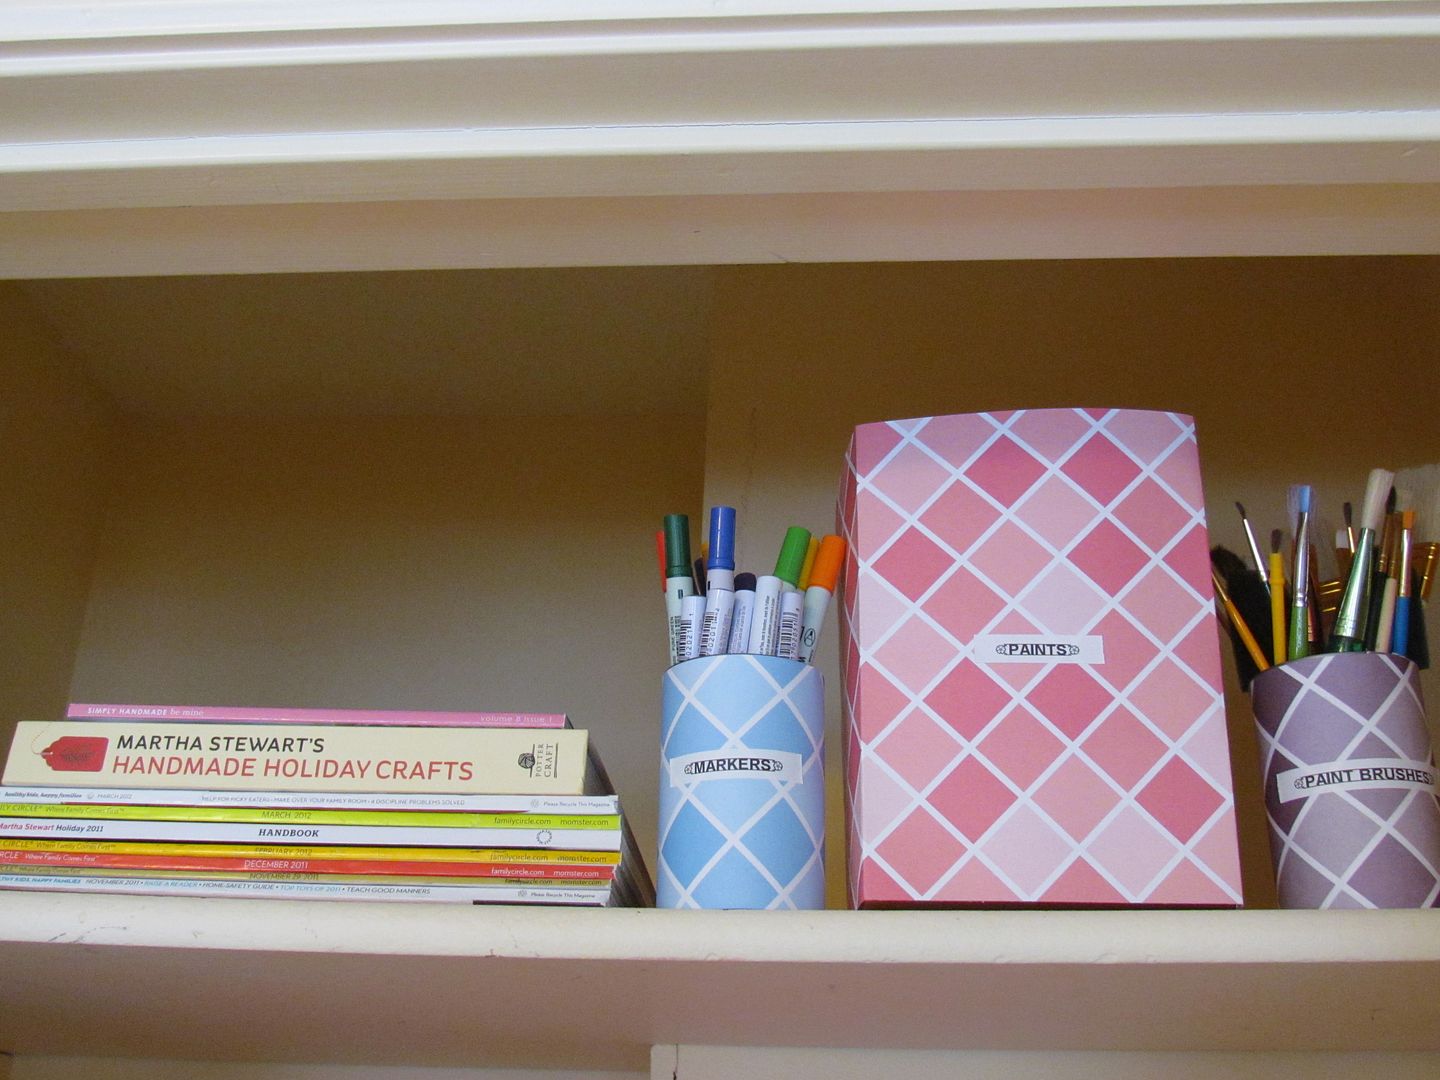
I reserved my top shelf for items I didn't want my kids to be able to reach without my assistance. I used two old soup cans for storing markers and brushes. I covered the cans with pretty card stock paper and added a little label to complete the look. For storage of my paints I used an old Goldfish Cracker carton. I used my handy box cutter and carefully cut the top off of the box. I covered the box with coordinating paper and labeled it as well.
craft room organization
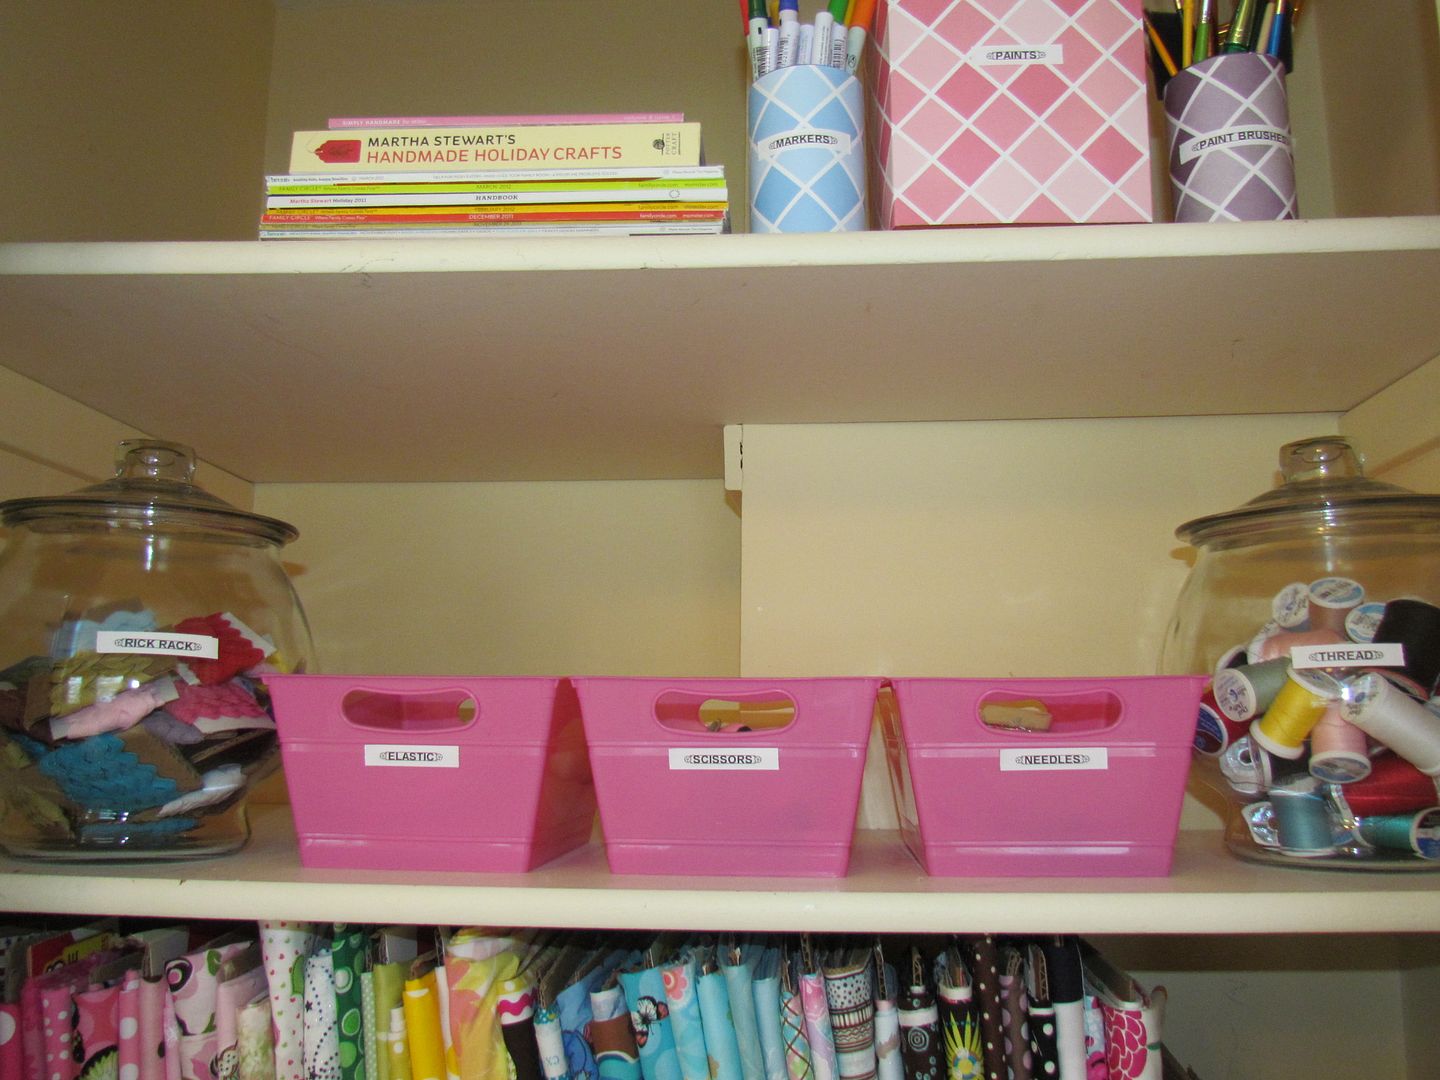
The next shelf was my biggest cost. Are you ready? $3.22! Yep you read that right! I purchased 3 pink baskets in the dollar area at Target to store my scissors, elastic, and needles. I used two clear glass cookie jars for my thread and rick rack storage containers.
craft room organization


craft room organization
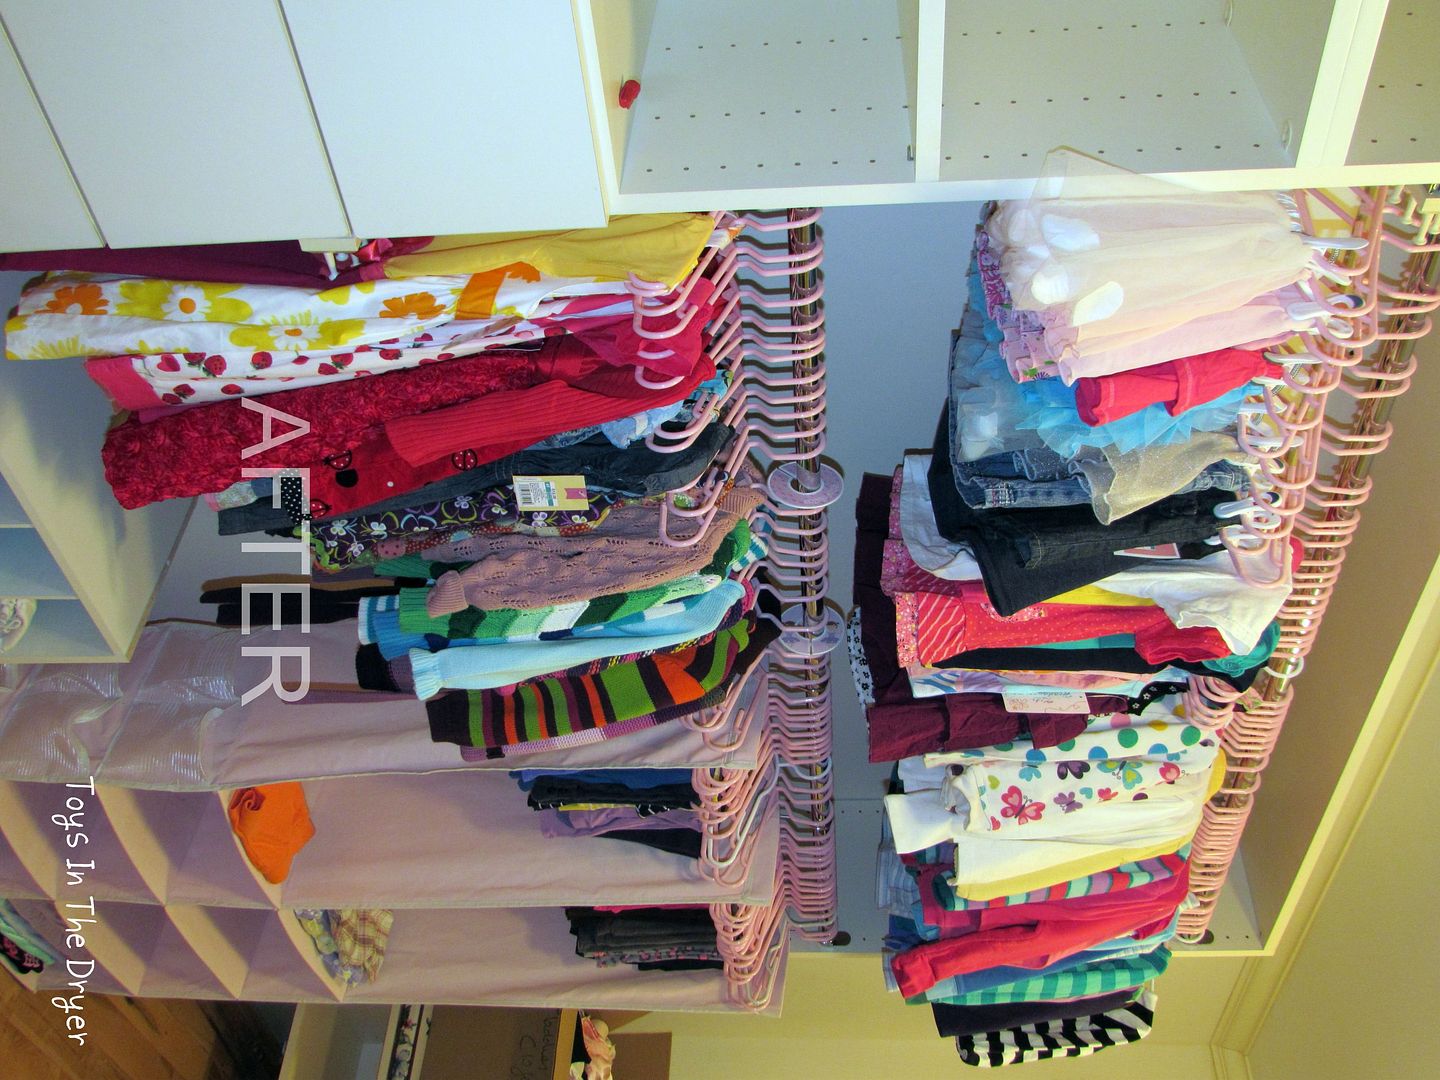
The next shelf took me the longest. Because I have 4 children I had ample supplies of diaper boxes and wipe boxes. They were sitting in a pile waiting to be broken down for recycling. Instead of purchasing expensive core board (like I had originally planned) I got out my box cutter again and started to cut the boxes into rectangle pieces. I took the rectangles and wrapped my fabrics onto the boards. I then arranged my material by color so I could easily see what it was that I had available to me. I am loving the way it turned out!


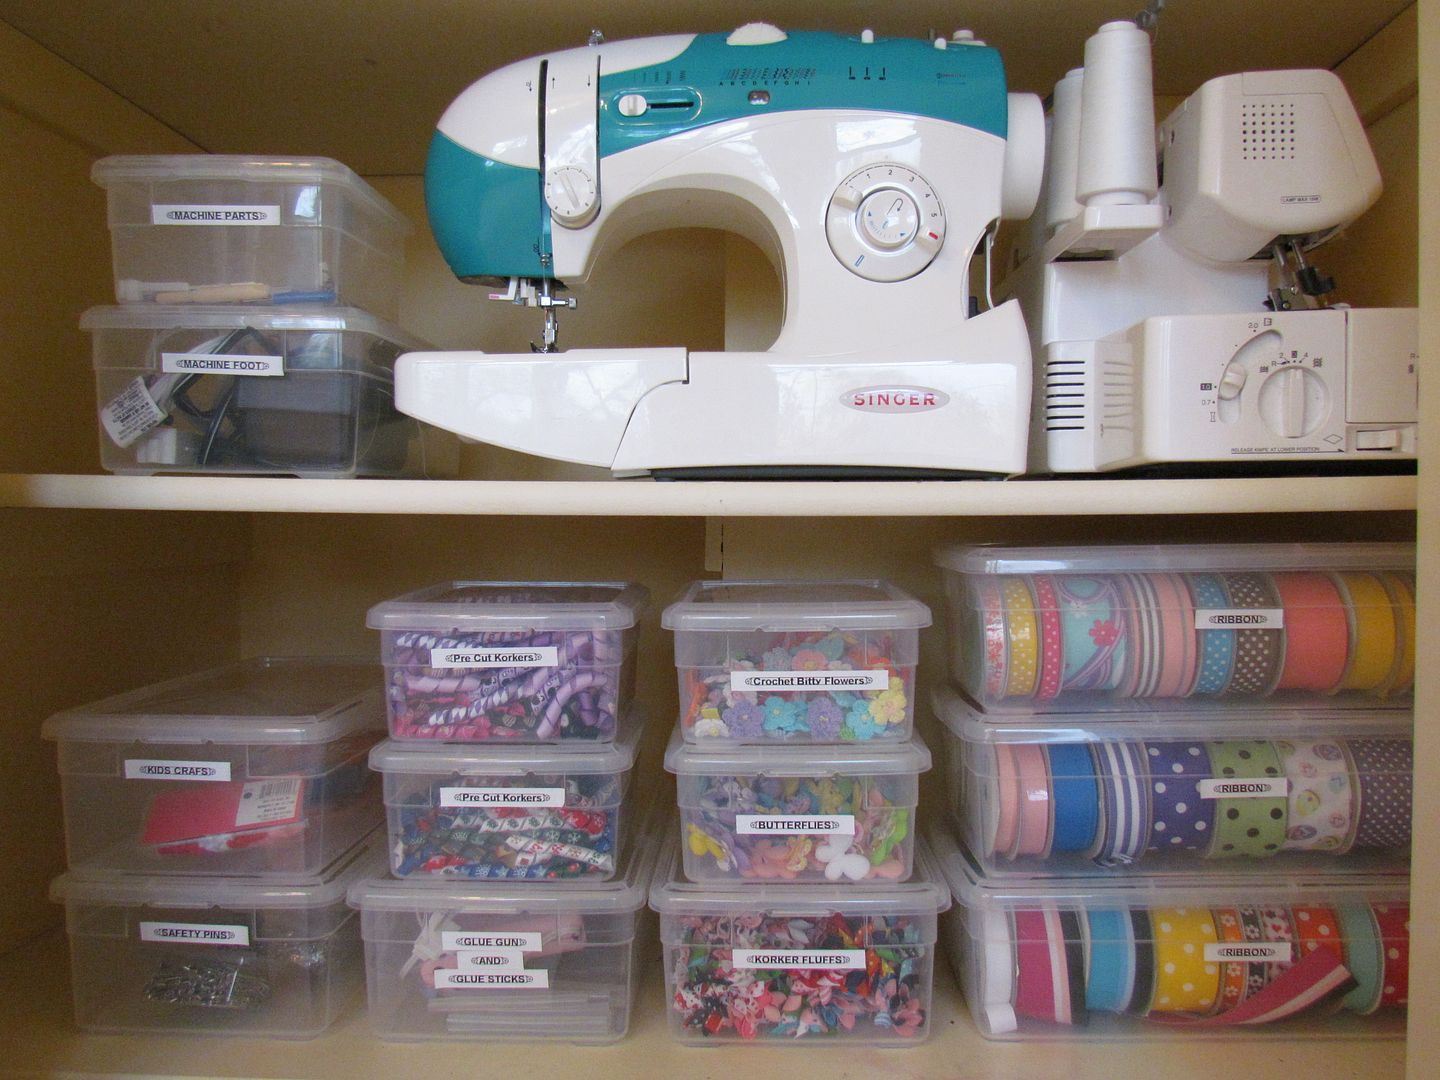
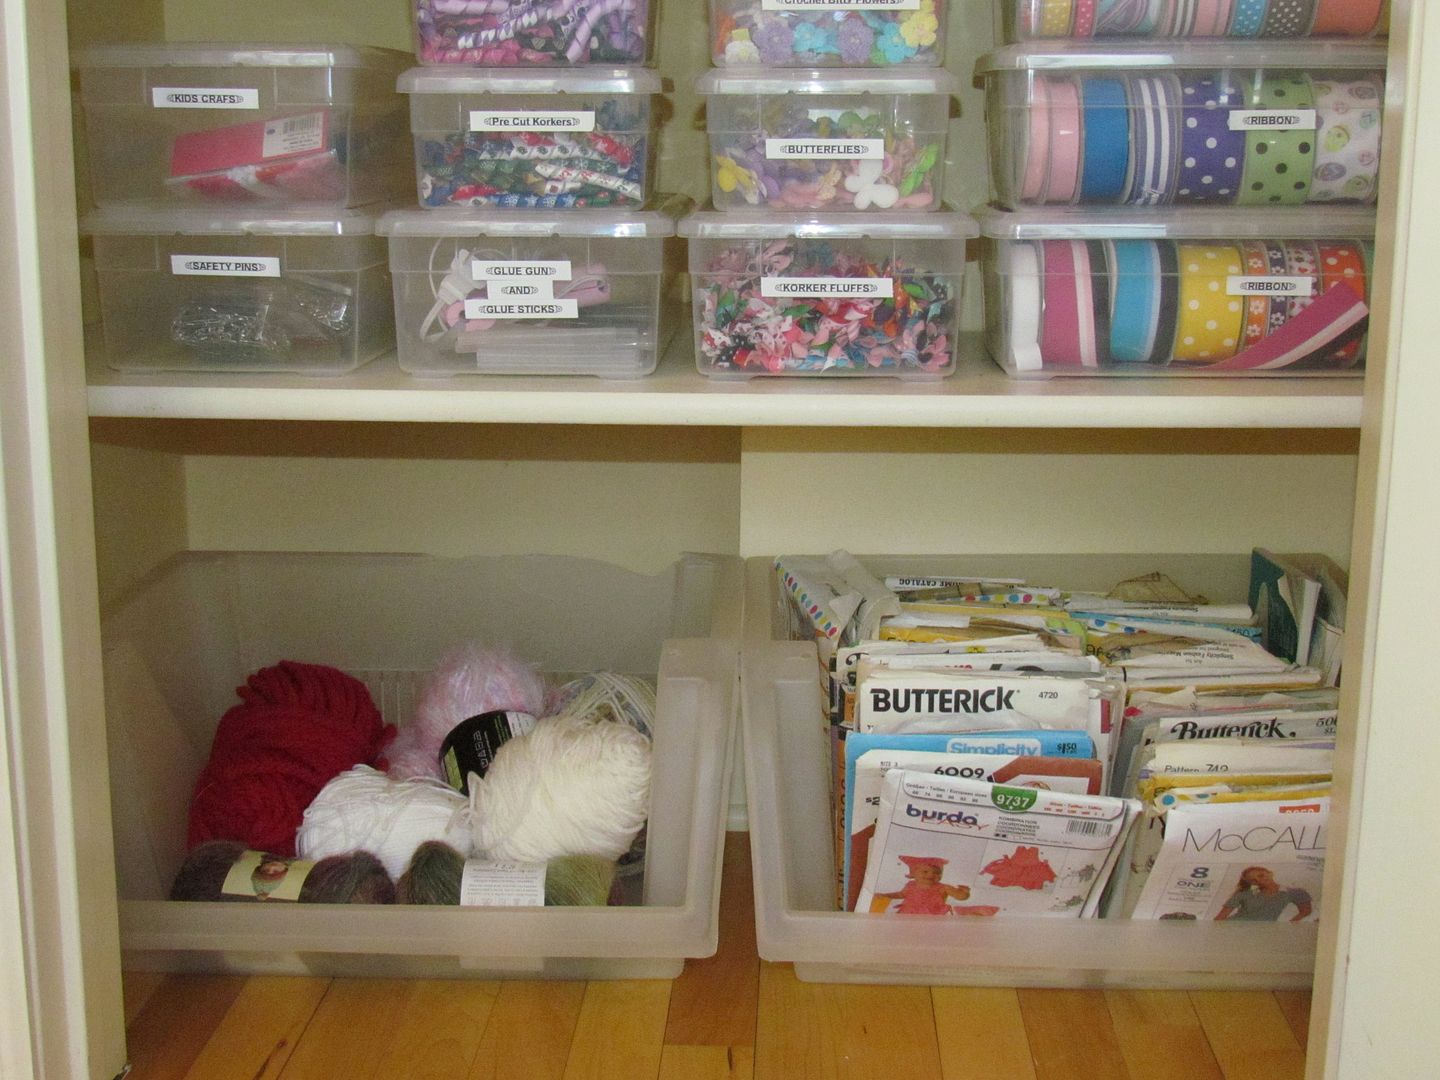
Next came my shelf for my machines. I reserved this shelf for them because they are at the perfect height for lifting. These machines are not only bulky they're heavy so I wanted to make it easy for me to grab. I put my serger and sewing machine next to each other along with two clear plastic tubs with machine parts and the pedals. Just below that shelf I filled that space with all my pretty ribbons and other "crafty" supplies. I had these plastic tubs already so this was something I didn't need to purchase.
craft room organization

craft room organization
Last but not least my floor of the closet was reserved for two plastic storage containers I have had since my college dorm years. I used to keep socks and underwear in them. I used one for my yarn storage and the other to keep all my patterns (and my grandma's) neat and organized.


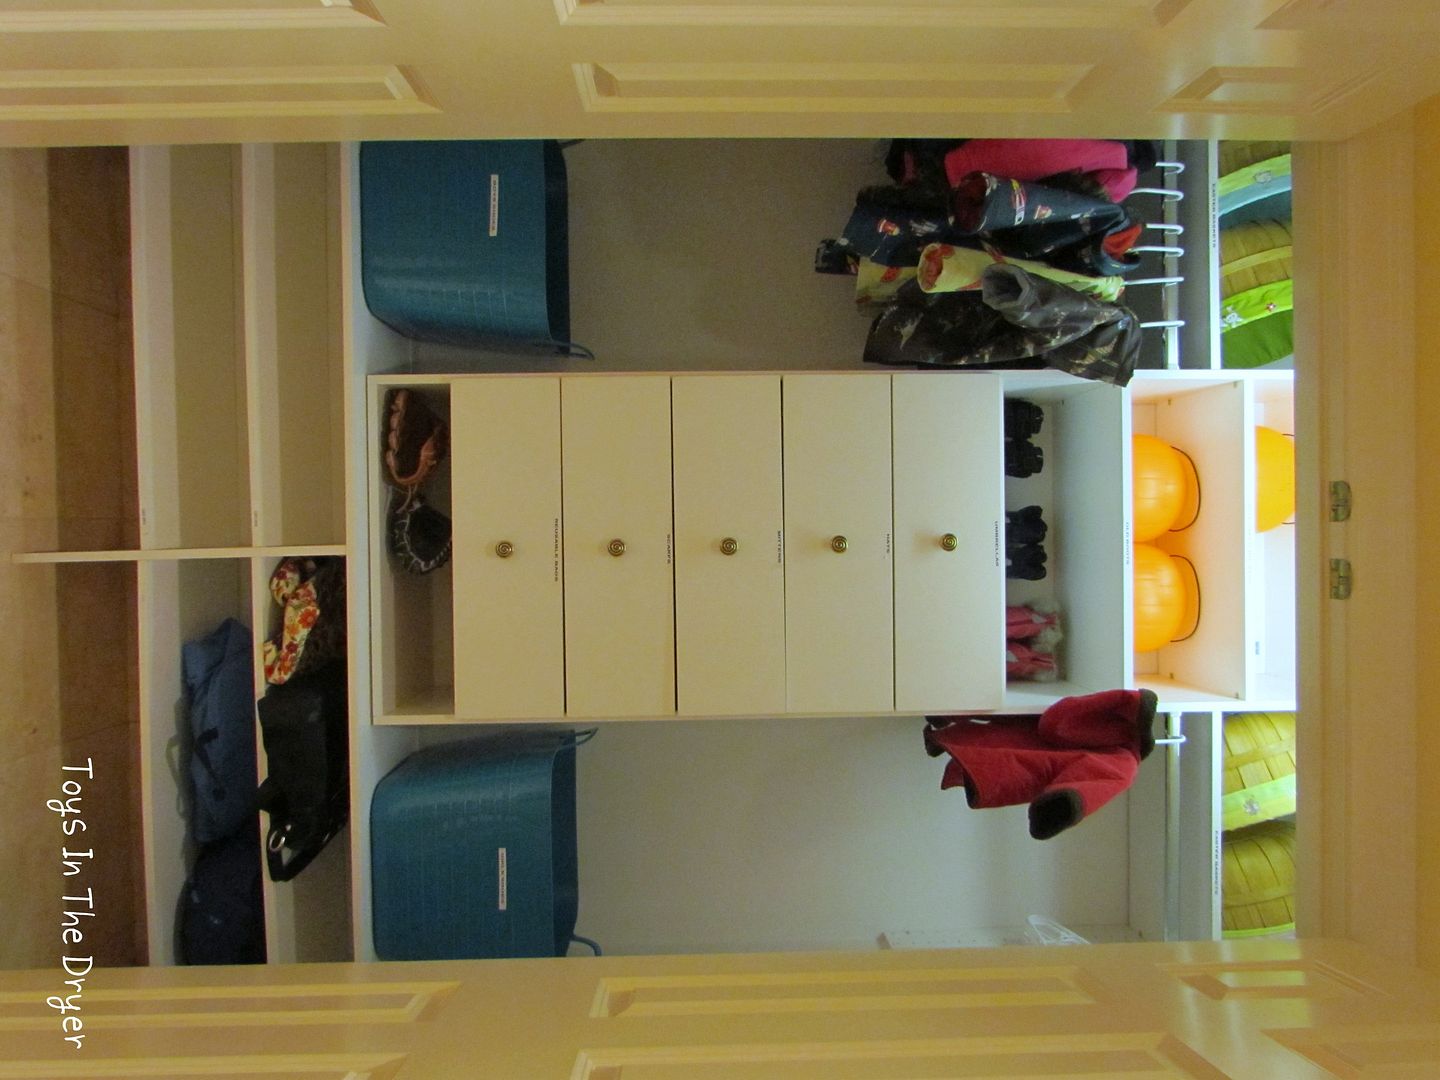
So there you have it...my perfectly organized craft closet for a grand total of $3.22!!!!! I am so in love with the way it turned out. Let me know what you think and if I have inspired you as well!
craft room organization
Tip Junkie handmade projects

Friday, February 24, 2012

Fun Stuff Fridays (#12)

Welcome to Fun Stuff Fridays. We had 305 submissions last week! Ohmigosh! Do you wonder if we look at them all....and the answer is YES! We DO go through every sing one and check them out. We figure if you take the time to submit then we can take the time to visit! We love seeing what our readers have been up to and cannot wait to share some of our favorites! Wanna know more about our linky? Click on "Fun Stuff Fridays" above, then "about". We wish we could feature all of them! Can't wait to see your amazing submissions this week! Feel free to submit as many ideas as you want over that time. And remember- spread the word!
One thing we've added is something that we hope you will like. We've been pinning each weeks featured picks into their very own Pintrest board! We hope it brings you loads of linky love....you've earned it! You can find our Featured Pintrest Board HERE!

Our joint favorite pick was the Magnetic Mouse Traps submitted by Suzy's Artsy Crafty Sitcom. Neither of us had ever seen a craft with mouse traps before so this one stood out- BIG TIME. This is o cute, so fun, and PERFECT for displaying your kid's artwork!

Jamie's number one pick was Glass Portraits submitted by Our Feminist Play School. This idea is completely unique, easy, and so much fun!  Your kids can trace you or you can trace your kids!  Each time you do it, it will come out a little different too.  Gonna have to try this with my girls!

Lindsi's number one pick was Rock Star Party submitted by Michelle Paige.  This is one rockin' party (pardon the pun). This party had a list of fun activities, great games, and super decor! I was especially fond of the "decorate sunglasses" station. What a neat idea!


Want to know what the most clicked on submission was? It was Two Ingredient CAKE!!!!


Fun Stuff Fridays


Fun Stuff Fridays

Thursday, February 23, 2012

Staying organized with kids

Staying organized is one thing I work really hard at. For me, I find that it keeps the stress levels down, frees up more time to spend with my family, and just plain works! With four kids organization is mandatory (if you ask me). Our mud room is one room that I use as a family organization room. I'm going to share a few of my tips and tricks to staying organized with kids!

First up....the embarrassing BEFORE photos.
Now here is what I did. First thing I did was make the mess even bigger! I took EVERYTHING off the shelf and out of the cubbies and tossed them on the floor. I made three piles- Save, Store, Sell. Once you have your piles then you can start figuring out what you need to do to organize. I realized that some extra baskets and buckets would help me a bunch. 

I taped off an area above the hooks on the wall and painted with some chalkboard paint. Right now it just has one of my favorite quotes on it but in the future I plan to use it to keep the kids reminder notes on them like: field trip Tuesday,  paper due Friday, Spanish test Monday, etc.
how to organize my closet

how to organize my closetI added an old dresser to the closet to provide me with some drawers and took out my handy dandy label maker. Each drawer is labeled with one item (with 6 people in our family we filled these drawers quickly).
We have lots of extra shoes in our house and 12 feet to fill them so I keep the ones that no longer fit for the "extras" pile and use them for my younger kiddos. These baskets work great for that job!
how to organize my closet

I placed baskets under our bench and labeled those with their names for the current shoes (and boots). Excuse my cheesy flowers over their names...I want to keep it more private.
how to organize my closet
how to organize my closetLast but not least they each have their own "space" for their coats. In the morning I set their shoes for the day, coat for the day and their lunchboxes.
And just for fun- the organization spilled over onto their closets. I couldn't help myself!
how to organize my closet
A messy closet-just won't do
how to organize my closet
Hanging all like items together is much better!

Wednesday, February 22, 2012

Scratch Drawing

Scratch drawing (or rainbow drawing as Lindsi calls it) was one of my favorite things to do as a child.  It was fun seeing all the unique pictures I could make.  It was also one of Lindsi's favorite things to do.  You see, Lindsi was scheduling posts for next week when she happened to look at what I had scheduled for this week.  She called me up and said, "I think we have the same posts scheduled!  What is 'scratch drawing?'"  When I told her she started laughing, "that's the same as my 'rainbow drawing' I have scheduled for next week!"


Both Lindsi and I learned scratch drawing using just crayons (on the left above) but I recently saw some using crayons and paint (on the right above) and decided to give that a try with my girls too. 


To do scratch drawing with your kids, you'll need:
  • White paper
  • Crayons
  • Dark paint or a black crayon
  • Toothpicks, paper clips, a coin, or some other object for scratching


Have your kids color patches of color on the paper with the crayons.  Make sure they color dark and heavy.  Try not to leave many white spots.


Paint option:  Paint over the colored paper with dark paint.  Black works best but I couldn't find our black paint so we used brown.  Any dark color will work as long as you paint thick enough so you can't really see through it.  We used finger paints and they seemed to work just fine.

Make sure the paint is fully dry before moving on to the next step.  If your kids are impatient like mine are, you can use a hairdryer to help speed up the drying process.


Crayon option:  Color over the colored paper with a back crayon going over it once in one direction and once in the other direction.


Now let your kids have fun scratching through the paint or black crayon revealing colors underneath!  Use a toothpick, paper clip, coin, or anything you can find to scratch.  We happened to have some wooden skewers in the kitchen so that's what we used.

Our conclusion:  Though both me and Lindsi are a fans of the crayon method because that's what we grew up with, my girls liked the paint method better.  In the end, I have to admit, the paint method looked much cooler too!


Did you scratch draw when you were younger?  Did you use the paint or black crayon method?

Tuesday, February 21, 2012

S'mores Croissants


My girls LOVE to eat s'mores but don't always like the mess of the sticky marshmallows.  Plus, we live in Minnesota and campfires are not an option in the winter.  Here's our version of s'mores that's a little less messy and super easy to make when campfires are not available.


You'll need:
  • Chocolate Chips
  • Mini Marshmallows
  • A Tube of Croissants/Crescent Rolls
  • Optional stuff such as peanut butter, caramel, bananas, raspberries, strawberries... 

Step 1)  Separate the croissants and lay them out flat on a baking sheet.


Step 2)  Put chocolate chips and mini marshmallows on the fat side of the croissant.  Add any optional ingredients.  Try not to overfill it.  For these photos we used chocolate/peanut butter chips and mini marshmallows only.  I have made these in the past with the optional ingredients and they are super yummy (especially the ones with the caramel and peanut butter!).


Step 3)  Roll up the croissants making sure that your ingredients do not fall out.  If your croissants are a bit full, tuck the sides over to seal in all your stuff. 

Step 4) Bake the croissants according to the directions on the package.


Step 5)  Let them cool slightly before enjoying!

Do you have other s'mores variation recipes?

Monday, February 20, 2012

Plates In The Dryer--A MN Blogging Event


Toys In The Dryer and Color Me Mine Eagan will host the first ever Minnesota blogging event--for kids!

We happily invite our Toys In The Dryer readers, fellow bloggers, and their kids to: 

Plates In The Dryer
Monday, April 30, 2011, 4-6 pm 
Color Me Mine in Eagan 
(Tickets available via Eventbrite starting March 1, 2012) 

We all know that blogging and other social media takes time away from family. Toys In The Dryer, however, would like to encourage you to spend more time with them. Come socialize with people in your social media circle AND spend time painting pottery with your kids! Donate to charity while you're at--It's a win-win for everyone!

This event isn't just for bloggers/blog readers, it's for the whole family so husbands, wives, and significant others are welcome and encouraged!  Kids of all ages are welcome too!  Have an infant?  Make a plate with his/her handprint or footprint!  Have a teen?  See the beautiful things he/she can make!


One (per child) non-perishable food item donation to the Eagan Food Shelf will get you:
  • entrance into the event
  • your choice of either a mug or plate to paint
  • all studio fees
  • treats to munch on
  • upgrade to another piece of pottery for an additional fee
An additional $10 donation to Spare Key will get you individual portraits with you and your children taken by The Imagery.  When was the last time you got a nice family portrait for $10?

Follow the Twitter hashtag #PlatesInTheDryer to keep up with the latest news about our event, what people are saying, and who's going!

Our Sponsors (so far) Include:


Door prizes and swag provided by:
Related Posts Plugin for WordPress, Blogger...