Tuesday, January 31, 2012

Guest post- Monkey Bread

Today we are excited to have Kristin from Kadbury is...Thinking Out Loud guest post for us!  Kristin is a mom of three- her very own BLT! Her blog is filled with her experiences with crafting, cooking, and decorating (as well as some humor, because we all know with kids there is always humor!)  Be sure to follow along with her on Facebook and Twitter. She'll have you giggling at least once a day.

Lately, my kids have been asking to help out in the kitchen. And when it’s not totally going to stress me out, I let them. Yes, it’s true. Occasionally my kids stress me out.

Where are your shoes?!? The bus is almost here! Please quit trying to put that plastic bug in your sister’s ear – It’s not funny!  If somebody touches somebody else in the next five minutes, I’m pulling this car over! We are making these cookies to give to someone else, you cannot keep licking your fingers in between frosting them…

But Monkey Bread is so much fun to make with them. And it’s my kids’ all-time favorite breakfast because it’s sweet, gooey, and fun. What’s not to love?

Here’s what you’ll need:
4 rolls of refrigerated biscuits
1 cup sugar
1 tablespoon cinnamon
*1/2 teaspoon ground nutmeg
*1/3 teaspoon ground cloves
2/3 cup butter

Preheat oven to 350

*optional

First, mix the sugar and spices into a Ziploc bag or large bowl. Open a roll of biscuits, and using *clean* scissors (or a knife, but I have the kids use scissors), cut each biscuit into four pieces.
{I use Pillsbury’s value pack or whatever I find on sale}

Then coat each biscuit piece in the spice/sugar mixture and place into a greased Bundt pan. I use a gallon Ziploc bag for the spice mixture and let the kids go crazy shaking it. Repeat this process with the remaining three rolls of biscuits.

After all the biscuit pieces are coated and in the Bundt pan, take a microwavable container and put the butter and leftover spice/sugar mixture in it. Microwave it until the butter is completely melted (about 15-20 seconds). Pour this over the biscuits and bake for 45 minutes.

When it’s finished, just flip it over onto a plate, but be careful – the gooey goodness is VERY hot right out of the oven. It always smells so good that I try to eat it right away and burn my mouth. Yep, not my smartest move ever.
095 
{Please note that the bottom of the monkey bread in this picture is not even. That is because I ate the whole bottom part. It was good.}


*The picture above shows a half-batch using only two rolls of biscuits. A whole batch will feed my family of five, but if I’m only making it for the kids, I make a half batch.

I hope your family will love it as much as mine – and don’t blame me if you burn your mouth; you were warned ;)

Monday, January 30, 2012

101 answers to "I'm bored!"

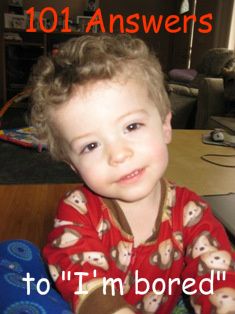
We've got 101 answers to "I'm bored!" Just for you!


2. Print off a new coloring page and color with them
3. Visit your local library and pick out 5 new books
4. Learn 3 new words in sign language
5. Play "circus" by performing your own acts together
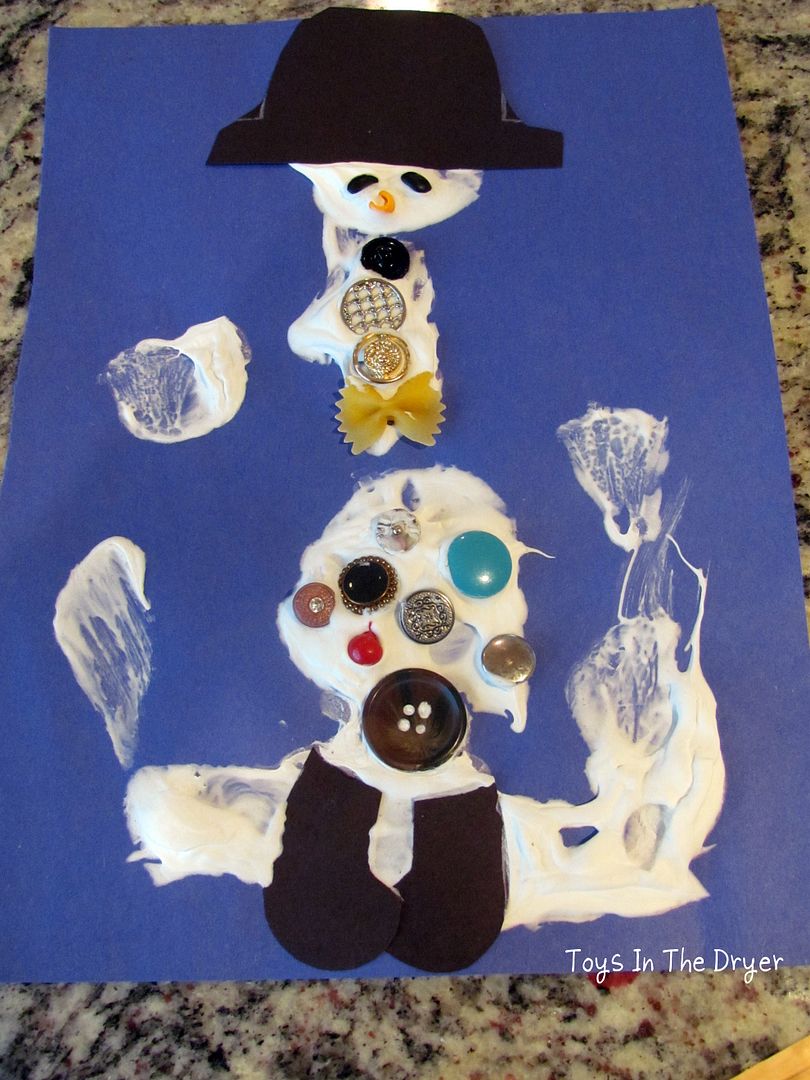
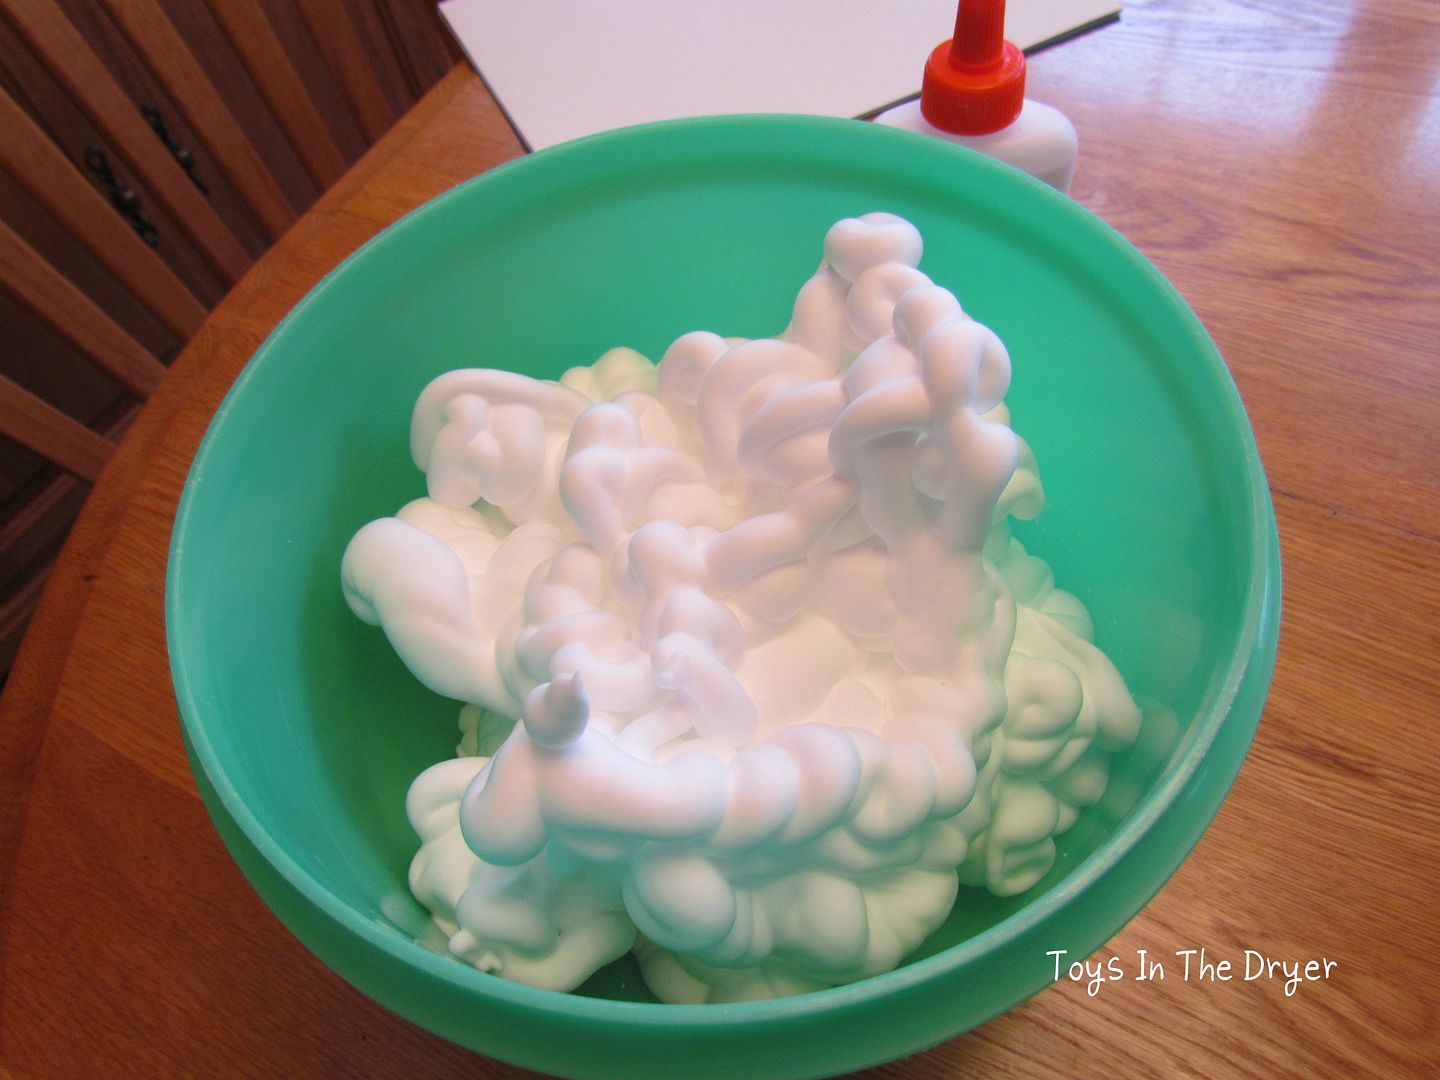
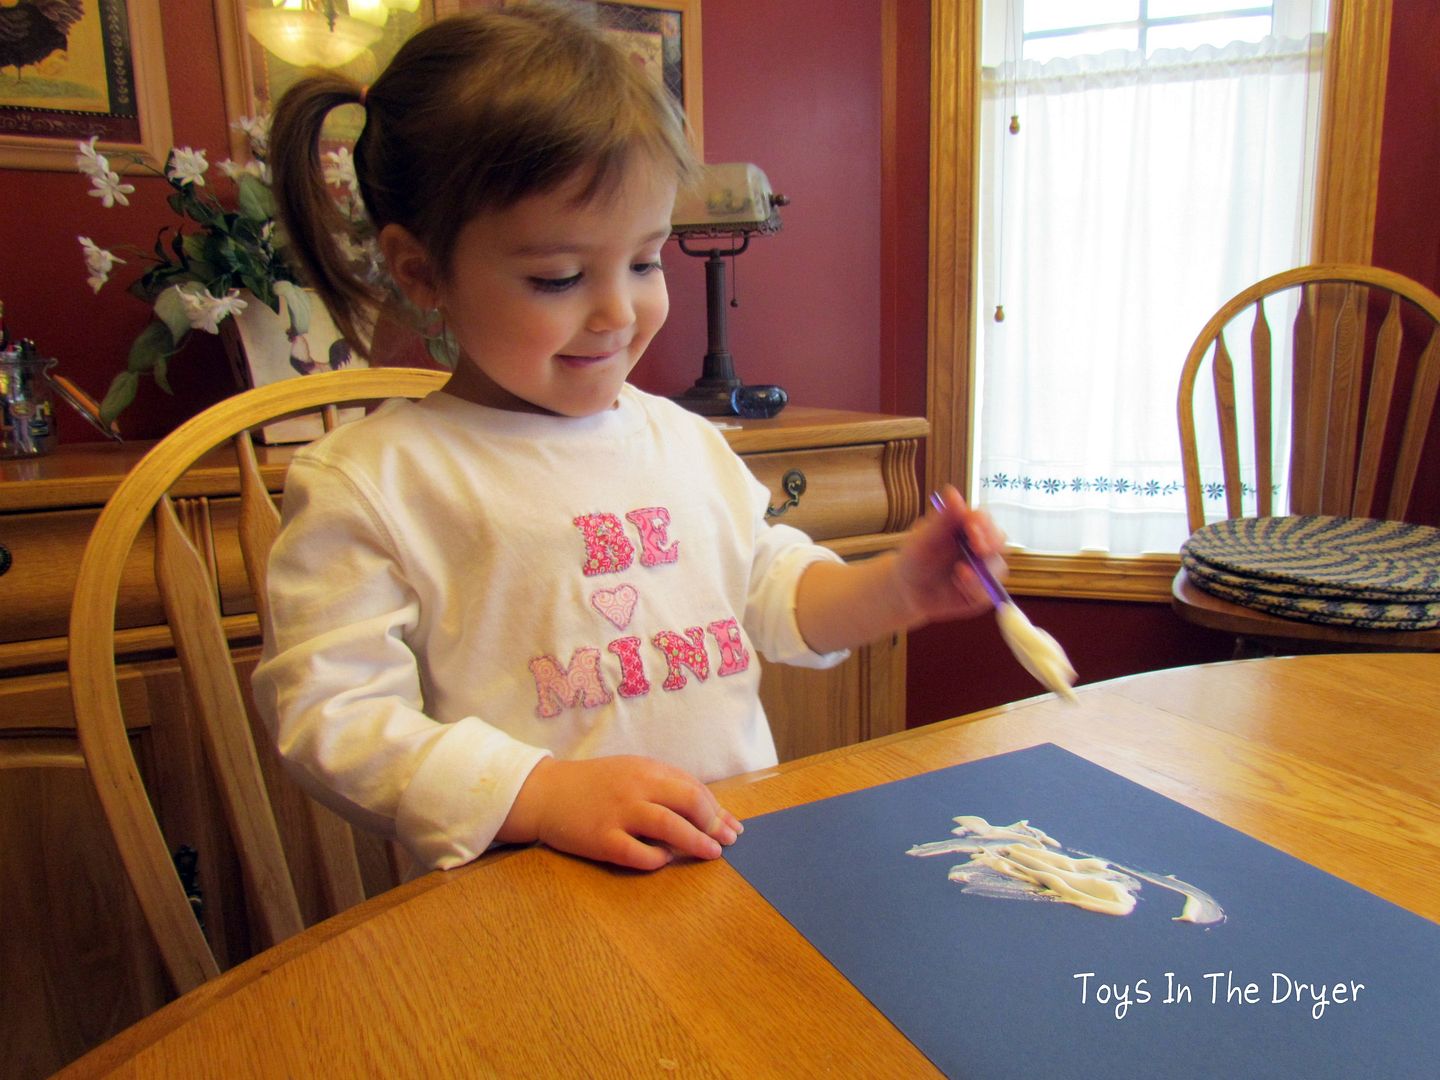
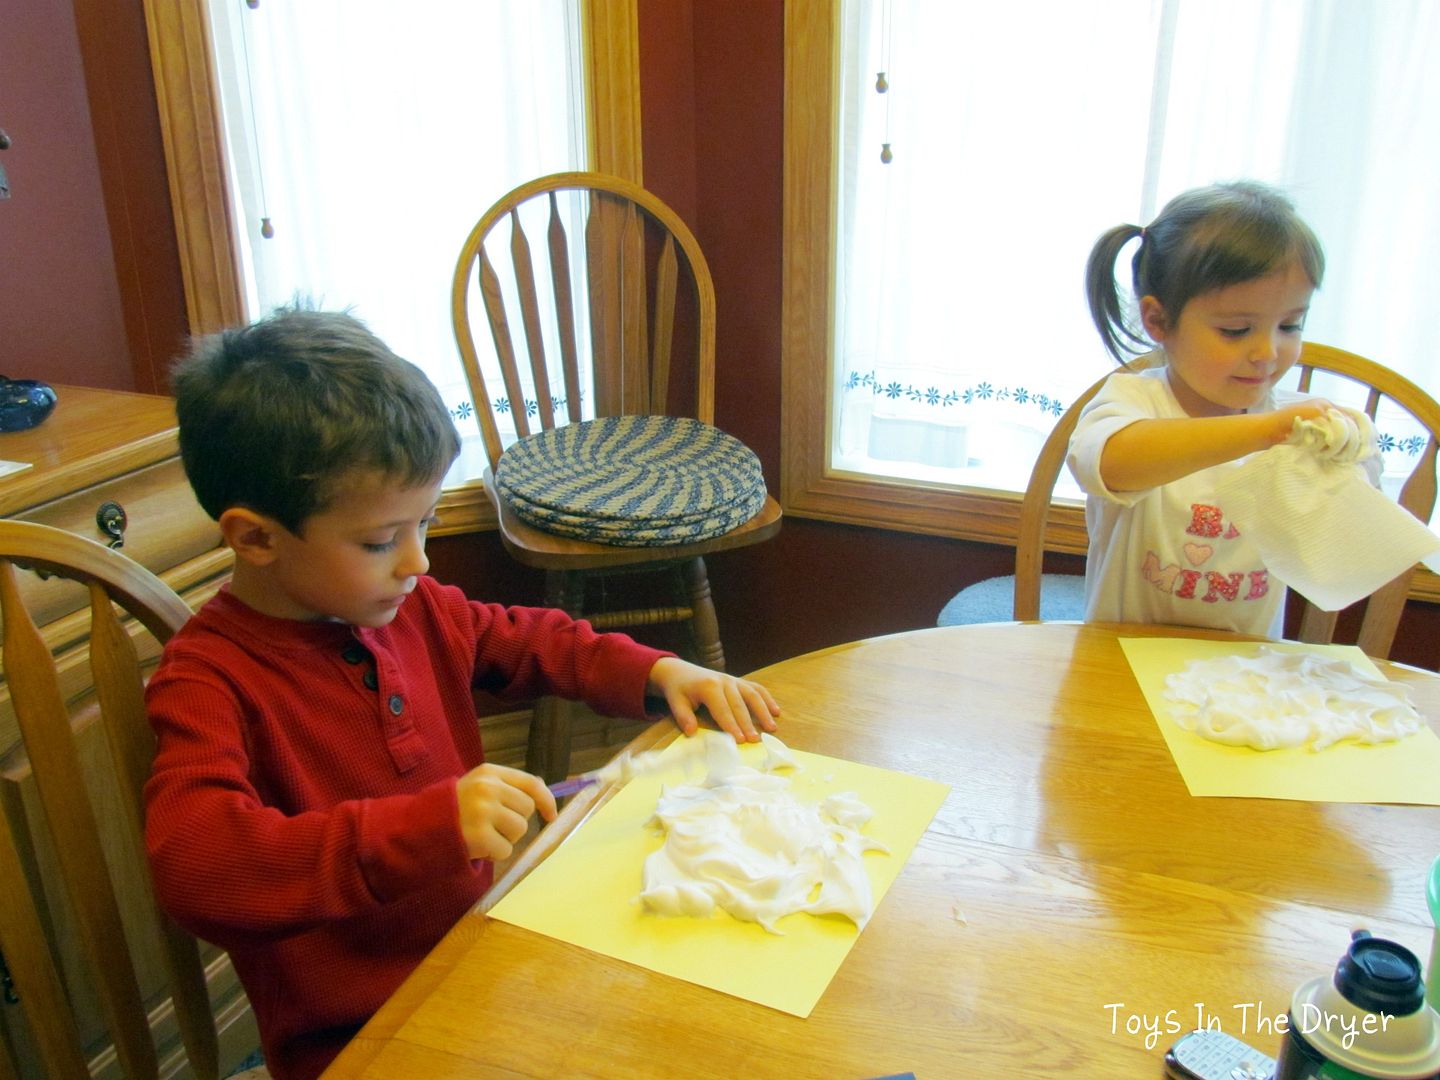
7. Finger paint together
8. Have a date with your kids- movies, pajamas, and popcorn
9. Put on a puppet show with stuffed animals
10. Read a story together but replace the characters with your child's names
12. Freeze some toys in water and "go on an archeology dig"
13. Build a fort together
14. Put glow sticks in the bathtub, turn off the lights, and have a glow in the dark bath
15. Play music with glasses, water, and a spoon
17. Make binoculars with toilet paper rolls and go bird watching
18. Make puppets out of brown paper bags together
19. Go for a walk outside--collect things from nature, then make a collage out of them
20. Make stamps out of different fruits and vegetables, dip them in paint and make a picture
22. Build a tower together using blocks
23. Make up a story together- take turns telling one part of the story at a time
24. Grab your old makeup and some hair stuff and play beauty salon
25. Practice your fire safety.  Go through your fire plan and meet at your meeting place
27. Have a fashion show-let your kids dig through your closet and put on a show
28. Find a new educational website and let your kids play around on it
29. Practice the alphabet backward (for somewhat older kids)
30. Grab your camera and take self-portraits with your kids
32. Go through all the kids toys with them and get rid of the ones they no longer play with. They just might re-discover something!
33. Tell them a story of your favorite childhood memory
34. Play charades
35. Bubble baths- because those are always fun
37. Have your kids stand on chairs and attempt to drop pennies into paper/plastic cups
38. Make up your own game of Pictionary
39. Grab a flashlight and make shadow puppets on the wall of a dark room
40. Mix baking soda, vinegar, and red food coloring in a cup to make a volcano
41. Slime time- it's always fun
42. Let your kids vacuum your carpets
43. Play hide-and-seek
44. Walk through your house making up rhymes to things you see
45. Play "I Spy" around the house
47. Write letters to relatives
48. Bake cookies. When they are cool, put them in zip lock bags and leave them on the neighbors' doorsteps.
49. Find different textures around your house and color over them (kinda like this leaf drawing)
50. Blow up a balloon without tying it. Let it go and watch it fly all over the room
52. Research star constellations on the computer then make your own by punching holes in paper. Grab a flash light and shine light through your holes in a dark room.
53. Make necklaces or bracelets out of string and macaroni
54. Go outside and trace your shadows using sidewalk chalk
55. Learn to say "I Love You" in 3 languages.
57. Have a pillow fight
58. Build structures out of mini marshmallows and toothpicks
59. Make paper airplanes and see how far they fly
60. Grab a wooden spoon to use as a microphone, turn on some music and sing karaoke
62. Have your kids draw letters or shapes on your back with their fingers. Try to guess what they drew. Switch and do it to them.--Feels good too!
64. Cut a coffee filter into long strips. Using a marker, make a large dot about one inch from the bottom of a strip. Dip the strip into water just below the dot.  Watch the color move up the filter.
65. Have a marble race in your kitchen (kinda like this acorn race)
67. Play follow the leader together
68. Make a birthday card for the next 3 birthdays in your family
69. Decorate toilet paper rolls and make Kaleidoscopes
70. Put in a musical movie (i.e Aladdin) & every time a song comes on have them jog in place until the song is over- it always ends in giggles
72. Spell out words together using your body to shape the letters (i.e. stand up tall for the letter I)
73. Play ring-around-the-rosey
74. Give your dolls a bath
75. Trace your body- have them trace your body and color in your body with markers
77. Make up a poem together
78. Put celery in colored water and watch the celery turn the color of the water
79. Grab the bubbles and have a contest to see who can blow the biggest bubble
80. Get out the pots and pans and make some music
82. Have your kids help you organize the Tupperware cupboard or drawer. Have them match the lids with the containers.
83. Make paper snowflake sun catchers
84. Invite a friend over (that always cures boredom!)
85. Blow up a balloon and see how long you can keep it in the air.
87. See how many cotton balls you can stuff into objects around the house (cups, hollow blocks...)
88. Have your kids cut string the length of how tall they think they are. See if they are right.
89. Make a gift to give to mommy or daddy when they get home from work
90. Draw pictures on the bathroom mirror with dry erase markers
92. Teach them how to play "Simon Says"
93. Make a musical show using plastic bowls, pots, and pans
94. Play dress up together (use play make-up)
95. Teach them how to fold laundry- it will make your life easier too
96.Write a letter to their grandparents or color them a special picture
97. Make cleaning fun- pick one room and clean it
98. Put a puzzle together
99. Have a tea party
100. Tell each other jokes
101. Find another activity or craft on this blog! =)

Friday, January 27, 2012

Fun Stuff Fridays #8

Welcome to Fun Stuff Fridays!  Wanna know more about our linky? Click on "Fun Stuff Fridays" above, then "about".  We wish we could feature all of the submissions!  We can't wait to see your amazing submissions this week!  Feel free to submit as many ideas as you want over that time.  And remember- spread the word! In order to be featured we request that you have our Fun Stuff Fridays button on your blog. (But you do not have to have it to submit to the linky party.)

IF YOU WERE FEATURED BE SURE TO GRAB YOUR "I WAS FEATURED" BUTTON AND SHOW OFF YOUR STUFF TO YOUR READERS!


Our joint favorite pick were the Sleeping Bag Wraps submitted by Hungry Happenings.Could these be any cuter? We think these are almost too cute to eat! They're yummy looking and healthy too! We can't wait til our kids have a slumber party to try these out with them!
Jamie's number one pick was Valentine's Wreath for the Birds submitted by Living and Learning at Home.What a beautiful looking wreath. It's so fun and festive too! A great project for the kids, loved it!

Lindsi's favorite pick from this past week was Crayon Painting submitted by Teach Beside Me. This is such a wonderfully fabulous idea! This actually might be something my oldest (non-art fan) kiddo would like. The colors are so bold and great too!


Fun Stuff Fridays


Fun Stuff Fridays

.


Thursday, January 26, 2012

Ten things to do in the winter with your kids

Since today is our "Hodge podge" day where we post pretty much whatever we like (ha ha ha) I thought it might be a good time to post some ideas of fun things to do with your kids during the winter months, especially since we're in the thick of it right now.
Hope you find some great tips from this list!

1. Explore tracks- take time to go outside and explore the different shaped animal tracks in the snow (or dirt) and see if you can figure out what they are. This adventure offers a few great things: a little science learning, quality time, and creative thinking.
Photo courtesy of Five Elements Arts

2. Make a trail hunt- Go outside during their nap time (or a time when they can't see you) and make a trail throughout the yard, twisting and turning and jumping between steps. Have them go outside and follow the trail.
Photo Courtesy of Log Like

3. Make a "headless snowman". We all know snowmen have three circles...well this snowman has only two....then have your child stand behind them and THEY get to be the head. Snap a photo and use it for a card or a special surprise.
Photo Courtesy of Disney Family Fun

4. Use mini marshmallows to make a snowman indoors! An easy thing to do and tasty too!
Photo Courtesy of Happy Home Fairy
5. Google search "free snowman coloring pages." I don't know about you but my kids love to color pages that are "seasonal or holiday appropriate." For example, they are really into snowmen right now. Once you find the photo you like print it out and let them create and color.
6. Toilet paper snowman game. All you need is a roll of toilet paper and some winter gear. Have your kids wrap each other in the toilet paper and put hats, mittens and scarfs on each other. (This one reminds me of that silly game I've played at bridal showers where you have to create a wedding dress out of toilet paper.)

I couldn't find the source for this photo. I do not take credit for this photo.
7.  Snowman Relay Race. This one is great if you have lots of kids in the neighborhood. You need two laundry baskets- each with a pair of boots, a hat, scarf, two charcoal bricks, a carrot and a broom. Build two snowmen at one end of the yard and place the baskets at the other end. Yell "go" and have each team race to the snowmen and see who can dress him the fastest.

Photo Courtesy of Be Different Act Normal
8. Bake together! You can make cookies from scratch or you can buy a mix and make snowflake cookies. Have fun experimenting with decorations and frosting's.
Photo Courtesy of Annies Eats

9. Make paper snowflakes. Raid the printer paper at home and sit down together and make those lovely snowflakes you always made as a child. It's a great time to share with them the memories you had from childhood.
Photo Courtesy of Martha Stewart
10. Play Roll a Snowman together. Cut out six parts to a snowman. Use one die and roll it. The first person to build their snowman first wins.

If you roll a 6- head, 5- arms, 4-hat, 3-body, 2-carrot nose, 1- scarf

Photo Courtesy of Tip Junkie

What are some things you like to do with your kids in the winter?

Wednesday, January 25, 2012

Marble Painting

My girls LOVE to paint! Sometimes, however, they get "bored" with the same-old paints over and over. That's when marble painting comes in!


Marble painting is a TON of fun and creates some pretty unique pictures. None are alike!


To do it with your kids, you'll need:
  • paints
  • marbles
  • paper
  • tape
  • cookie sheet (or shoe box for smaller kids)


Step 1)  Tape the paper to the cookie sheet or the bottom of the shoe box.


Step 2)  Dip a marble in paint then roll it around the cookie sheet or the shoe box.  Shoe boxes work better for younger kids because they have high sides.  Younger kids may have trouble keeping the marble on the cookie sheet.  For older kids, that's half the fun!


That's really it!  For some more fun, dip a few marbles in different color paints and roll them around at the same time.  See what fun paintings your kids can make!

What have you done to spice up your kid's painting fun?

Tuesday, January 24, 2012

Hidden Apple Pancakes

Pancake covered apples...they sound kinda weird but my girls thought they so cool and yummy!  Hidden apple pancakes were also a great way to add some fruit to breakfast without my girls really knowing!


I have to admit, I got this idea from Pinterest but I tweeked the recipe a bit because I didn't have all the ingredients.  My recipe is also a lot easier than the original.

What you'll need for my version:
  • Your favorite pancake mix
  • Cinnamon
  • Sugar
  • Apples
  • Topping of choice (apple syrup, maple syrup, butter, cool whip...)

Step 1)  Cut the apples into thin slices and cut the cores out.  (I think I used Macintosh apples but any apple will do depending on your preference)

Step 2)  Prepare the pancake batter as directed on the box.  Add cinnamon and sugar to taste.  (I used Bisquick mix and made 1/2 a batch of pancakes.  I added about 1 Tbsp of cinnamon and 1/4 cup sugar.)


Step 3)  Coat the apples with the pancake batter.


Step 4)  Cook until the pancake part appears done.  (I found that the cooking took a little longer than normal pancakes because of the moisture in the apples.  Make sure to keep your heat on low to avoid burning)


Step 5)  Serve warm with your favorite topping.  (We used regular maple syrup and thought it was pretty good!  Because our apples were a soft kind, they were warm and soft inside the pancakes.  It was almost like an apple pie!)

The original recipe I found on Pinterest is probably much better, but these were pretty good for being simple and having the ingredients on hand!

Monday, January 23, 2012

Make an indoor obstacle course

We live in the "frozen tundra" and winters here can be really long, especially when it's TOO cold to go outside and burn off a little extra energy. The other day my kids were telling me how bored they were bouncing off the walls with energy. So I made them all sit on the step (ha!!!) while I made a special surprise for them.

What did we do? We did an indoor obstacle course. It was filled with items we already had in our house (making it FREE) and it was some really good fun! The kids were getting along great and helping and encouraging each other along the course.


Here is how I laid out the course for them.
indoor obstacle courseindoor obstacle course
click on the photo to make it larger

It was great to see them burning off the energy! Then a few minutes later the decided to get more creative!

Here's what THEY decided the course was.
indoor obstacle course
click on the photo to make it larger
Then even later the moved things around and redesigned the whole thing. I would say all in all it was a success! We had a lot of fun!


Indoor Obstacle Course from Toys In The Dryer on Vimeo.

Friday, January 20, 2012

Fun Stuff Fridays #7

If you could spare two extra minutes we'd love for you to fill out our survey in the post below. Thank you!

Welcome to Fun Stuff Fridays!  Wanna know more about our linky? Click on "Fun Stuff Fridays" above, then "about".  It takes us a while to go through each entry and narrow it down to our top three. We wish we could feature all of them!  Can't wait to see your amazing submissions this week!  Feel free to submit as many ideas as you want over that time.  And remember- spread the word!

IF YOU WERE FEATURED BE SURE TO GRAB YOUR "I WAS FEATURED" BUTTON AND SHOW OFF YOUR STUFF TO YOUR READERS!

Our joint favorite pick was the Snowman In a Baggie submitted by Mollie's Mom. This is enjoyable for so many reasons. It's a great "occupy the time" game and kids would love the feel of this! Jamie thought it would be really neat to add eyes to the bag along with the nose for added fun!


Jamie's number one pick was Light box, salt, and more submitted by Jansen Family Adventures. These are SO cool and something both her girls and hubby would love! So glad you shared this with us!


Lindsi's favorite pick from this past week was Valentine's Day Bookmarks submitted by Sweet and Lovely Crafts.  These amazingly adorable bookmarks were spotted on Pinterest and captured Lindsi's heart. Really and seriously these are added to the "to do list" for next year. Consider them pinned, bookmarked, tweeted, and adored!


Fun Stuff Fridays


Fun Stuff Fridays

.

Thursday, January 19, 2012

It's Survey Time!

Is it mid-January already?! Where has time gone?

Toys In The Dryer has grown leaps and bounds in the short 4.5 months we've been live. We are so excited and greatly appreciate our loyal followers and participants!

As of January 16, 2012 our stats are as follows:
  • 18,661 Unique visits/mo
  • 33,679 Page views/mo
  • 155 GFC followers
  • 261 RSS followers
  • 118 Email subscribers
  • 220 Twitter followers
  • 261 Facebook fans
  • Google page rank 1
We've shown you our stats, now it's time for you to show us yours! Some of the companies we hope to work with in the future require us to have reader demographics. These demographics help us tailor our blog content, and the companies we work with, to what you might be interested in. We would appreciate your help in creating better content. The survey below is only 8 questions, is super easy to fill out, and is completely and 100% confidential (we have no clue who you are when you fill it out).

You are already here, why don't you just go ahead and click on the answers below...Thanks!

Create your free online surveys with SurveyMonkey, the world's leading questionnaire tool.

Wednesday, January 18, 2012

Shaving cream and glue

My kids LOVE playing with shaving cream! (I mean let's be real...you know you do too.) When they came home from preschool with these great puffy snowmen I had to investigate what they were made out of. Sure enough----shaving cream (and a little glue).
shaving cream art

Here is what you will need:
Shaving cream (cheap Barbarsol works perfectly)
School glue (ya know Elmer's)
Construction paper
Glitter, beads, buttons, or gems (optional)
A bowl
A paint brush (also optional)
shaving cream art
Squirt half (or all if you are having a blast) of the shaving cream into a plastic bowl. Next add the glue and mix. (There is no real recipe to this but half a can of shaving cream and a whole bottle of glue worked perfect for us)
shaving cream art
Have your child scoop out the shaving cream mixture and "paint" with it all over the paper. A little tip for you- the thicker they lay it on the better and the more puffy it will dry in the end.
shaving cream art
Paintbrushes work great....but hands are even better!!! (P.S. see that shirt my daughter is wearing? I'm going to teach you how to make one a little later)
shaving cream art
Mommy made one too! (I embellished with glitter glue and gems)
shaving cream art
Set them up away from curious hands and fingers and let them dry for a day or so. Once they are dry they will be puffy like they were when you painted them on. Have fun and get ta' craftin'.


Tuesday, January 17, 2012

Ridiculously Easy DIY Fudge Pops

I'm almost embarrassed to post this DIY Fudgescicle or Fudge Pop recipe because of how easy it is.  However, it is so easy that most people don't even think about doing it!

We were in the grocery store and my girls were begging for Fudgesicles.  Our grocery budget for the week, however, did not include the $6 treats.  Never fear, we had the ingredients at home to make our own (for $5 less)!   

Please excuse the blue nail polish, it's compliments of my 3 year old :)

What you'll need to make your own:
  • Instant chocolate pudding
  • Milk (2% or whole milk makes for a creamier popsicle)
  • Popsicle molds or ice cube trays/toothpicks or small cup/popsicle sticks
Really!!  That's ALL you need!  I told you this was a ridiculously easy recipe!  

(Here's where I apologize for the lack of photos in this post.  I was living in the moment with my girls when we made these and I completely forgot to take photos!)


How to make your own Fudgescicles or fudge pops:
  1. Make the pudding according to the directions on the box (this is where the milk comes in).
  2. Put the pudding in the popsicle molds.  If you don't have popsicle molds, you can put the pudding in ice cube trays.  Cover the trays with plastic wrap then punch toothpicks into the center of the ice cubes.  Same goes for small cups with popsicle sticks.  The plastic wrap helps to keep the sticks in the middle of the pop. 
  3. Freeze until firm.
  4. Enjoy!
Yes, homemade Fudgesicles or fudge pops are THAT easy!  However, you can also put a spin on these pops...For some variation, try blending bananas, strawberries, raspberries, melted caramel or even some nuts, into the chocolate pudding when you are mixing it.

Do you make your own popscicles?  Share your recipes in our Toys In The Dryer Community.
Related Posts Plugin for WordPress, Blogger...