Monday, October 31, 2011

Happy Halloween!

Happy Halloween 
from our families to yours! 

 Jamie's girls

Lindsi's kids

We hope you find toys in your dryer and not left over candy!

Linking to:
Boo In The Blogosphere with Four Plus An Angel and Sellabitmum
5 Minutes For Mom 

Saturday, October 29, 2011

Dishin' Up Delicious


“Mom, this was the best day ever!” declared my five-yr. old boy.  I agreed, as I whipped off my bike helmet and gently uncurled my sleeping toddler away from the pumpkin she was “taking care of.”  We had really loaded the bike trailer down with a 25 lb. toddler, two large pumpkins and various other ingredients we purchased at the fresh produce stand.  My husband was the brave soul that pedaled all that weight through the bike trail outside our home.  We really look forward to this day – the day we bring the pumpkins home!

I was thoroughly pleased that my boy was satisfied with our conquest of securing our chosen pumpkins and returning home, however our family tradition includes a couple more hours of kitchen fun!  “Addison, don’t you remember that now we get to roast the pumpkin seeds? THAT makes it the best day ever!”  My eldest daughter never forgets anything.

In order for my kids to have a vested interest in what they’re eating, we try to get them involved with the process of cooking as much as we can.  This is what the Wang Family does with their pumpkins – it’s full entertainment for both kids and parents.
 
Chinese Pork and Pumpkin Soup
(Baking my soup in the pumpkin was inspired by reading the October 2011 issue of Bon Appétit magazine.  I used to cut my pumpkin into cubes – that’s hard work so this is a welcome change! And it’s beautiful!)
1 6-8-lb Cinderella or like pumpkin
2lbs pork ribs (or pork chops)
3 garlic cloves, thinly sliced
1 tsp. fresh ginger or 1 ¼ tsp ginger powder
1 bunch green onions
1 bunch cilantro
Sea Salt/Pepper to taste (if you like, add a little cayenne . . .)
Roasted Pumpkin Seeds
Pumpkin Seeds
approx. 2 Tbsp Oil (I prefer Canola or Grapeseed oil)
Sea Salt and Seasonings of choice . . .
-OR-
Cinnamon and Sugar
Before we left for our bicycle trip, I poured about 8 cups of water into my stockpot and brought it to a boil.  I cut up the pork (bone-in) with a cleaver into bite-size pieces and put it in the pot.   I skimmed the top of the water surface with a spoon to remove the gunk that seems to collect there (what is that called?).   Then I added the garlic, ginger, sea salt, and pepper.  Let that simmer for at least two hours.
So that’s the boring part that I do before I get the kids involved. Next comes the FUN!  Preheat the oven to 350°.  Cut out a wide circle around the stem of the pumpkin to make a lid.  Scoop out the seeds and strings and place in a bowl.  Now, I was not born with a lot tolerance for messes – especially kid messes, so this is why I give the kids two,  big, wide bowls with instructions to keep the pulp in one bowl and separate the seeds into the other so that we can roast the seeds later . . .
While the kids are busy sorting, I finish removing the itty bitty strings left inside the pumpkin.  Once clean, sprinkle sea salt and pepper lightly around the inside of the pumpkin.  Set the pumpkin on a rimmed baking tray.  (I use my Deep Flexipat on the Perforated Baking Sheet for this.)  Pour in the broth, but leave about 4” of space from the top rim.  Roast pumpkin for 1 hour with the lid on.  Then take the lid off and set it on the pan beside it and roast for about 30 – 45 minutes longer.  It’s done when the flesh is soft.  To serve, ladle the soup into bowl, scoop a little bit of the pumpkin flesh into the bowl (be careful not to perforate the shell, or it’ll spring a leak!).  Garnish with fresh chopped green onion and cilantro.  (I have the kids add their own garnish – they love their creation!)
While the pumpkin is in the oven, it’s a great time to prep the pumpkin seeds for roasting.  By this moment, the kids are about finished sorting and cleaning the seeds, so I add a little oil and seasoning of choice to their bowl and let them stir away.  Spread the seeds out on a baking sheet (I use my Silpat® and Perforated Baking Sheet for easy clean-up!)  Bake at 425° for approx. 8 min. (until crispy and lightly browned)


Place the bowl of pumpkin seeds in the middle of your table and watch them disappear!


You most often see the Silpat® in a bright orange color – this white one is exactly the same, just in white – ask me how to get yours in white!


Tip: Cornbread muffins pair perfectly with this soup!  Email me to get my favorite cornbread recipe . . .


Demarle At Home Bronze Chef
2009 ~ 2010 Roundtable Member
541-961-5068 WangAtHome@gmail.com
Heather.DemarleAtHome.Com
HeatherWang.Blogspot.com

Sign up for my FREE newsletter:  CLICK HERE
Browse our online catalog: CLICK HERE

Need a Dinner Idea?  Check out my blog with recipe and product ideas! HeatherWang.Blogspot.com

Friday, October 28, 2011

Attention To Our Email and RSS Subscribers! Must Read!

Attention Toys In The Dryer Email and RSS Subscribers: 
Our feed has changed!

We have been having issues with our previous email and RSS feed for Toys In The Dryer and thought it was best just to start over with a new one.  

If you subscribed to Toys In The Dryer via email or RSS prior to today, October 28, 2011, please unsubscribe and re-subscribe using our new feed: http://feeds.feedburner.com/toysinthedryer2
or unsubscribe/delete your old feed then click on the new links up in the right corner of our blog to re-subscribe.

Your old feed may or may not work after today and we can not guarantee that you will receive your subscription if you do not change it.

We greatly apologize for any inconvenience this may cause you and appreciate your loyalty in changing your subscription.

Thank you, Jamie and Lindsi

Thursday, October 27, 2011

Homemade fruit leather

Who doesn't like a fruit leather (a.k.a. fruit roll-up)? They're a huge favorite at our house. But if I am being 100% honest I can't stand that the first ingredient in them is HFCS (high fructose corn syrup)....in fact it really ticks me off (ahhhh- Jamie will wanna slap me if I go to "crunchy mama" on you so I will leave it at that).
I did a great deal of searching on the web to find a recipe that actually works AND tastes good and I think I may have a keeper. Want to make your own fruit leather? It's super easy!

Here is what you need:
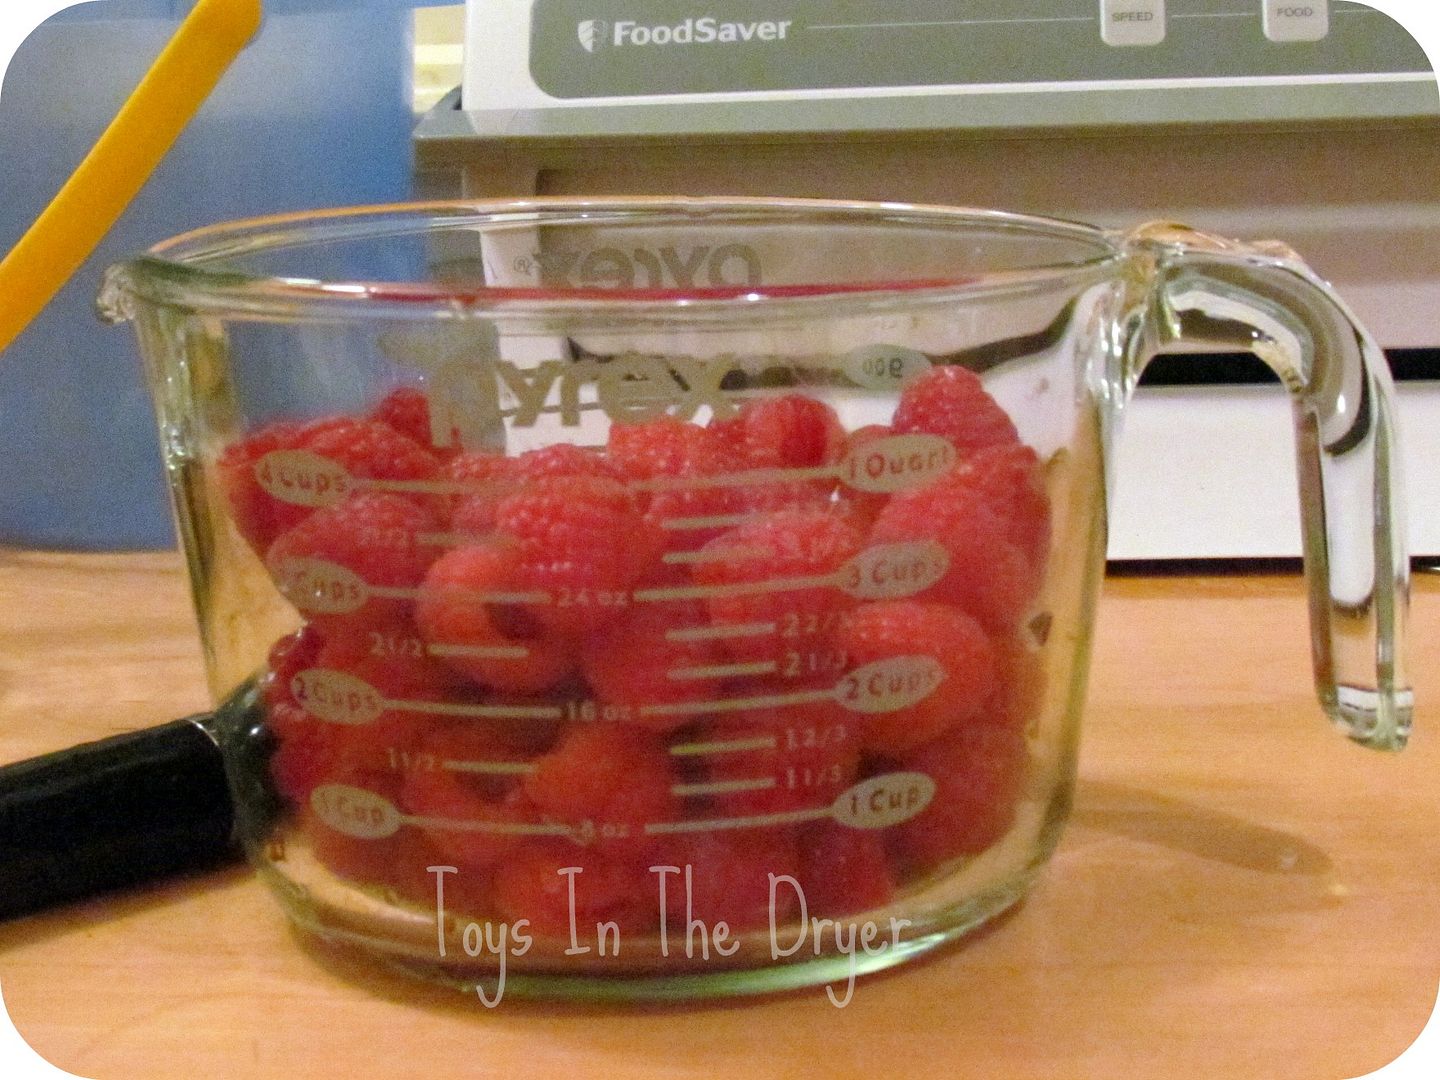
4 cups fruit of your choice (we love raspberries, strawberries and even mixed berries)
1/2 cup water
2-3 Tablespoons sugar (this is 100% optional, when the fruit is sweet and in season I don't even add it)
fruit leather
Measure out your berries or fruit and place all ingredients in a blender or food processor. Blend until smooth.
fruit leather
Pour your puree into a sauce pan and bring to a boil (to cook the fruit a little). Simmer for about 10 minutes (not any longer or you will destroy the healthy vitamin A and C naturally found in the fruit).

fruit leather
Lightly spray a jelly roll (or cookie sheet) pan with oil and pour warmed fruit puree onto it.
fruit leather

Bake in your oven for 8 (EIGHT) hours at 140 (usually this is the lowest temperature setting). Do not bake at any higher of a temperature or you will actually cook the fruit rather than dehydrate it. This might not be the best choice but I usually make it all up right before bed and pop it into the oven at 10pm and when I get up at 6am I pull it out, you need to do what is best for you.

Peel the dried fruit from the pan and cut with a scissors to the desired shape (or you can be really snazzy and use metal cookie cutters and make fun shapes for yourself your kids. Other flavors we've tried- pumpkin puree, blueberry, blackberry, strawberry banana, strawberry with coconut and strawberry kiwi.

Wednesday, October 26, 2011

Spread The Word Giveaway!

Clip art courtesy of LuMaxArt
*The giveaway portion of this post is now closed. Please see below for the winner.*
Toys In The Dryer is almost two months old and we're excited about how much we've grown!  We want to continue our excitement and growth by doing a "Spread The Word Giveaway"!  

What's a "Spread The Word Giveaway"?  
It's simple, you help us spread the word about our blog and enter our giveaway in return!

What am I entering to win?  
A whopping $50 gift card to Target!  (That's should cover half of your bill)

How do I help spread the word?
Glad you asked!  Here's how to enter our giveaway:


Mandatory:  Grab our blog button up there in the right corner and put it in a static place on your blog sidebar.  Static means that it has a permanent place and is not buried in a scrolling marque or something like that.  Leave a comment with the link to your blog so we can verify the button placement.  
While you're leaving a comment on our blog, go ahead and check out some other blog links.  Leave a comment on their blog letting you know you saw them on Toys In The Dryer.  This is NOT mandatory nor is it an entry into our giveaway.  It is simply a nice way to show some love to other blogs :)


Additional Entries:
1)  Tweet about our blog.  You can tweet to tell your followers to check us out, or you can tweet one of our posts.  Leave a comment with the link to your tweet.
See that little "so many seconds/minutes ago" under your tweet?  Click on that then copy the url.  That is the link to your tweet :)
2)  Check out the Toys In The Dryer Community and answer any question (or better yet, start a new discussion!)  Leave a comment telling us what you answered or asked.
3)  "Pin" your favorite post to Pinterest.  Leave a comment with the link to your "pin". 

Please Note:  We are not looking for "fake followers".  We want people to follow us because they enjoy reading our blog, not because we asked them to in order to raise our stats.  Putting our button on your blog simply helps us get noticed more.  Becoming our follower will not enter you into this giveaway.  However, we would appreciate the follow if you think you might enjoy our blog.  Thanks :)

This giveaway will run from October 26, 2011 at 5:00 a.m. until November 9, 2011 at 11:59 p.m.  *This contest was extended by one week because of recent increase in entries*  One lucky winner will be chosen via Random.org and announced in this post November 10, 2011.  Winner will be notified via email.

Disclaimer:  We paid for the Target gift card out of our own pockets.  The Target Corporation and it's affiliates had nothing to do with this giveaway.


This giveaway ended November 9, 2011 at 11:59pm (cst). The winner is:
Congratulations to Sharonna of Couponing Thru College. We have sent you an email notifying you that you have won!

Tuesday, October 25, 2011

Creative lunchbox ideas

Creative lunchbox ideas...yeah that's what I said! Are your kids picky eaters? When you send a bag/box lunch to school with them is half of it uneaten? I might have the cure for you and your picky eater. My quest to get my kids to eat more all of their lunches started with the growing list of things I COULDN'T pack in their lunches. The school they go to has all these "rules" about things that you can and cannot pack in their lunches, yet they offer no school lunch program. (Nothing that needs to be heated up, no peanut butter (or any nuts for that matter), under the age of 4 no carrots or celery (choking hazard), blah blah blah). I found myself, and my kids, were getting bored with the same old standby of a meat and cheese sandwich. So......I thought to myself "hmmm, what can I do to livin' up the lunches?" I did a little searching on the internet and found some great blogs and ideas of things to do to jazz up their lunches. I can say, it takes a bit more time (a few minutes) but it is well worth it! My kids rarely come home with any leftovers and their cubby note says "ate all of my lunch" nearly everyday! All it takes is a few cookie cutters and some creativity.
Here are a few of my their favorite lunches.

Princess Power!
creative lunchbox ideas
Crown sandwiches with stars (homemade fruit roll up) for jewels
Princess wand (homemade fruit roll up)
Magic carrot sticks with pixy dip (dill dip)
Yummy Yogurt
Belle of the Ball Banana
Cottage cheese (I never really had a cute name for it)
Princess fruit snacks

Beep Beep Goes the Car!
creative lunchbox ideas
Car sandwiches with cookies for wheels
Yummy Yogurt
Dip sticks and dip (carrots and dip)
Cottage cheese (again, no cutesy name)
Beep! Beep! (homemade fruit roll up)
Cars fruit snacks
Beep beep banana

Under the Sea!
creative lunchbox ideas
Fishy sandwich (Goldfish bread and turkey)
Shark and fish fruit snacks
Starfish, goldfish and sea turtle cheese crackers
Octopus cheese
Seahorse (homemade fruit roll up)
Dirt and bait (chocolate pudding and a worm for fishing)
Ahoy there matey!
creative lunchbox ideas
Pirate sandwich
Cheese map (using wilton's food markers)
Babybel cheese with X marks the spot
Veggie dip with orange octopus
Black olives with swords
Pirates treasure (sun chips and carrots)

I'm Squirrel-y for you
Crunchy Carrots
Rockin' Raisins
"M" initial cheese
Sticks and Rocks (pretzels and M and M's)
Leafy fruit (home made fruit roll up cut into leaf shape)
Squirrel Sandwich (I used a candy for the eye)

Bootastic!
Dried Dragon Wings (Cheese Sun Chips)
Kiwi
Cucumber Stars
Witches fingers (Dried Apricots)
Jac-o-lantern cheese
Ghostly marshmallow and pumpkin marshmallow  
Pumpkin Sandwich
Pumpkin ring for fun!

Happy 5th Birthday


5- five shaped sandwiches
five shaped tortilla chips
5 melon balls
five cheese
favorite cookies

Some great links for more ideas:
 

Monday, October 24, 2011

Candy Corn Pudding Treats

I don't know about you but candy corn is a huuuuuuuuuuuuuuuuuge deal in our house (me- I could do without). When it comes out this time of year in the store my kids go crazy for it. So this year I thought I'd try something out on them, and be a little creative too!

Here is what you need:
candy corn pudding
Vanilla pudding
a bowl
candy corn
milk (for the pudding)
red and yellow food coloring
whipping cream

Have your kiddo mix up the pudding until it is read to eat
candy corn pudding
Then divide your pudding into half and make half orange (a little red and a little yellow)
candy corn pudding
After you fill the orange spot add the vanilla
candy corn pudding
Top the pudding with whipping cream cream
candy corn pudding
Sprinkle on a few candy corn candies
candy corn pudding
then sit back and watch him enjoy!
candy corn pudding

Saturday, October 22, 2011

Costume making 101

Now, now...don't run off all scared when you see that post title...I'm not going to overwhelm you in anyway! I promise! There are four approaches to costumes, in my opinion, and I am going to share them with you!

Approach #1- For the crafty nerd, sewing fanatic, and mom who doesn't sleep
There are many amazing patterns out there that you can find to help you make the most amazing costume for your kids for Halloween. While I hate to admit it sometimes, I just really find sewing to be relaxing (I know- I'm a nerd) and I really enjoy making my kids costumes. Here are some great resources for patterns and fabrics.
Simplicity Their patterns are for the beginning sewer, and they're really easy to follow and complete
McCalls Their patterns are a little more advanced, so newbies beware.
Sewing Patterns These patterns are pretty complex and can be quite intimidating.

Photo courtesy of Coolest Baby Costumes

Approach #2- For the "sort of crafty" person
The sort of crafty person will be relieved to know there are options out there for you too! Try something simple....a great example would be what I did a few years ago for my daughter. I purchased a white turtle neck shirt, white tights, and red shoes. I made her blue gingham skirt and hair bows. What did I get? Dorothy, add a basket and a stuffed dog and the look is complete!


Approach #3- Not a crafty bone in your body
This is a great way to make your Stapes (The name of the smallest bone in your body- just so happens to be in your ear of all places) your crafty bone. Once you complete this you will be able to say "Yup, I have a crafty bone!" Start simple. Don't feel like it is a competition. My mom isn't super crafty and one year I had a great costume! She purchased a pair of gray sweatpants and sweatshirt. Used an old nylon stocking. Stuffed that stocking with cotton balls and tied a knot on the end. Using a safety pin she attached that "tail" to my behind. Then she took a piece of gray felt and cut two triangles out and glued them to a headband....Viola- a mouse! And a pretty cute one too! (toot toot- that's my own horn)

photo courtesy of Family Fun


Approach #4- No time, no desire
This is completely, 100%, fine! When all else fails-----BUY a costume. There is absolutely nothing wrong with that! Yeah, they're no as unique because they were made in mass quantities but at least your kid isn't going out trick or treating in everyday clothes and you're telling them to tell people they're going as a 6 year old for Halloween! =) Just remember- sexy kitten and sleazy nurse are not a good way to go!


HAVE fun! That is really all that matters!

Friday, October 21, 2011

Make your own crayons

Wanna be the "coolest mommy out there" (a direct quote from my 4 year old)? Take crayons to the next level with just a couple of bucks. I am a huge fan of party planning...and some would say I probably go overboard...but I just love it! I saw someone selling crayons in shapes in an online store for a pretty penny (5 for like 8bucks!) Way more than I wanted to pay.

So here is what I did.
I went to the dollar store purchased a few packages of crayons.

I sorted them by color group.
make your own crayons

Peeled the wrappers off and broke them.
make your own crayons

Microwaved the crayons til they were melted.

Carefully poured the melted crayons into candy molds.
make your own crayons

Let them set and harden...and viola, you have awesome crayons shaped to whatever you want.
make your own crayons

My son requested a Star Wars party so I purchased Star Wars candy molds! If you get a chance, what shapes would you make? Stop by our community and share with us.

Thursday, October 20, 2011

Mini pumpkin painting

If you're like me...messes are something that drive you crazy! The thought of ooey gooey slimy pumpkin guts all over my kitchen makes my anxiety level rocket! However, Jamie doesn't mind the gooey pumpkin guts but her girls won't have anything to do with the slime. Solution- PAINT your pumpkins! This project is great because your itty bitty toddlers really shouldn't be carving with knives and sharp tools anyway.

Here is what you will need:
Mini pumpkins (or big ones if you want)
Craft paint
Paint brushes
Kids eager to decorate for Halloween
Bowl of water to rinse brushes

Step 1:
Clean off any excess dirt from your pumpkins

Step 2:
Paint shirts!!! They're a must.

Step 3:
Paint away, and have fun doing it.

Step 4:
Hose down the kiddos

Step 5:
Let dry (however we learned that a hairdryer makes this step go waaaaaaaaaaaay faster!

Do you paint or carve your pumpkins?  Why?

Wednesday, October 19, 2011

Moms never get sick days

I was thinking to myself, as I wallowed in my own pity, that moms never get sick days.  When I say moms, I mean moms, Mr. moms, nannies, etc.  My darling daughter shared her cough with me this past week, and for some reason I got a hefty dose of blech with it!  Coughing up a storm, low grade fever and a totally hot and sexy raspy voice to boot.  Now, I'm not complaining because I know I have the best job in the world, but how come when I get sick the world keeps moving (and sometimes even faster than before)?  How come when my husband is sick the world seems to halt for him?

sick (03-06-08)

(photo from Sun Dazed)
Moms never get sick days!  Why is that?  Where in the job description does it say "PTO not available?"  If I could create a job description for moms, Mr moms and nannies it would say:

I am the CEO of a family, a full time maid, chef, personal assistant, nanny, gardener, nurse, vegetable pusher, taxi cab driver, teacher, interior designer, personal shopper, milk maker, book keeper, counselor, & boo-boo kisser.  My job requires long-term sacrifice, commitment, ability to change, stamina and personal communication skills.  I get no PTO (paid time off) when I am tired, crabby, sick or overwhelmed.  I do not get to accrue vacation time either.  I have the BEST job in the world, I am a MOM!

Is it 8pm yet?  I wanna go to bed!

Oh and just because I can....a top 5 of things not to say to a sick mom, Mr. mom or nanny:

5.  I have been thinking of you.  (How about instead of thinking of me, you call me up and give me a little break?)
4.  Hang in there.  (Really? Seriously? What else do you expect me to do?)
3.  You're so lucky, you get to stay in bed all day.  (Personally I think this comment is deserved of a slap, but that's just my opinion)
2.  You're sick, ugh I have the worst headache.  (It's not a competition...and I don't care)
1.  Well you look great!  (Nice try, I know I have no make-up on, I'm pale as a ghost, my breath stinks, and I have on the same pajamas I have been wearing all week)

How do you survive your "sick days"? Share with us in our community
Tuesday, October 18, 2011

How To Make an "I Spy" Bottle

Do you want an activity that will entertain your kids for a while and keep them quiet?  Make an "I Spy" bottle!  It's super simple to make, and is good for kids of all ages (my husband loves it as much as my 2 and 5 year old!)  Use the "I Spy" bottle for long car rides, laying low when your kids are sick, or keeping your little monsters busy when you need to clean. 


Here's what you'll need:
  • A bunch of objects that are small enough to fit into a water bottle.
  • An empty, completely dry water bottle without the label.
  • Paper and pen
  • Funnel (or a piece of paper to roll into a funnel)
  • White rice
  • Glue
  • String, yarn, or ribbon
  • Clear contact paper or laminating paper (optional)

Now how to make it:

Step 1) Have your kids help you hunt all over the house, garage, and outside for things to put in your bottle.  Make sure to write on your paper everything you collect.  Coins, nails/screws, Barbie or Polly Pocket accessories, Legos, hair stuff, rocks, office supplies....anything goes (as long as it is something that can't rot)!

Step 2)  Pour some rice in the bottom of the bottle.  Then put a few objects on top of the rice.

Step 3)  Pour rice over those objects and continue to layer rice and objects until your bottle is near full.  Make sure you end with rice.


Step 4)  Glue the top onto the bottle.  I learned this the hard way when my girls decided it would be fun to open the bottle and rice went everywhere!


Step 5)  Laminate (optional) your paper with the objects written on them, punch a hole in the corner and tie it to the top of the bottle.

You're done!  Shake the bottle a little then have your kids try to find everything on the paper!  It's harder than it looks for some objects (the penny, nickel, and dime are always really hard to find in ours!).

*A funny little side note:  I ended up having to re-do our first "I Spy" bottle because the girls found a "worm" in it while searching for objects.  I was so grossed out!  I thought the worm came in the rice (it looked like a piece of rice that was moving!).  I swore I was never going to buy cheap rice again because it had worms in it.
A few days later, Tottie and I were outside playing with a dish full of acorns we had collected.  Tottie emptied the dish and at the bottom were a bunch of "worms" that looked like the one in our "I Spy" bottle!  I then realized that the acorns had holes in them.  Sure enough, the acorn we put in our "I Spy" bottle had a hole it in.  The "worm" was an acorn weevil and it came from the acorn, not the rice.  Thank God!  I can now eat rice again!

Have you ever tried to make an "I Spy" bottle?  What type of stuff did you put in it?  If you haven't made one yet, do you think your kids would like it?
Related Posts Plugin for WordPress, Blogger...