Welcome to day 13 of Toys In The Dryer 14 Days of Valentines!
From February 1-14 we've done non-stop Valentine's posts to celebrate this lovely holiday! We hope you've enjoyed it as much as we have! Tomorrow is our last day. On Wednesday we'll return to our regular schedule.
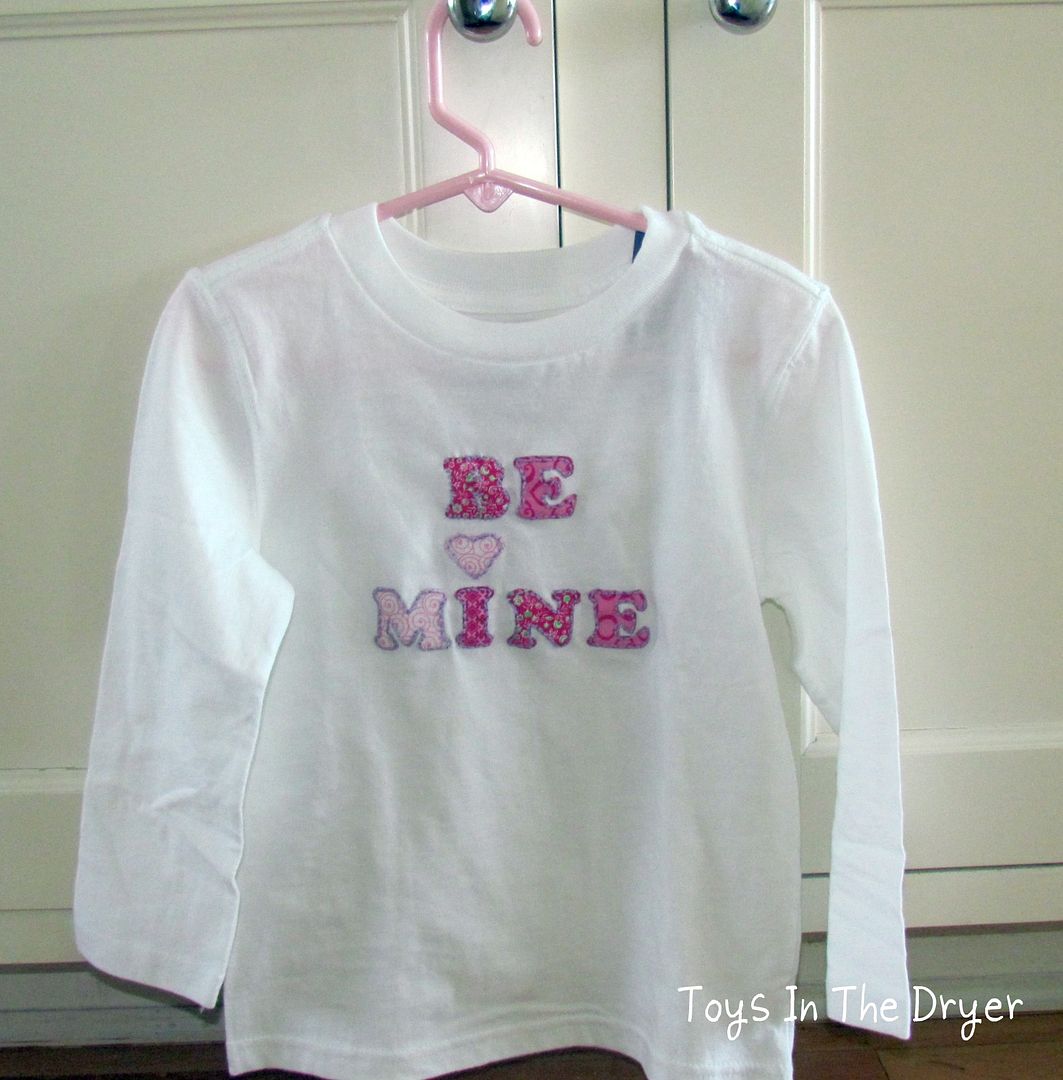
OK I know some of you might not want to do this but I promise it is REALLY easy to do and you do not need to know how to sew (OK maybe just a teeny tiny bit)! Your little girl is going to LOVE you for this project! I made the Be Mine a few weeks ago and my daughter has been wearing it out! I'm going to show you how to make one in just a few really easy steps.
Let's get started.
Here is what you will need
a shirt
small pieces of fabric
steam a seam sheets (purchased online or at a fabric store)
scissors
needle and embroidery thread
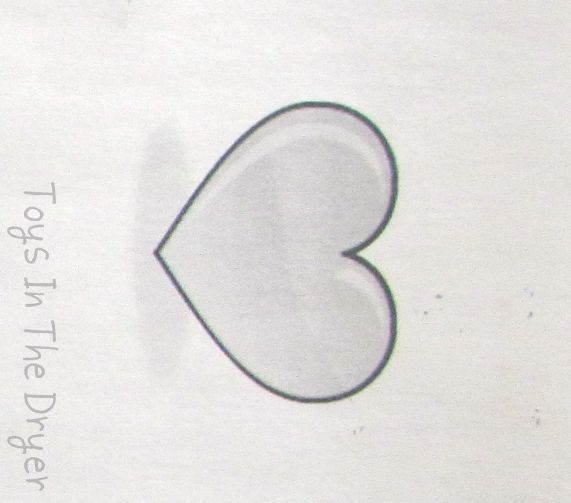
Start with making a template. I use my computer to print off photos of things I like and then cut them out. Super easy!
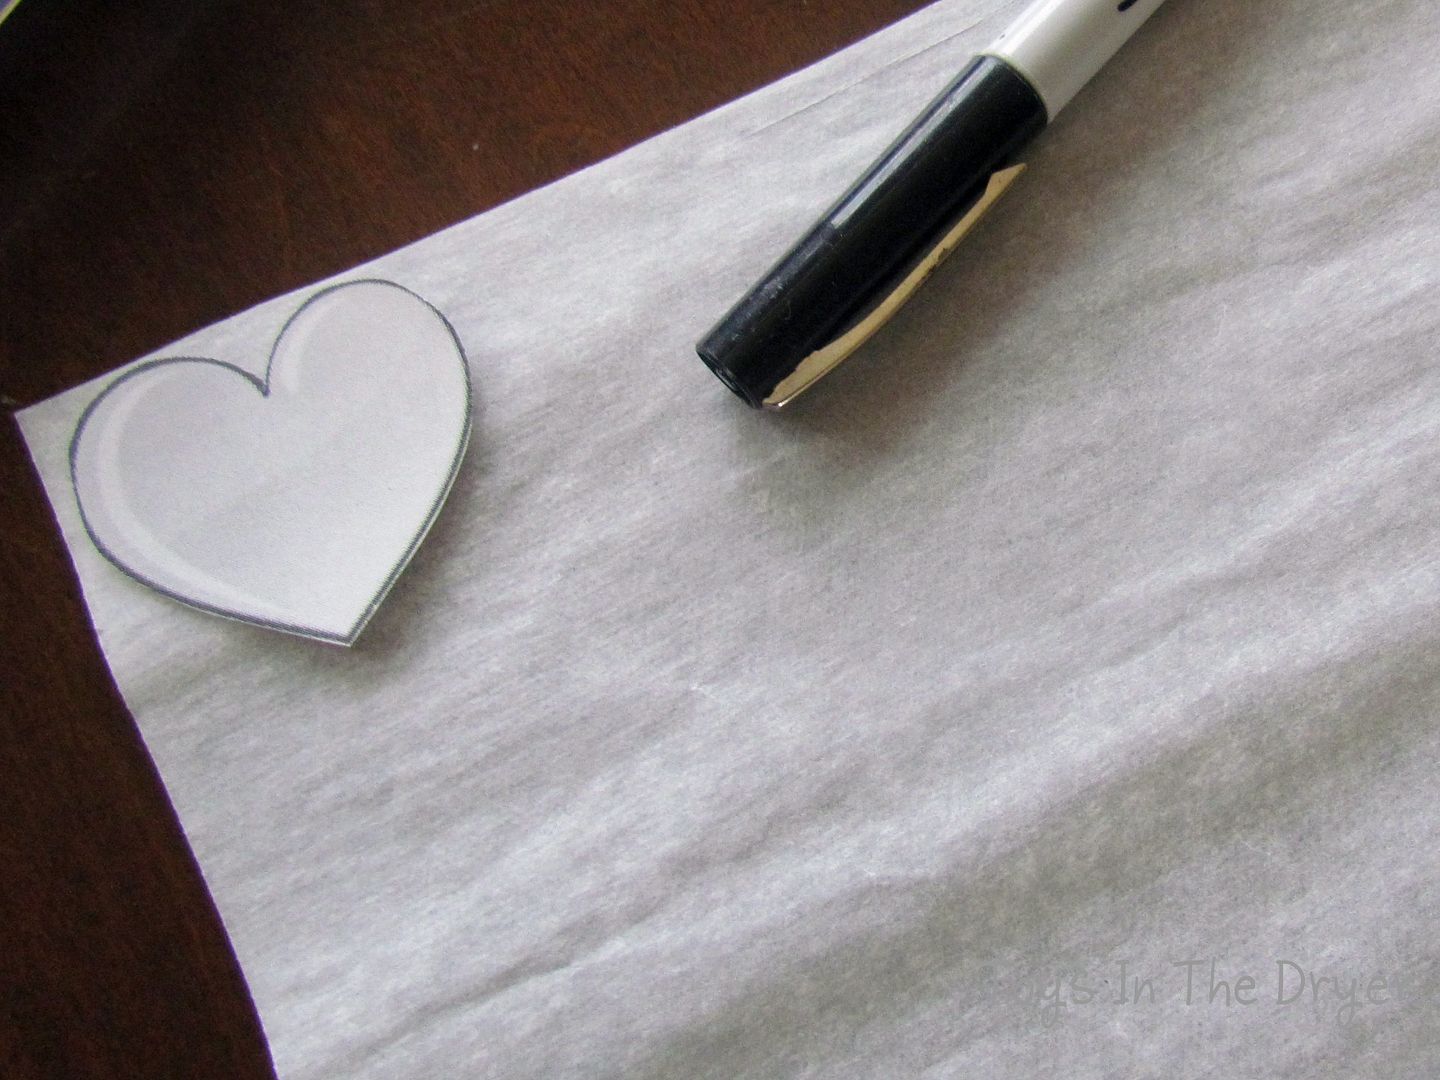
Cut it out and place it on your sheet of steam a seam.
Trace it onto your steam a seam sheet.
Cut those out now too. Then place them on the BACK of your fabric choice.
Cut out your fabric to match your steam a seam.
Carefully lay out your shapes onto the item of clothing you are going to use and STEAM them (using the highest setting of your iron)
Time to get out your embroidery thread and needle now and add some final details.
Ta da- a personalized shirt for your princess!
If you get really bold you can add extra details to the sleeves, hem and neckline too. The sky is the limit!
Click on the button to see all of our 14 Days Of Valentines posts!


thanks for stopping by my blog! You share such fun things here. I look forward to popping back back!
ReplyDeleteThis is a great tutorial! Thanks for the information =-)
ReplyDeleteOh my goodness! LOVE this! I had no idea how to make these and they are so expensive to buy. Pinning this now:)!
ReplyDeleteHope you will link this up on my Tuesday Destination:Inspiration linky party!!
http://teaganstravels.blogspot.com
Thanks, Michelle @ Teagan's Travels
Thanks Michelle- on our way over to share! =)
Delete