Friday, January 6, 2012

Fun Stuff Fridays (#5)

Welcome to Fun Stuff Fridays. We had 230 submissions last week and we couldn't believe it! To say we were left speechless with awe is an understatement. Wanna know more about our linky? Click on "Fun Stuff Fridays" above, then "about". It took us a while to go through each one and narrow it down to our top three. We wish we could feature all of them! Can't wait to see your amazing submissions this week! Feel free to submit as many ideas as you want over that time. And remember- spread the word!

Our joint favorite pick was the Egg Carton Tree submitted by JDaniels4's Mom. So simple, so cute, so easy--why didn't we think of that?!? This is on our "to do" list for next year for sure! Recycling at its finest =) Tee hee hee.

Jamie's number one pick was I Love You Because submitted by A Content Housewife. This is perfect for your hubby (but also your kids!) to wake up to in the mornings!  Write a message to your kids every morning. What a wonderful idea and great boost to the day.

Lindsi's favorite pick from this past week was Rudolph Melted Crayon Antlers submitted by Rockabye Butterfly.  I love the way this turned out! I've seen melted crayon art before but THIS is a GREAT new spin on it! What a creative and fantastic idea.


Fun Stuff Fridays


Fun Stuff Fridays


Thursday, January 5, 2012

Make your own play make-up

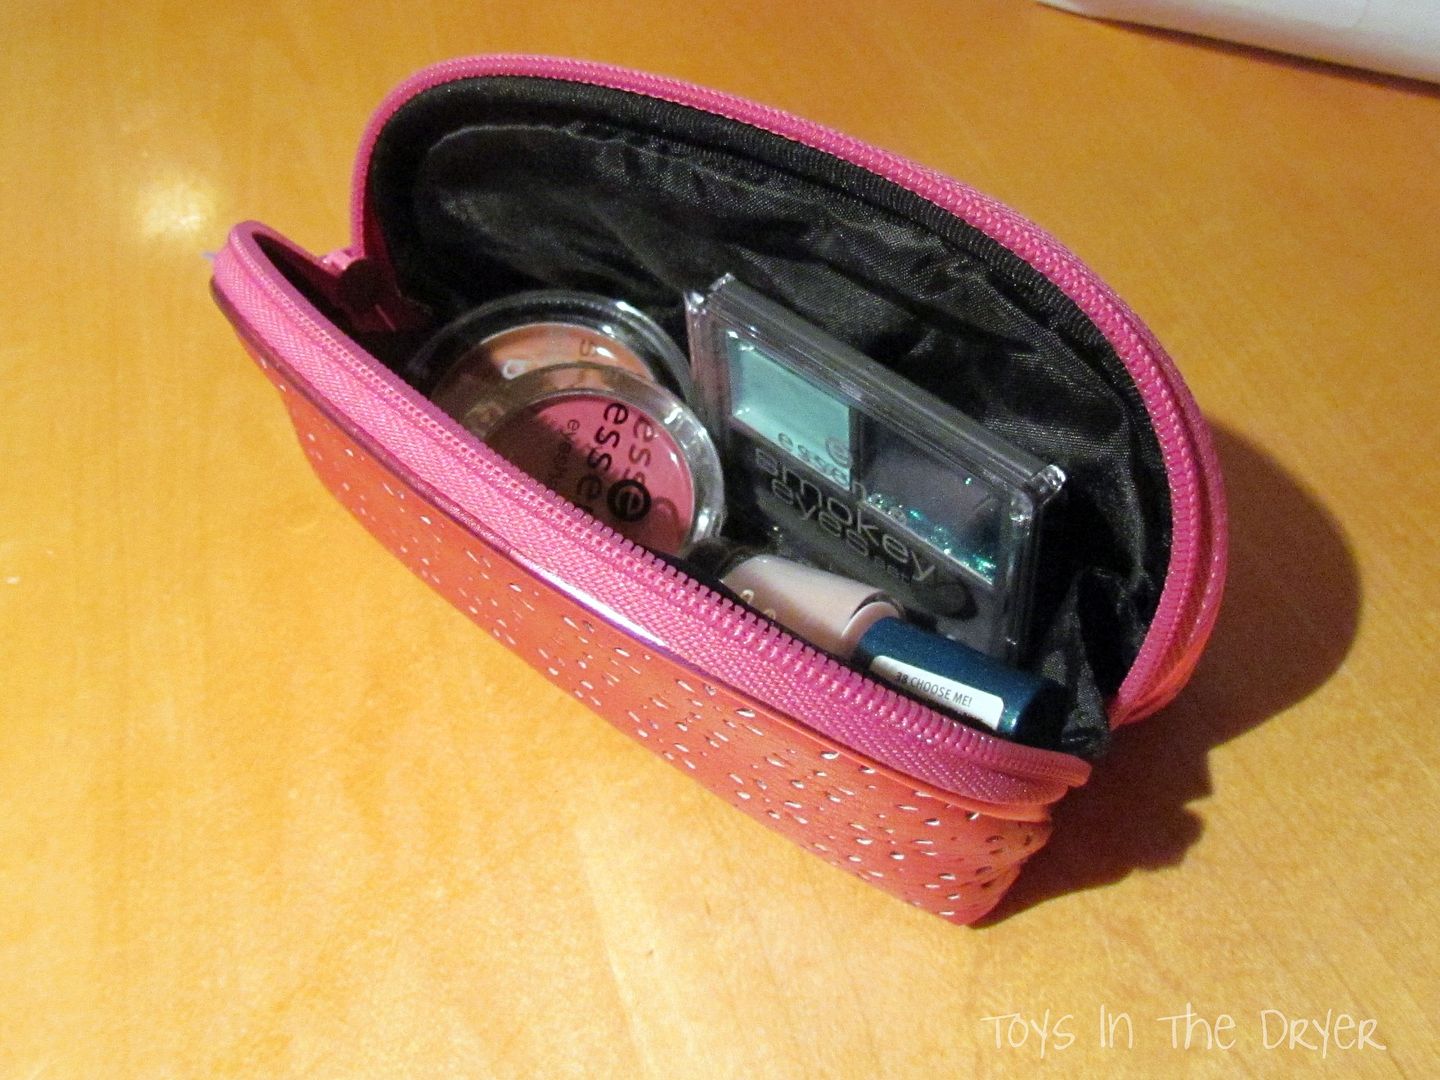
Play make-up....you know your girls want it. It's kind of ridiculously expensive and to be honest it's just junk. I feel like the stuff is REALLY hard to wash off too! I made my daughter her own set of make-up the other day and I thought I'd share it with you.

Here is what you will need:
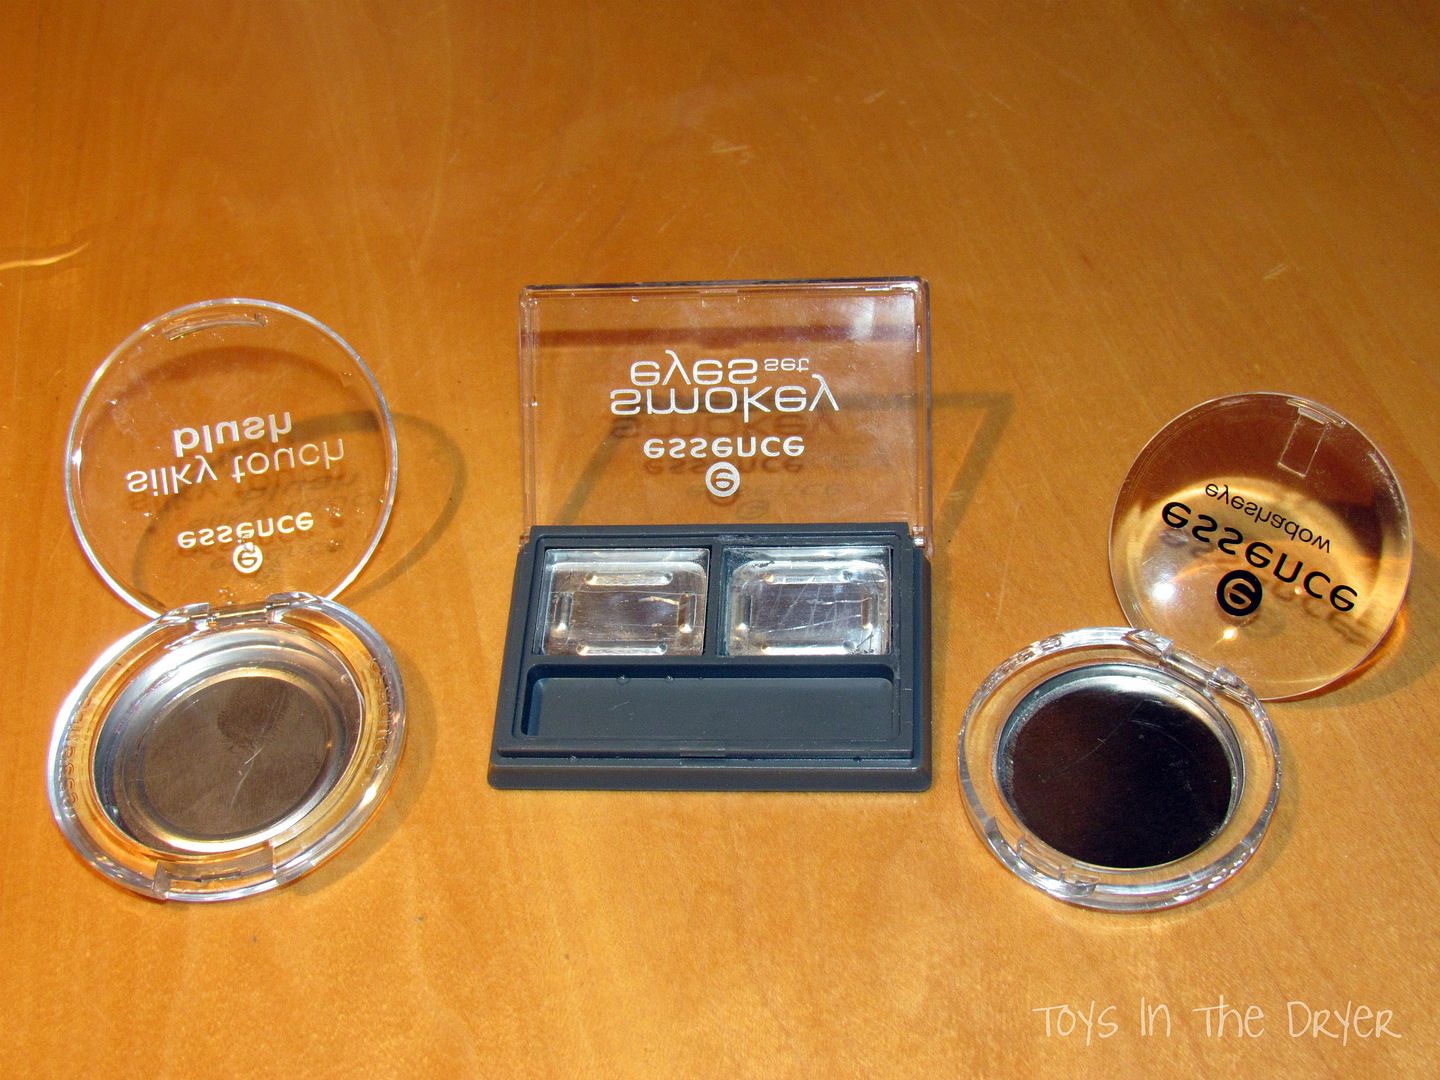
empty make-up containers
nail polish

Wash out the empty make-up containers and dry them well.
make your own play make-up
(If you don't have any empty ones you are willing to share then you can always go to the dollar store and buy some there and empty them out.)
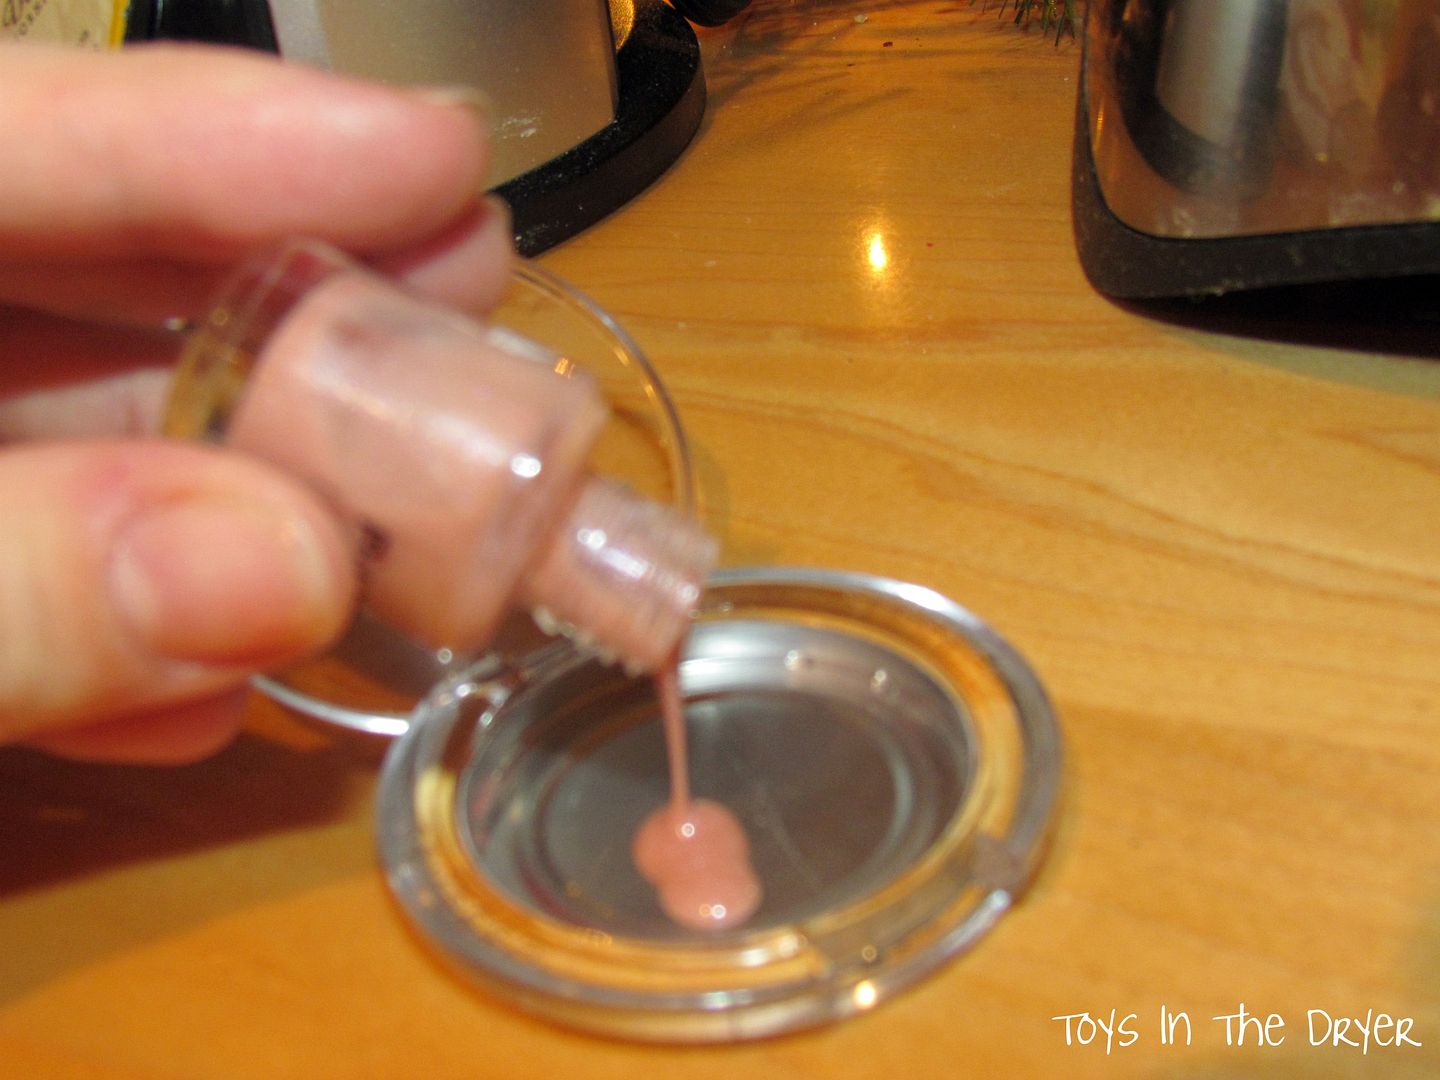
Choose the colors of nail polish you wish to use. I chose a cream for the "foundation," a rose color for the "blush," and some vivid greens for "eye shadow." Shake your nail polish really well and let set for a minute to allow the air bubbles to rise. Then, carefully pour the selected color into the container of your choosing.
make your own play make-up
Ignore the blurry quality of this photo- I should have taken more than one shot- oops
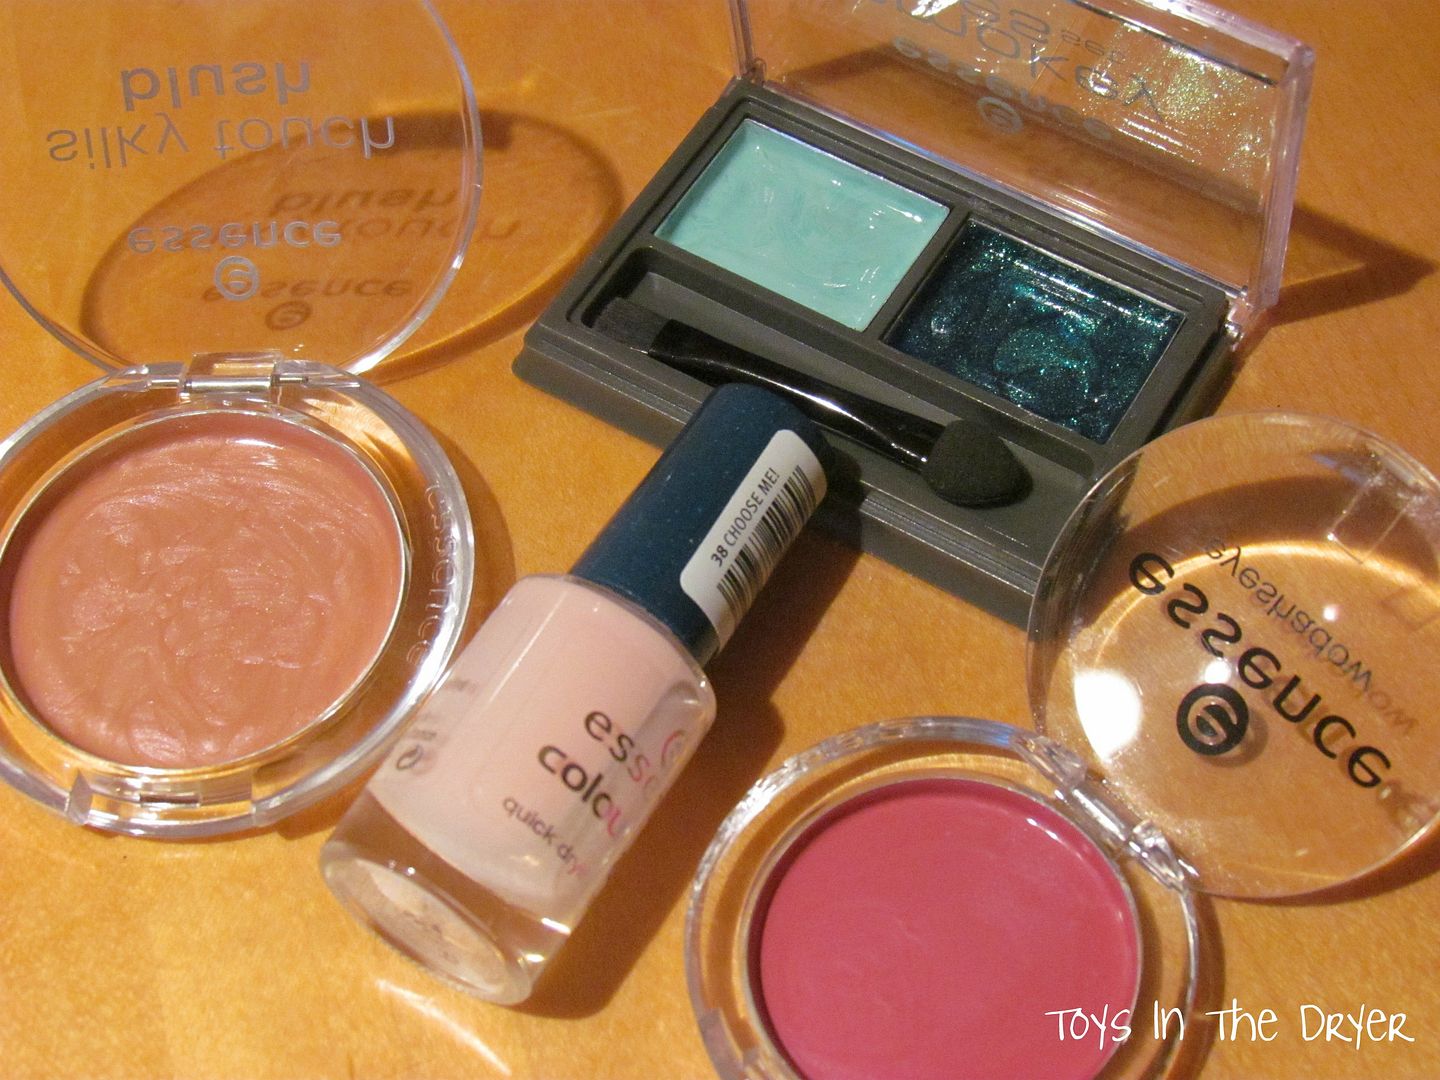
Set them up and away from curious fingers (and husbands) and let them air dry for 3-4 days. After that time they will be sufficiently dry and will look amazingly real!
make your own play make-up
Present them to your princess in a cute make-up bag and let her play!
make your own play make-up

Wednesday, January 4, 2012

Coloring WITH Your Kids

The tag line of our Toys In The Dryer blog is "ideas for living in the moment with your kids."  The whole purpose of this blog is to get you interacting and doing things with your children.  We have a ton of fun and crafty ideas around here and we hope they inspire you.  However...sometimes it's not about the super cool, crafty stuff...sometimes it's just about time with your kids.

When was the last time you sat down and did something simple--nothing fancy, not a ton of supplies, not a lot of thought required?  When was the last time you did a craft or activity with your children instead of supervising them.  When was the last time you let your inner child out to play?

(Thanks to Hubby for taking this photo while I enjoyed time with my girls)

Early in this blog I did a post about cloud watching.  It's a great, free and fun activity that allows you to spend time with your kids.  Today, I'm encouraging you to color.  I'm not talking about getting out the crayons/coloring books and supervising your kids while they color and you do the dishes, sit on the computer, or do something else...No, I'm talking about getting out the crayons/coloring books and sitting down to color with your kids.   

Grab some crayons for yourself, relax, and let your inner child flow.  There are plenty of free online printable pages out there.  Just search "free coloring pages".  You can even find some "cut and color" pages for something even more crafty.  The whole point is to do a simple, frills-free craft that allows you to spend some quality time with your children.  You'll be amazed at the things you might discuss over this craft too!
Tuesday, January 3, 2012

Confetti Bars

Today we are absolutely honored to be having Marie Porter from Celebration Generation guest post for us!  Marie is one awesome chef/baker and has been featured in magazines such as Every Day with Rachel Ray and Wedding Cakes.  I highly suggest you check her out!  Can't get enough of Marie's blog?  Don't worry, she's published a few totally awesome Celebration Generation cookbooks (with more on the way!).  Without further ado...Marie from Celebration Generation with Confetti Bars...

Photo credit goes to Michael Porter

Confetti Bars! (Butterscotch, Peanut Butter & Marshmallow Bars)

Growing up as a kid on the Canadian prairies, confetti bars were a common offering at social occasions. Whether Christmas, birthday parties, wedding socials, or first communions - if there was a spread of food to be had, you could bet that these bars were somewhere on the table.

Of course, I’m not able to take any credit for this recipe - it’s one of those things that you’re just taught when young, memorize, and pass along. Just four simple ingredients, about 2 minutes of work, and a little waiting - that’s it. Mind blowingly simple treats, yet they *fly* off the table whenever I make them! These are definitely a favorite for kids of ALL ages!

Confetti Bars
1 cup peanut butter
1/2 cup butter
1 package butterscotch chips
~ 1 small package rainbow colored mini marshmallows

In a glass bowl, heat peanut butter, butter, and butterscotch chips. I’ll dump the ingredients in a bowl, microwave it for about 35 seconds, stir, and repeat a few times.

Once the chips are almost completely melted, stir until everything is combined, smooth, and melted together.

Stir in mini marshmallows, gently folding in until all are evenly coated. You may or may not want to use the full bag of marshmallows - I usually use about 2/3 of a bag, but used a whole bag for this batch (as pictured). You may want more of the "fudge" part, you want more marshmallows. These bars are NOT a hard science :)

When marshmallows are fully coated, spread mixture into a lightly greased pan. (I used 8" x 8" for 2" thick bars, 9" x 13" is a popular size to use for thinner bars.)

Chill until set.

Slice up and serve!

Thanks Marie!  We can't wait to try these!

Monday, January 2, 2012

Make your own color/counting book

Have you ever considered making your own book for your baby? Most people would say "no" to this question. (and until this post I would have said no too!) It's really easy and fun to do, plus it's special because YOU made it! It requires little money too! BONUS!

Here is all you need:
a camera
a photo book

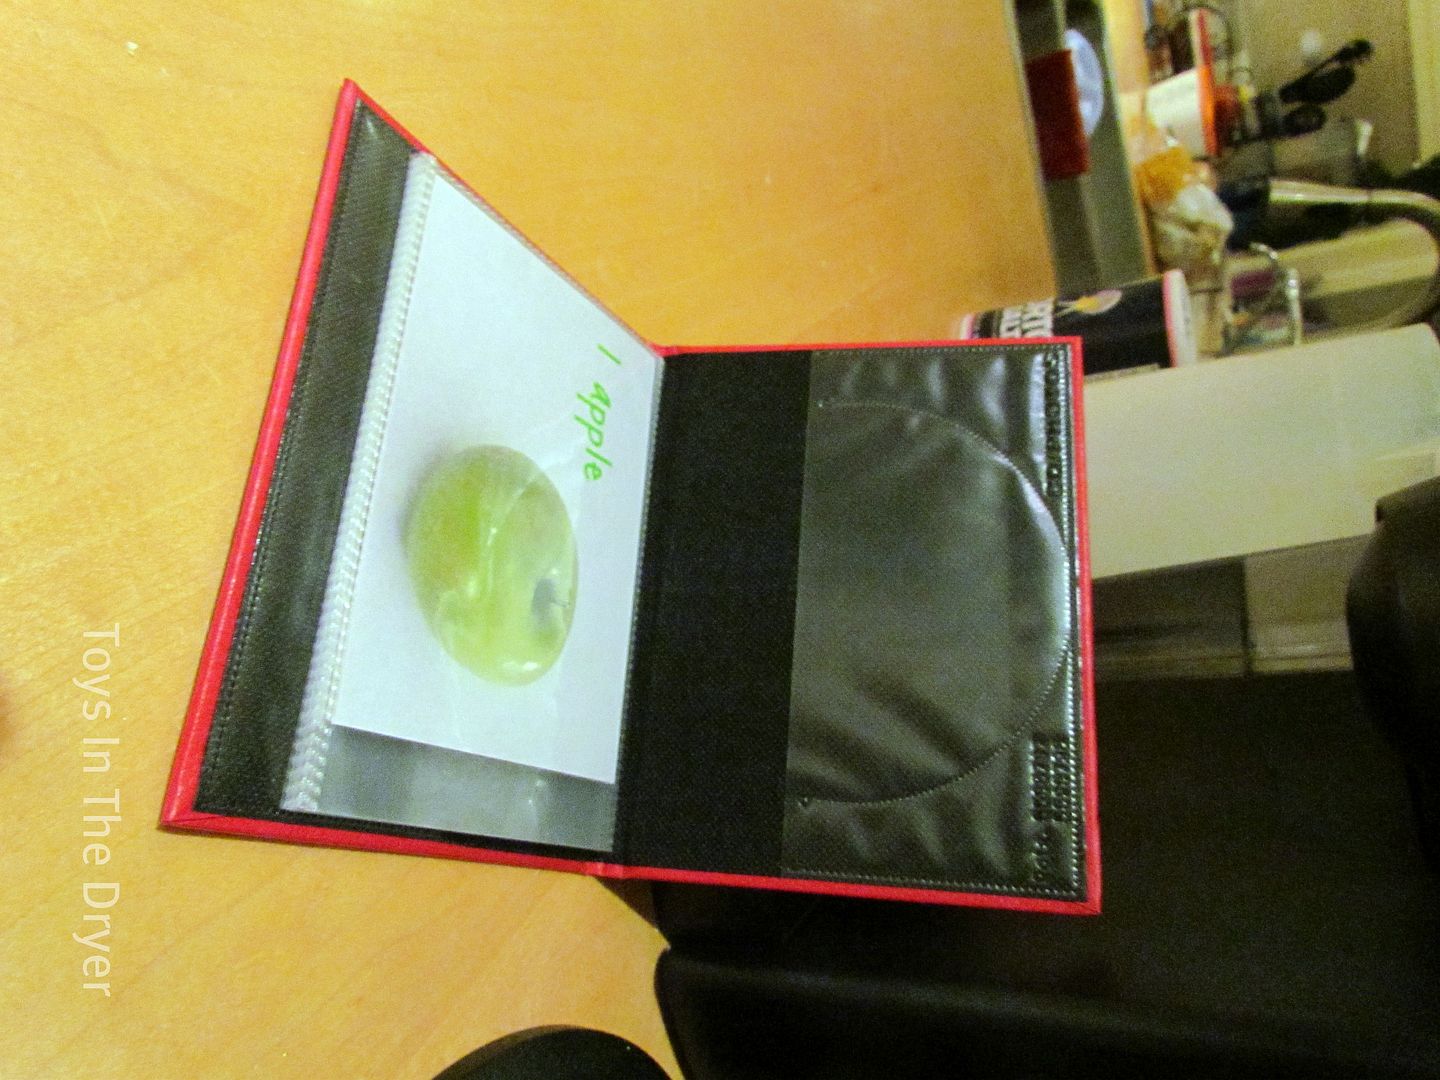
To make your own counting book you simply find things around the house and lay them out and snap a photo.
make your own counting book

Once you are done with that (and you can go up as high as you want) you simply upload your photos to a photo editing site like: Picnik and add words to it.
make your own counting book


Print the photos and add them to a photo book. I got mine at the dollar store! Score!
make your own counting book

Making a color book is a little more work because you have to find multiple things for each color and so many things come in different shades of a similar color.
make your own counting book

(Added by Jamie without Lindsi's knowledge...)
You can even make your own "I Spy" book!  Simply put a bunch of stuff together, snap the photo then write a list of what they are suppose to find in the photo!
Lindsi here- Hey Jamie!!! What are you doing hijacking my posts?

 If you are interested in using my photos I am happy to share them with you, just send me an email and I will send them your way. Or just have a little fun and make your own.
Related Posts Plugin for WordPress, Blogger...