Tuesday, December 13, 2011

Santa Trail Mix

Pintrest- you've probably hear of it, and if not you probably live here...
it's a rock...in case you can't tell


If you're not on Pintrest and would like to be then shoot me an email and I will be happy to send you an invite (it's exclusive like that). I saw a great idea for a Christmas trail mix on that site and I though to myself "self, that is some tasty looking mix! You should make some and add your own jazz and spice to it." My kids were happy that I had that conversation with myself because it sure is yummy!

Here's what you will need:
2 cups of red and green M&Ms
1 cup of dry roasted peanuts
1/2 cup of Craisins or other dried fruit
2 cups of Chex cereal (I used the rice version)
Pretzels (holiday shaped ones are best)
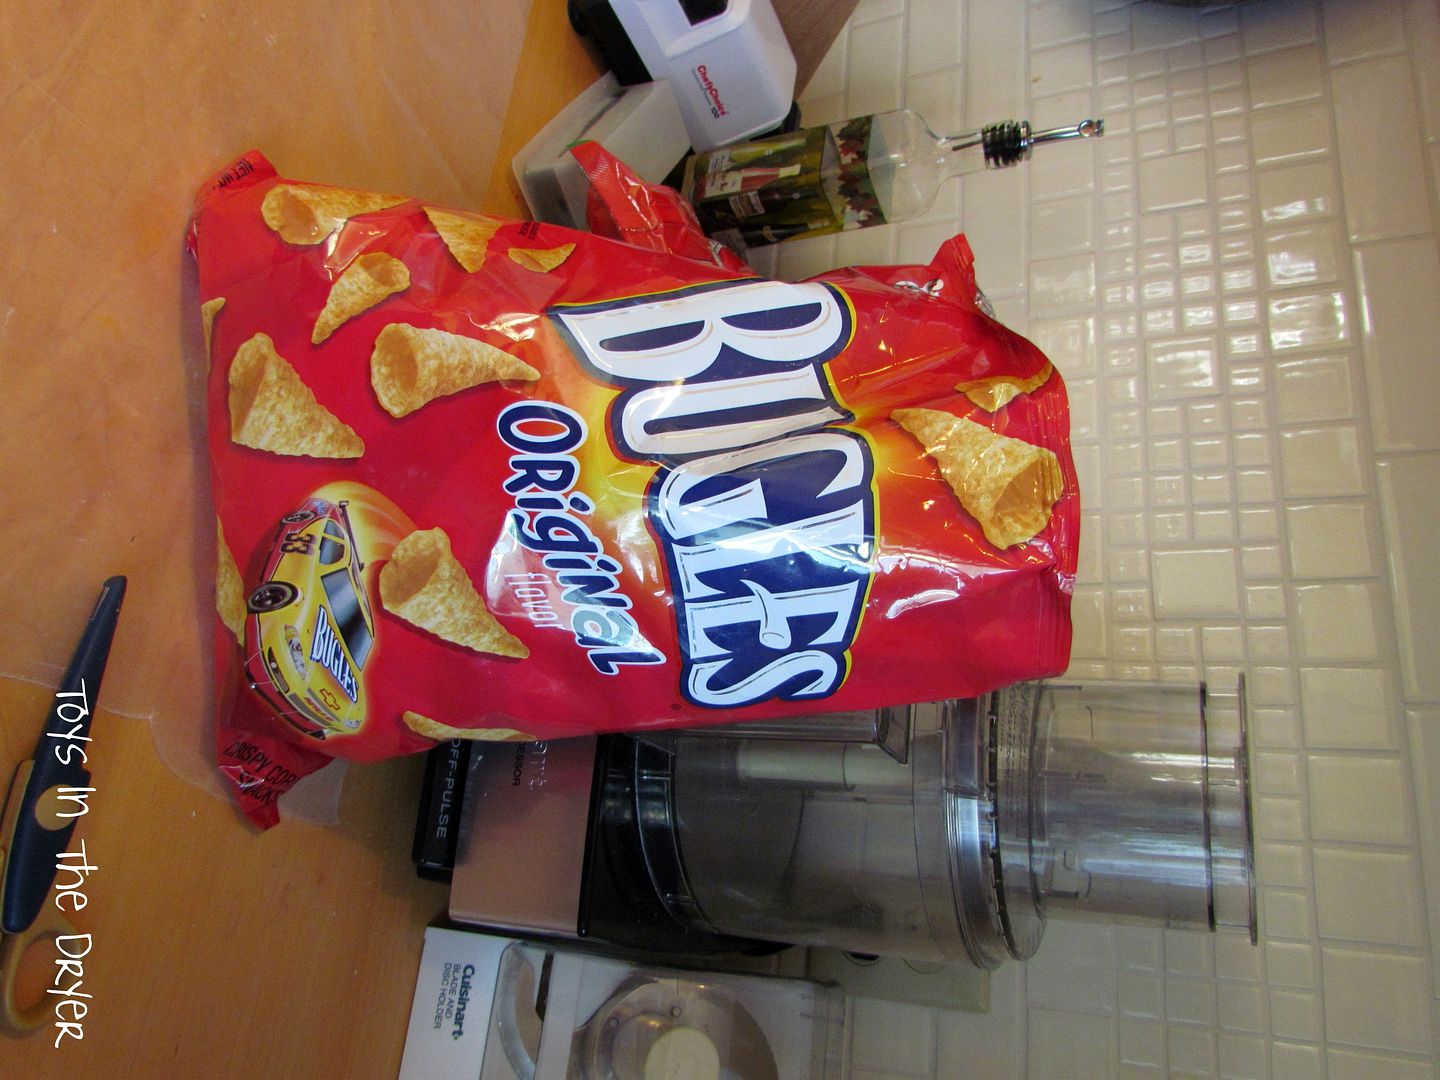
Bugles
mini marshmallows
coarse sugar
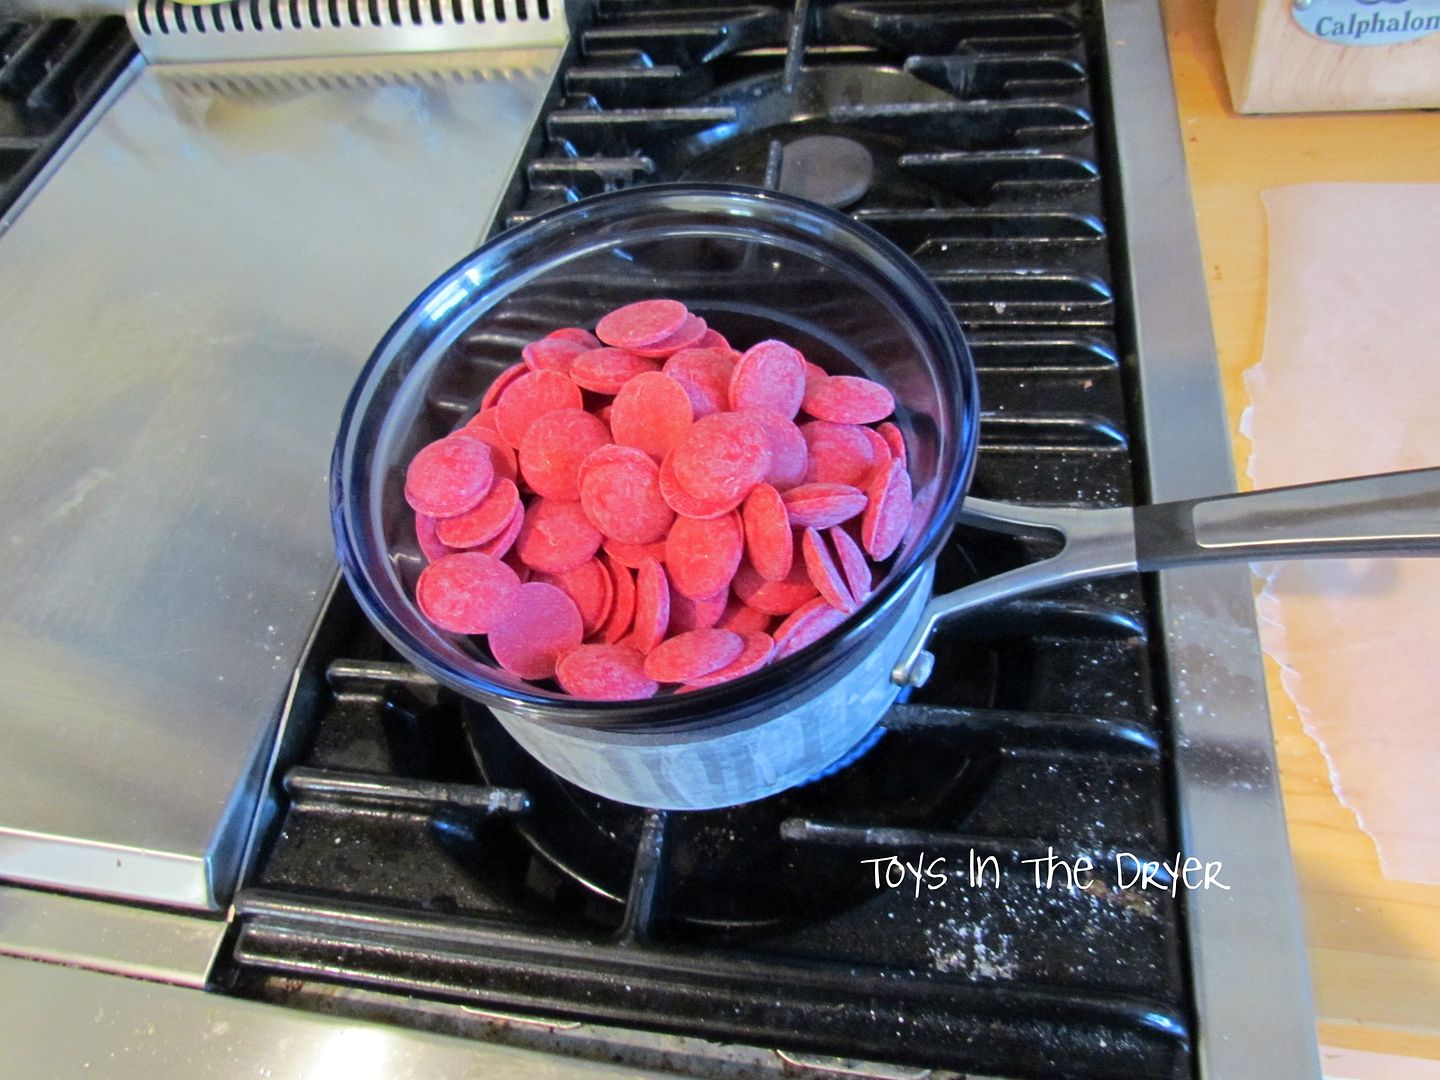
1 package of red melting discs (candy aisle)
1 package of green melting discs (same aisle)
1 package of white chocolate chips (or almond bark)
Shortening
recipe for Santa trail mix

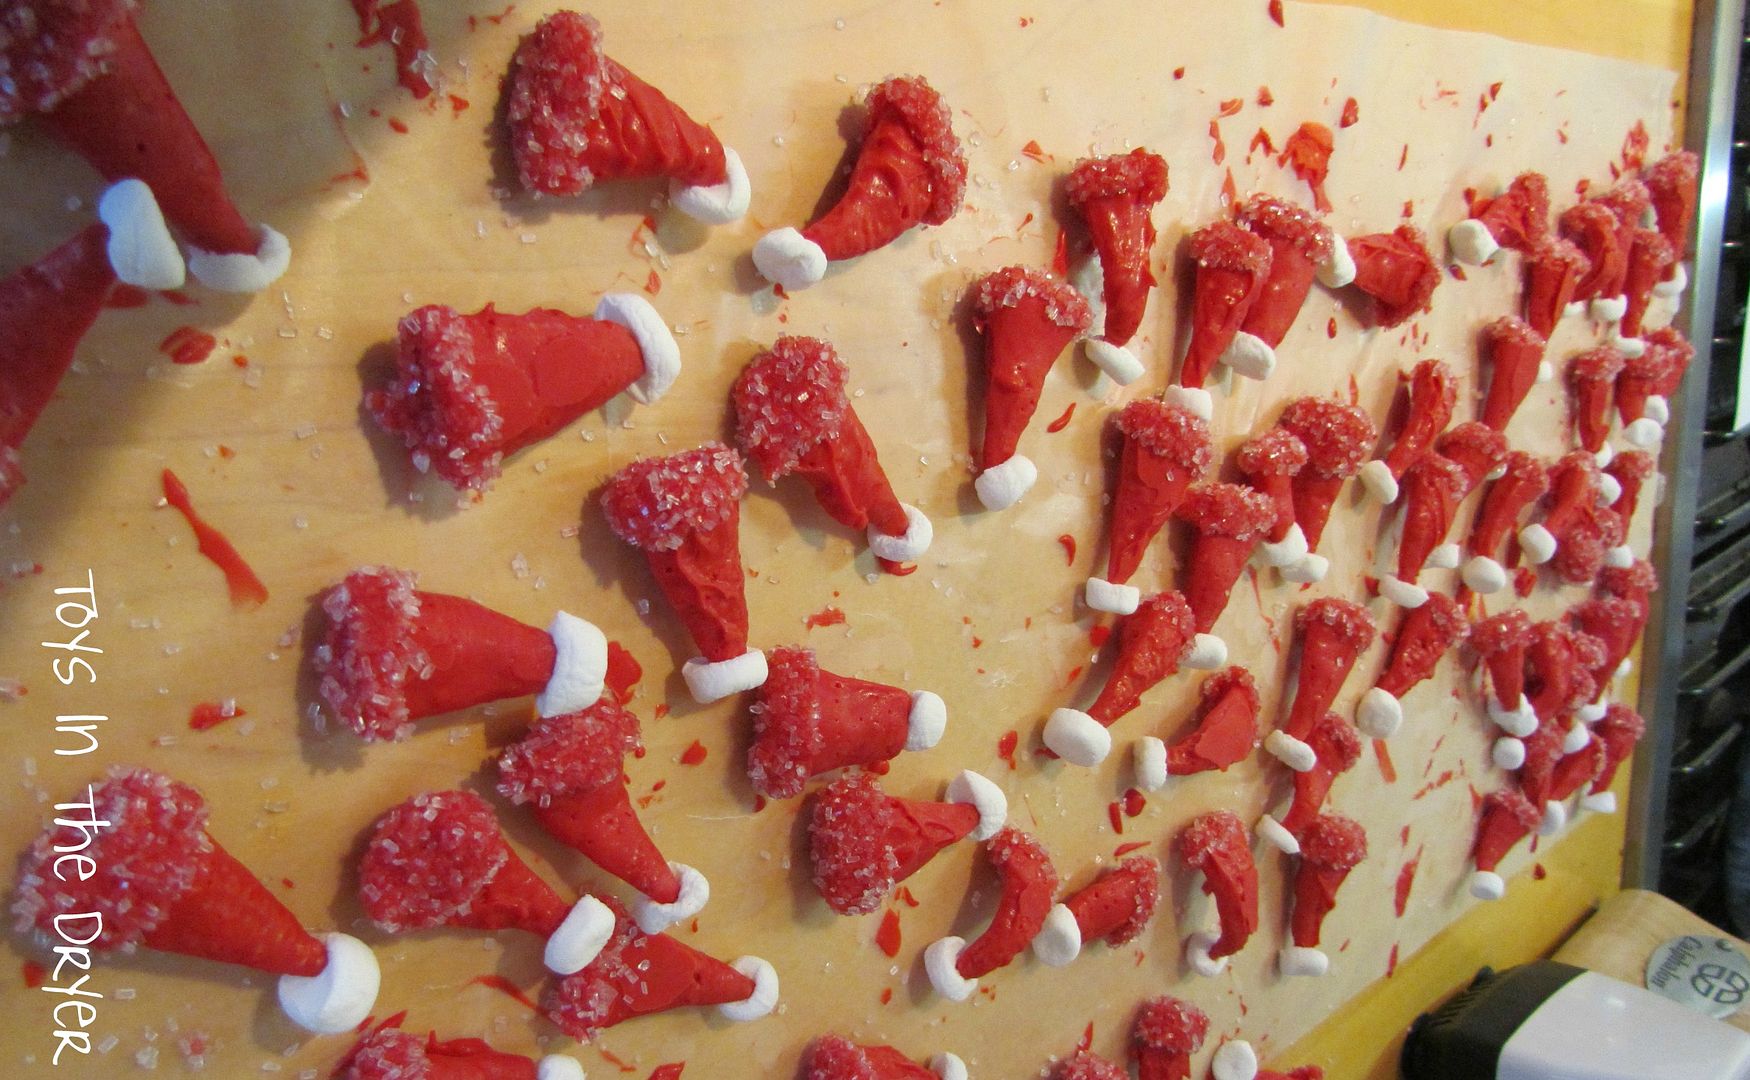
Assembling the Santa hats, melt your red discs in the microwave in 30 second intervals, stirring after each interval (I added about 2tsp of shortening after the first round to help thin it out a bit). Or you can melt them in a double boiler if you wish too!
recipe for Santa trail mix

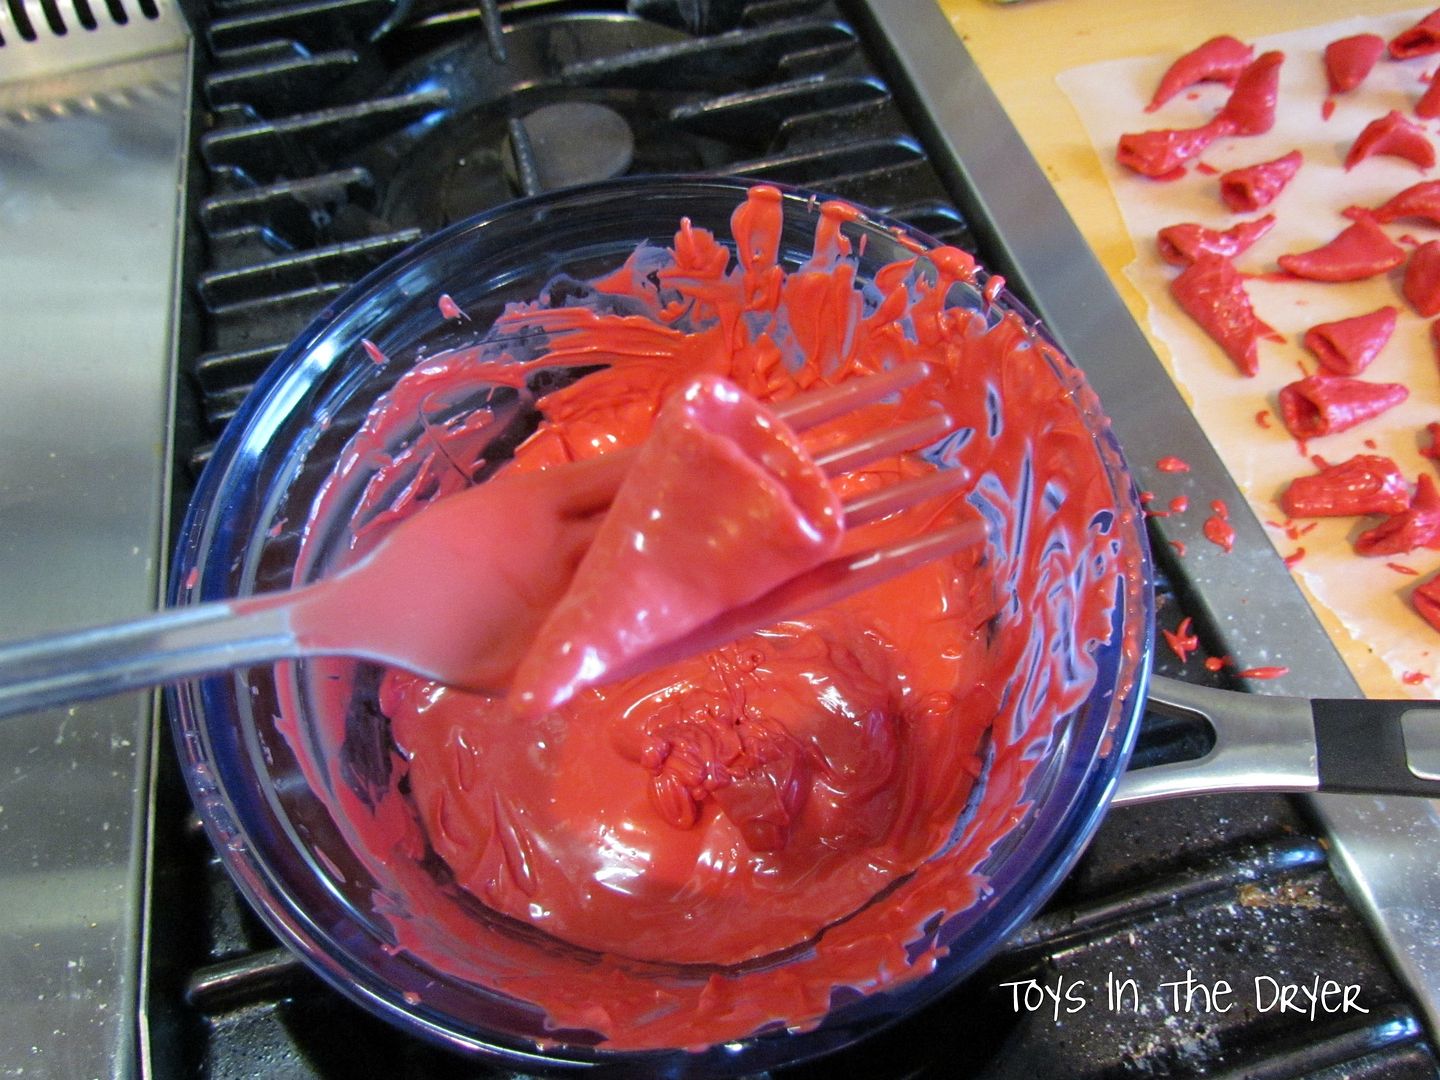
Dip your Bugles in the red stuff (tee hee hee) and set aside on a piece of wax paper to dry and harden.
recipe for Santa trail mix

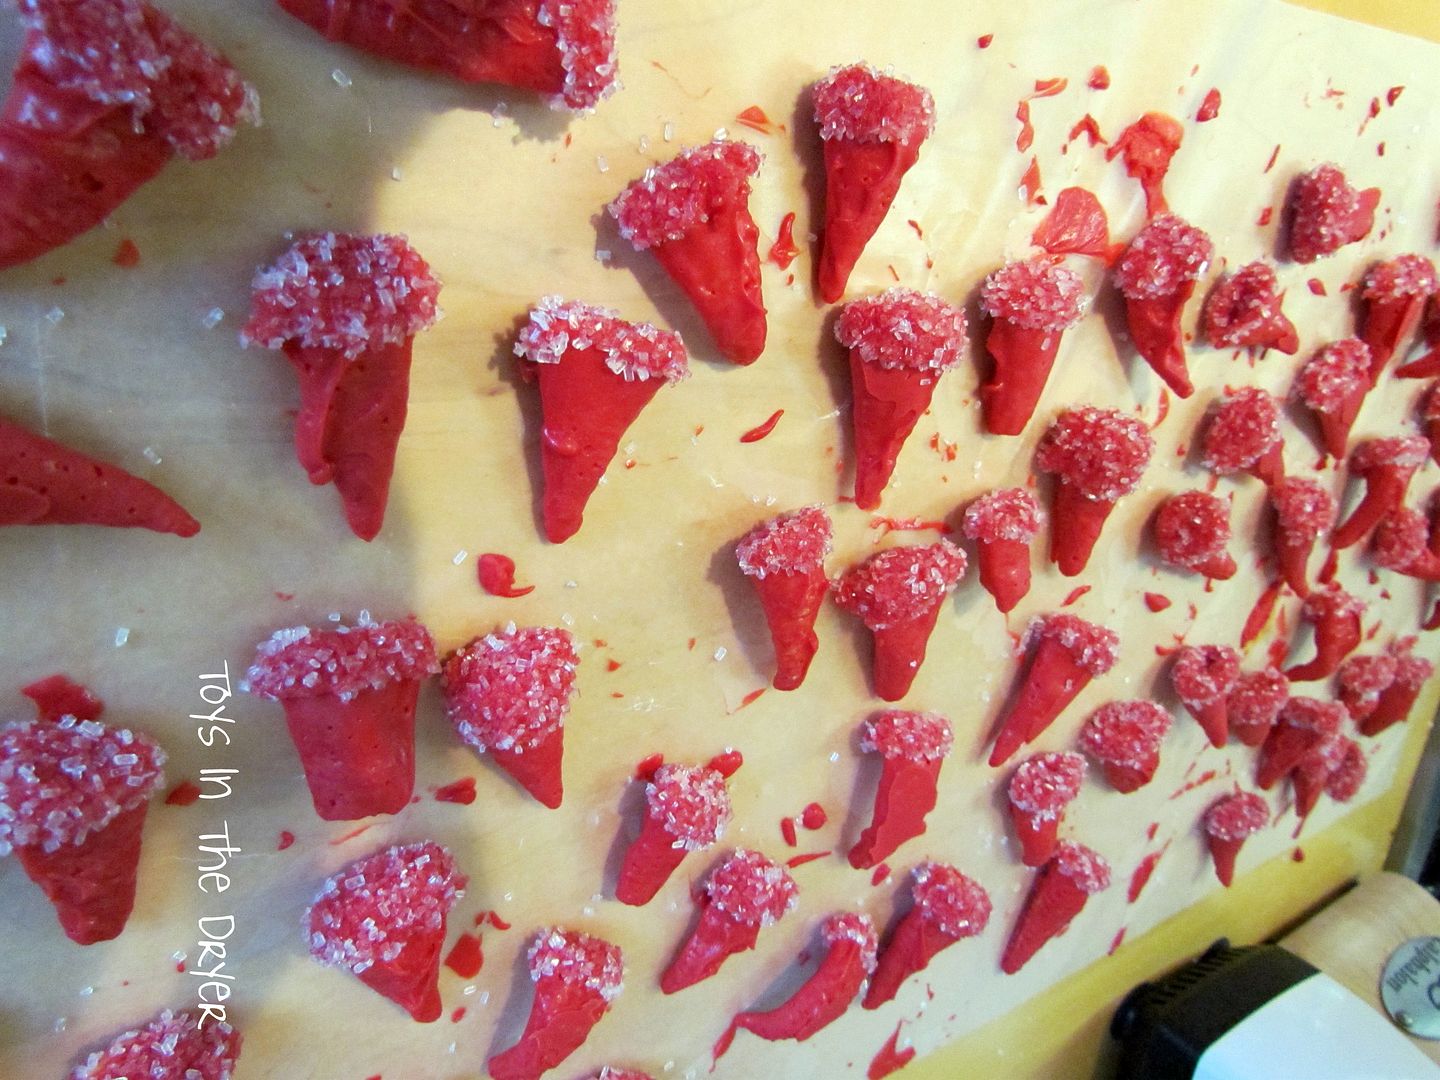
Dip the larger end of the red Bugles in left over red discs or melted white chocolate and then dip immediately in coarse sugar.
recipe for Santa trail mix

Snip the mini marshmallows in half and attach the sticky part to the top of the Bugles. Ta da- you have adorable Santa hats.
recipe for Santa trail mix

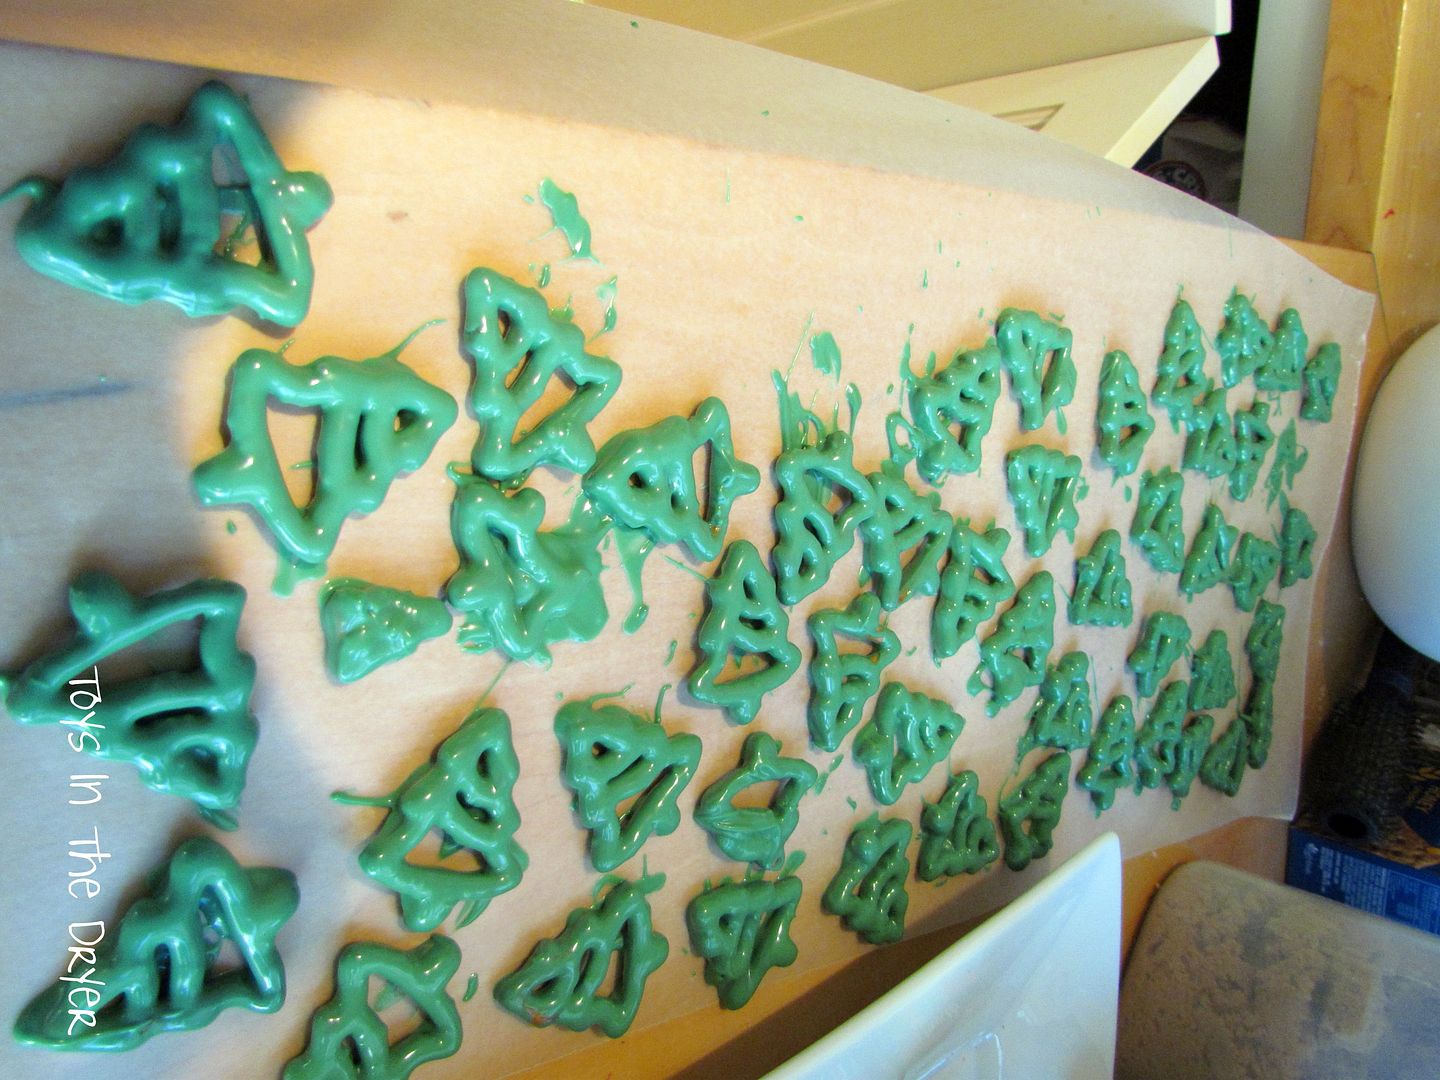
Take your holiday pretzel bag and sort out the Christmas tree shaped ones. Melt the green candy discs in the same fashion and dip the trees in it and set aside to harden.
recipe for Santa trail mix

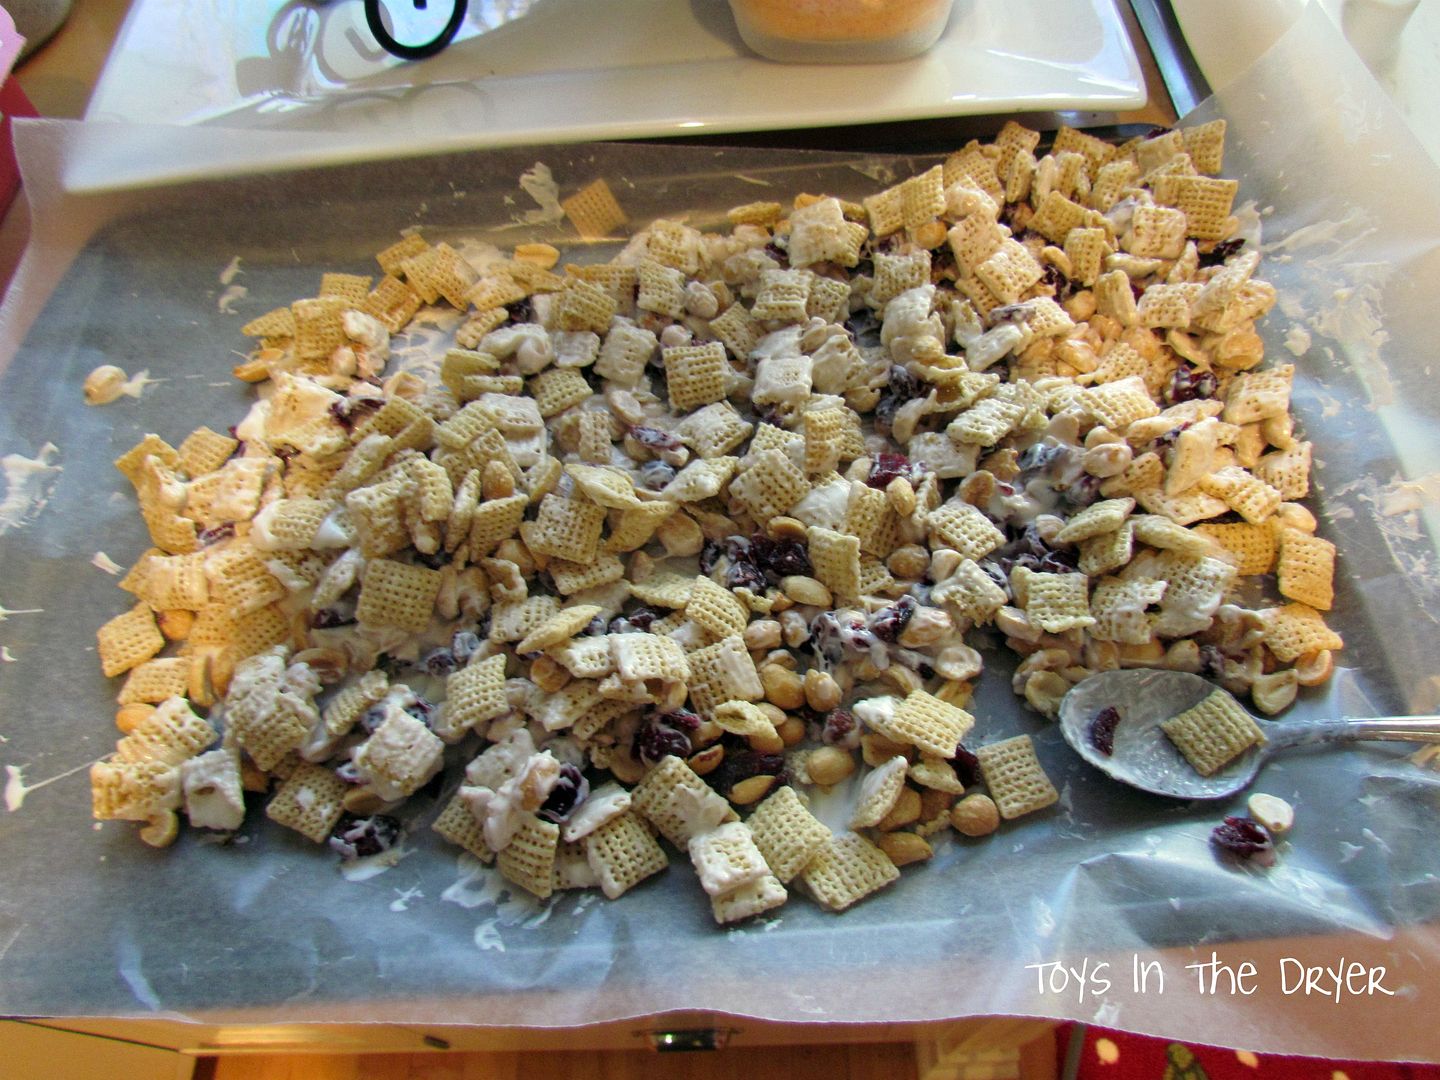
In a large bowl combine your cereal, Craisins, and peanuts. Then spread this mixture out onto a cookie sheet.....cover with melted white chocolate and wait until that sets.
recipe for Santa trail mix

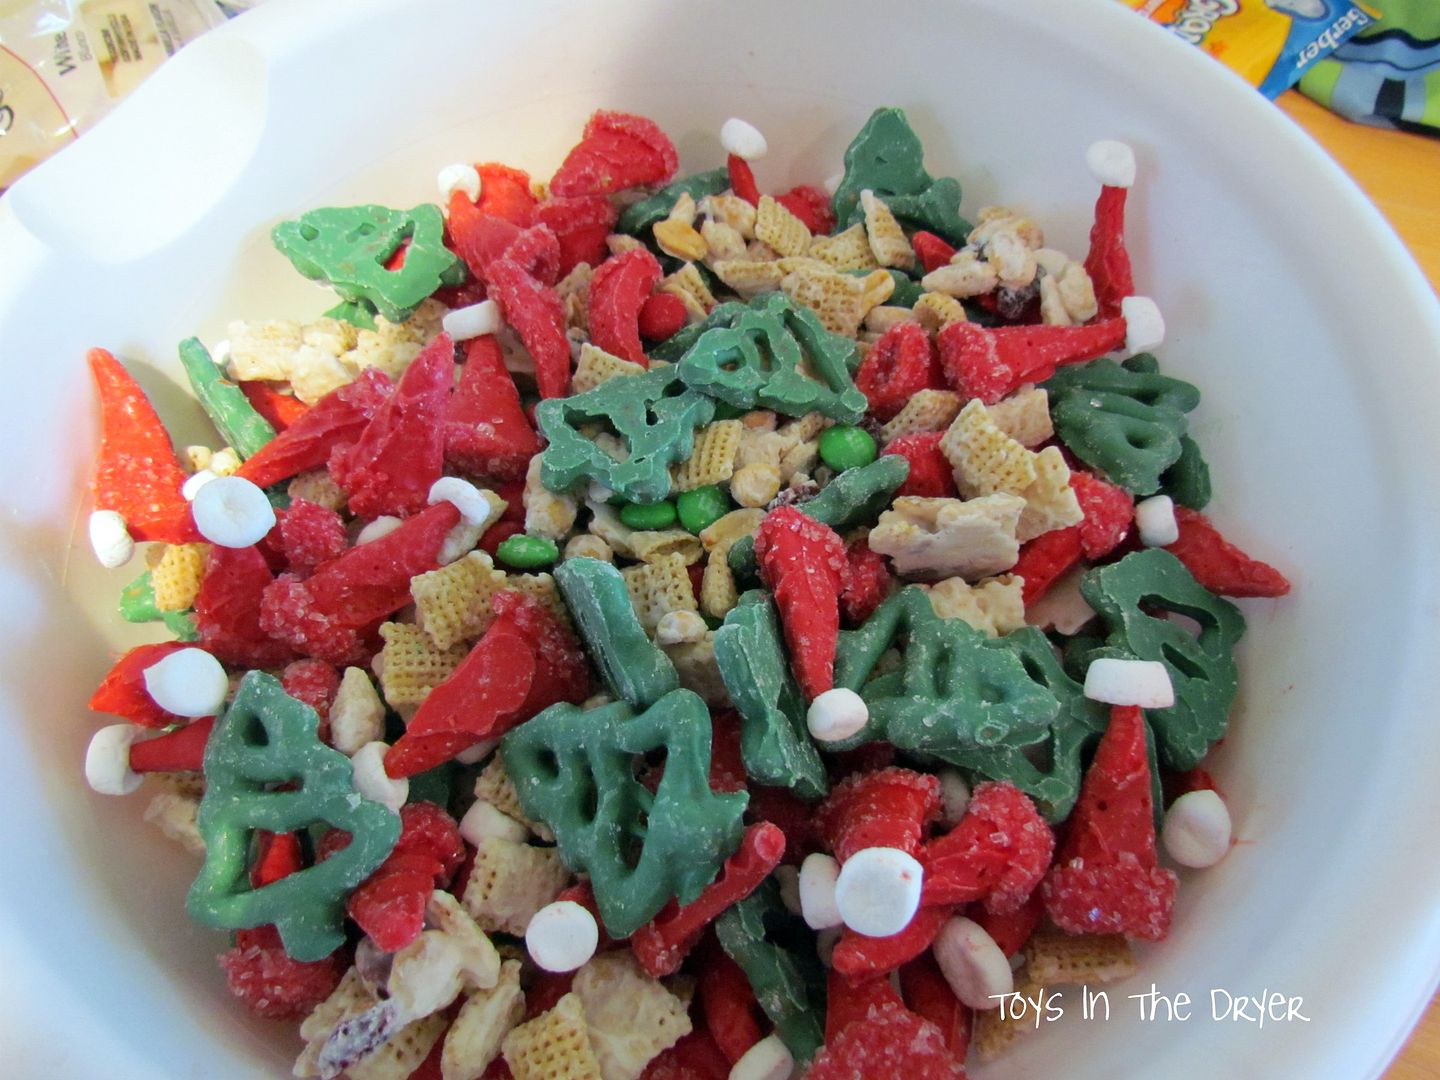
Transfer this to your large bowl and mix in your M&Ms, Christmas trees, and Santa hats! ENJOY!!!
recipe for Santa trail mix

Monday, December 12, 2011

Catch Santa On Camera--DIY FREE!

I'm sure you've seen those websites out there that offer to help you prove that Santa was in your home by capturing him on camera for you.  "Upload a photo of your tree or fireplace and for $10 we'll put Santa in your photo!"  I'm here to tell you, that with a little effort, you can do it yourself for FREE!  Don't worry, I'll walk you through how to do it step by step:


I'll start by saying that I first posted this tutorial on my other blog (Mommy's Camera).  Rather than re-watermarking every photo, I'm just using the Mommy's Camera watermarked photos (trust me, they are mine!).  Also, this is Lindsi's fireplace.  At the time I started writing this tutorial I did not have my house decorated or my tree up so I asked Lindsi to send me a photo of her house.  She's an over-achiever ya know.  Ok, on to the tutorial:

Step 1)  Download my favorite FREE photo editing software Gimp.  If you have Photoshop you can still follow this tutorial.  You just have to make adjustments for that program.  If you are like me and don't want to dish out the money for expensive photo editing software, Gimp is comparable to Photoshop only it's FREE!


Step 2)  Take a photo of your living room, tree, or fireplace.  Remember, Santa comes at night so make sure you take the photo at night in that lighting!  You don't want a bright, sunlit window in the background!

Photo courtesy of Design Dazzle.  If you find our tutorial too hard to do, read her post about how to capture Santa!

Step 3)  Find a photo of Santa to use.  Google "Santa costume" or "capture Santa" to find the best images.


Step 4)  Open both photos in Gimp and make them the same size.  Go to your larger photo and click "image > scale image".  In the "height" part make it the same as your smaller image.  (You will see your smaller image minimized on the bottom if you can't remember the size you need.)  Now hit "scale".  If your larger image becomes too small to see, go to "view > zoom > 100%".


Step 5)  Click on your Santa image then click on "edit > copy".  Now go to your house image and click on "edit > paste as > new layer".  Make sure it's "new layer" or the rest of this tutorial won't work!


Step 6-1)  Click on the little eraser icon in your toolbox.  Then pick and scale your brush to preference.  Now start erasing everything from your Santa photo except Santa.  As you erase you'll see your room photo come through!


Step 6-2)  To get closer to Santa with the eraser, click on "image > zoom > 200-400%".  You will most likely have to scale your brush down to a smaller size.  When you are done with the details, zoom your image back down to 100%.


Step 7)  Move your Santa where you want him in the photo.  Click on the cross or move arrows, make sure the "move the active layer" is checked at the bottom of your tool box, then click on the photo to move Santa.  If you accidentally move the whole photo, go to "edit > undo" then make sure you have the "move the active layer" checked.  (Can you tell I forgot to check the box?)


Step 8)  Scale your santa.  I got lucky with my photos, I did not need to make my Santa larger or smaller.  The above photo of the super small Santa is just to show you that the steps work :)  Go to "layer > scale layer"  then play with the height until you think it looks right.  As long as the link next to the height and width is connected the width will automatically change with the height.  Do not change the width unless you want a super funny, wide looking Santa!


Step 9)  Adjust Santa's color.  Your house photo will most likely have a blue or yellow tint to it but your Santa will most likely be bright white.  Fix the color difference by going to "colors > color balance".  Play with the sliding scales until your Santa's white parts look like they match the tone of your photo.


Step 10)  Combine the layers.  Click on "image > flatten image".  Save and you're done with the photo editing part!


Step 11)  The night before Santa comes, set up your camera on table, chair, shelf or where ever you can prop it.  Turn your camera on and tell your kids that it will take a photo when it sees Santa.  (Don't forget to turn your camera off after the kids go to bed if it doesn't have an auto off) 

Step 12)  In the morning take the memory card out of your camera and pretend to upload the photos.  Find the photo you edited on your computer and watch your kids eyes light up as they see you captured Santa on camera!
Thursday, December 8, 2011

Fun Stuff Fridays (#3)

Welcome to Fun Stuff Fridays. Last week we skyrocketed to over 120 link ups! We sure do appreciate everyone participating and for spreading the word about Fun Stuff Fridays. Wanna know more about our linky? Click on "Fun Stuff Fridays" above, then "about". With over 120 entries/submissions we had a tough time narrowing it down to our top three. Everyone who submitted had such great ideas! Can't wait to see your amazing submissions this week!

Jamie's number one pick was the Waterless Snow Globes submitted by Plum Adorable. These snow globes are so easy, so pretty and a GREAT idea for a teacher's gift (or bus driver). Cheap helps too!

Lindsi's favorite pick from this past week was the Reindeer Advent Calendar submitted by Balancing Home. This Advent Calendar is so adorable and so fun! What a creative and wonderful calendar to celebrate the season!

Our joint favorite pick was the Christmas I Spy Jars submitted by Kreative Resources. We loved these jars for a few reasons. What a GREAT idea to use Styrofoam balls (they look like mini snowballs), we loved that they are fun and festive for this time of year and we also loved that they are a unique twist on regular I spy jars. Check out our own version of I spy jars.


Fun Stuff Fridays

Fun Stuff Fridays


Fun way to teach your kids how to spell their name


My sister introduced me to this way of teaching my girls how to spell their names and it definitely works!  Unfortunately for me, it is hard to explain in black and white.  Fortunately for you, you get to watch me make a fool out of myself in a vlog!

Without further ado:

What do you think?  Do you think your kids could learn their names and phone number this way?

Wednesday, December 7, 2011

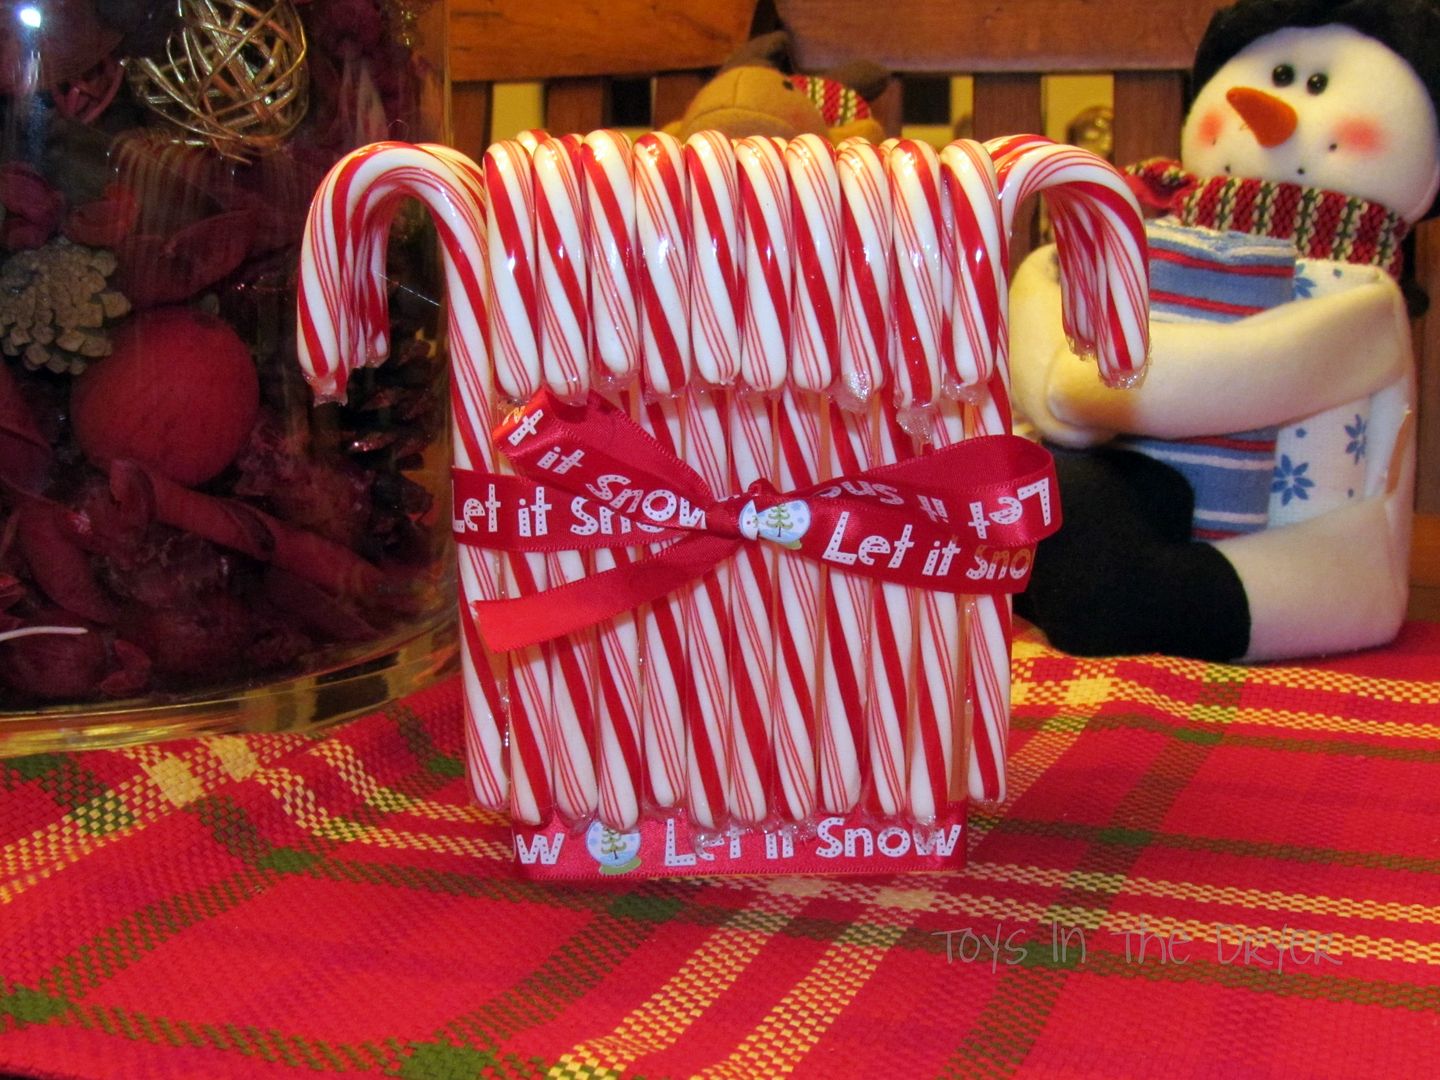
Candy Cane Vase

My oldest (5yrs) and I really love candy canes. If I am being 100% honest with you (and I always am) I purchase boxes and boxes and boxes of candy canes every time this time of year comes around. I love to eat them and decorate with them (and he does too!) This year we made a fun and really easy festive vase for our table out of candy canes.

 Here is what you will need:
  • a glass vase (either square, rectangle or circle- a vase with a neck doesn't really work for this)
  • some holiday ribbon
  • candy canes
  • low-temp glue gun
make a vase out of candy canes

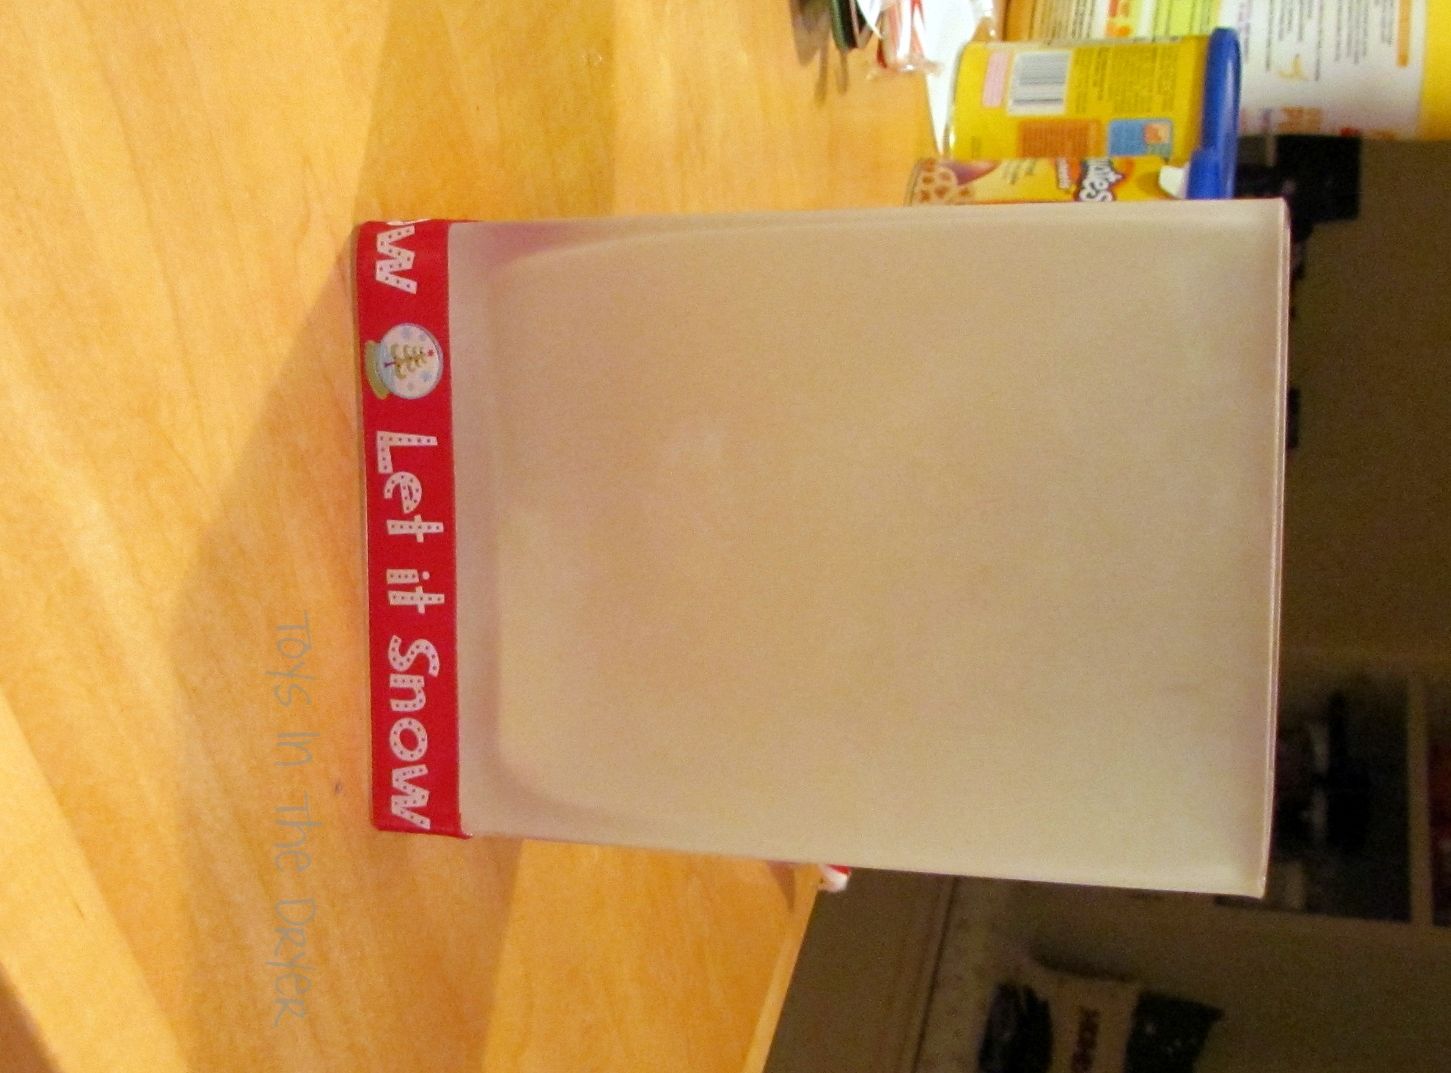
Gage how much space the candy canes will take up and use the remaining amount to fill in with ribbon. I used ribbon around the base of the vase.

make a vase out of candy canes
We kept our candy canes wrapped to avoid sticky fingers (and sneaky licks). Using a low temp glue gun apply a ribbon of glue to the candy cane (not the vase- it will harden before you have a chance to apply the candy cane).

make a vase out of candy canes

Once you have covered the vase with the desired candy canes attach a bow around the middle for a little added appeal. (The best part about this project is- if you keep them wrapped at the end of the season you can simply pull them off the vase and eat them- your vase will not be ruined and the canes will be fresh because they were wrapped, AND you don't have to worry about storing the vase over the year and the possibility of them breaking.)

make a vase out of candy canes
Related Posts Plugin for WordPress, Blogger...