Monday, November 7, 2011

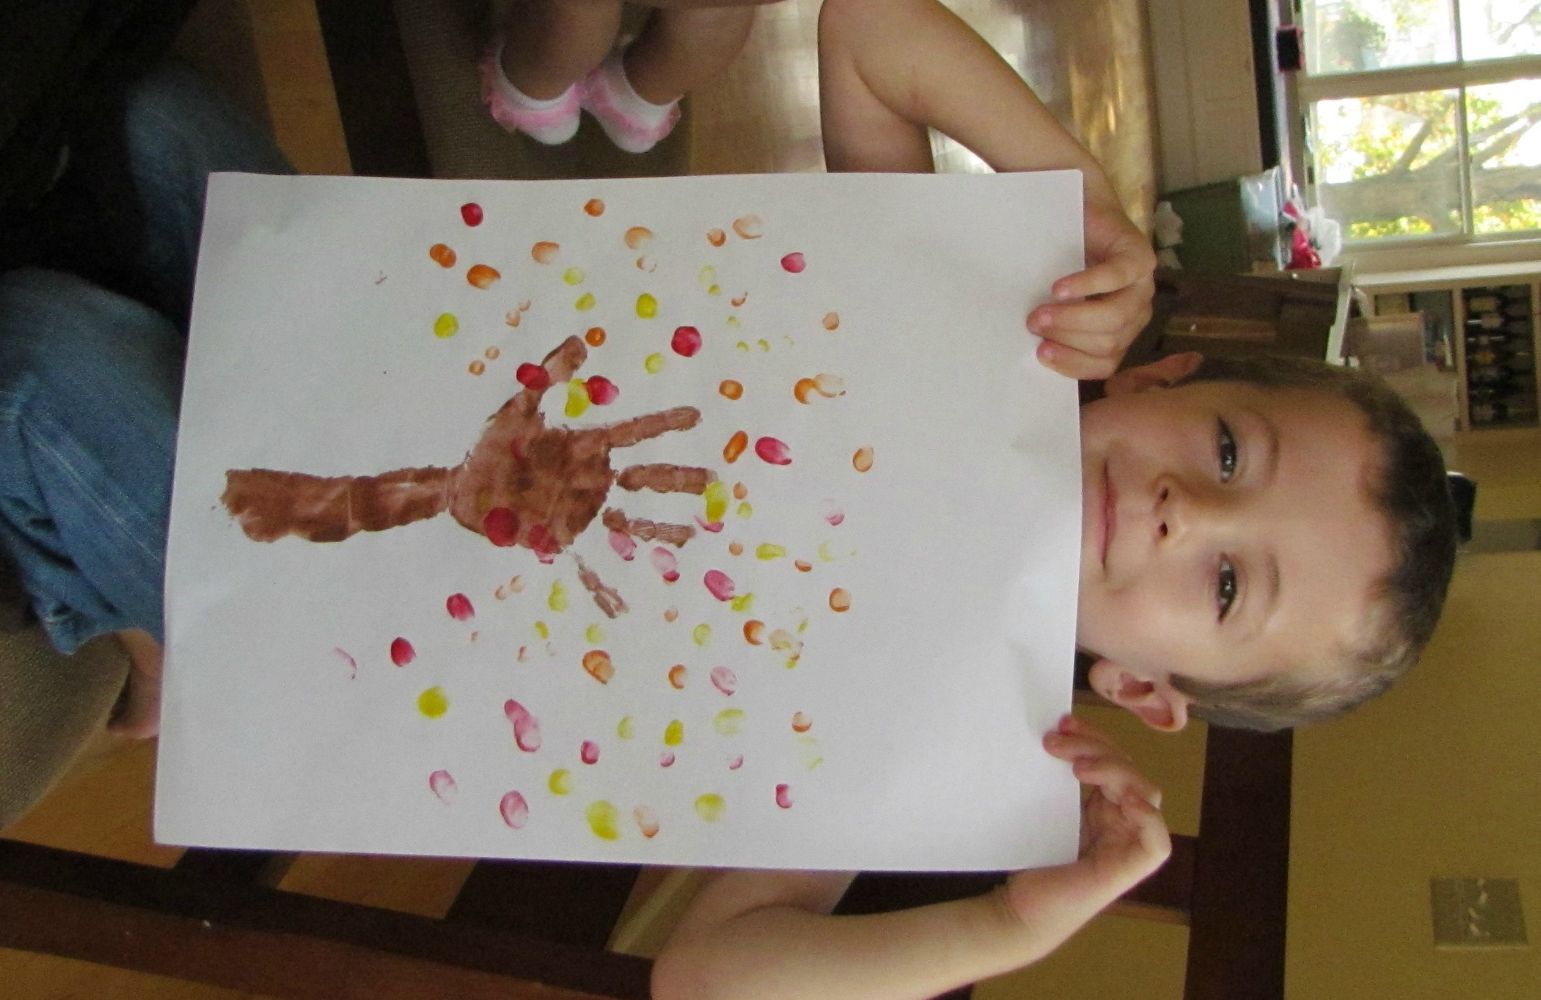
Fall Leaves Print

The other day my kids and I were thinking to ourselves how sad we were that the pretty fall colors were almost gone (well, at least where we live) and how old man winter will be soon knocking on our door. I thought it would be fun to paint a photo of the pretty fall colors to "remember" them when we are staring out the window at the bitter cold white snow. It's really easy and relatively not messy!

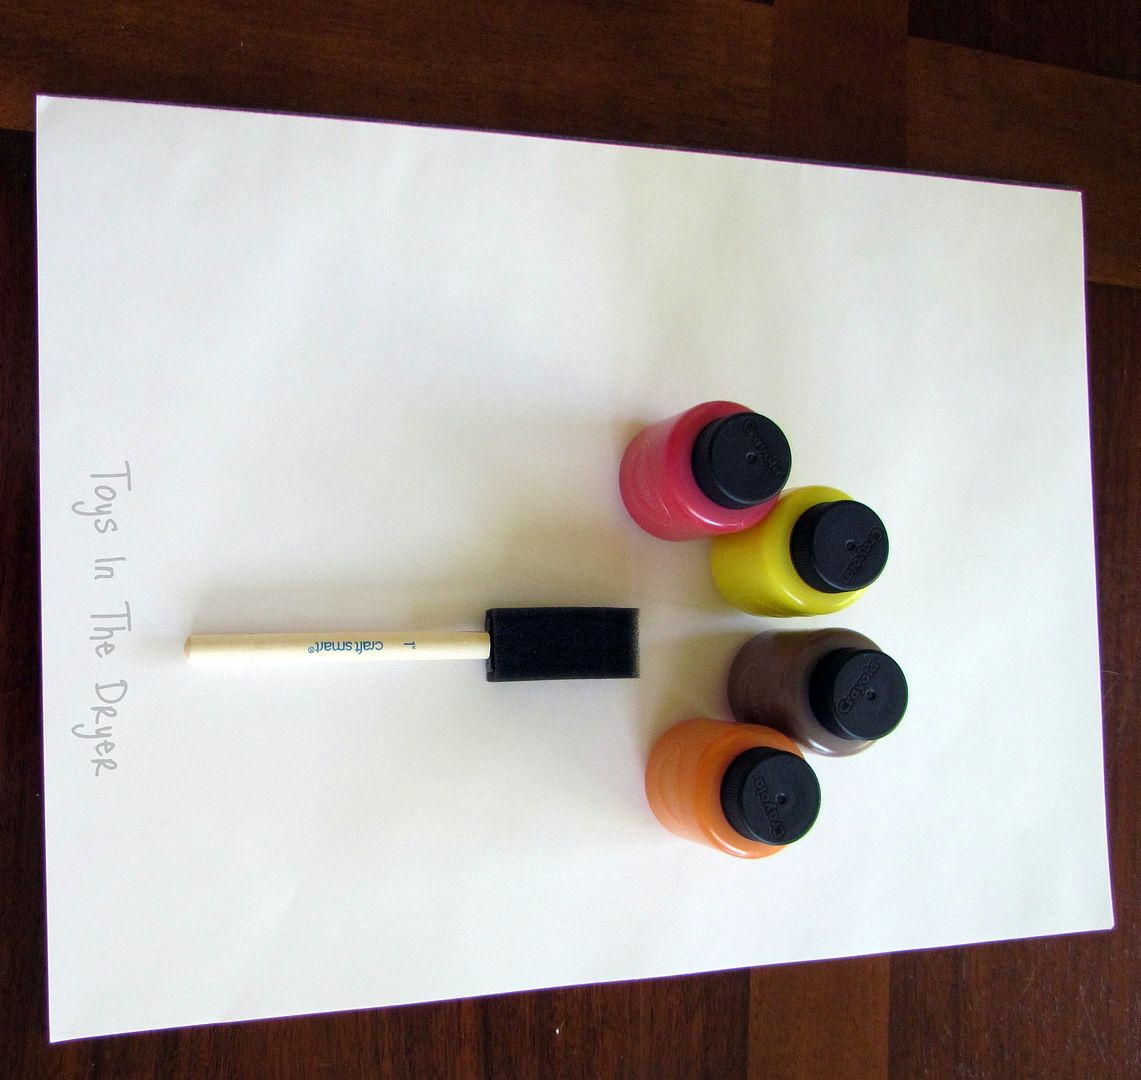
Here is what you need:
Red, Brown, Yellow, and Orange finger paint
A paint brush or sponge
Paper
A willing child
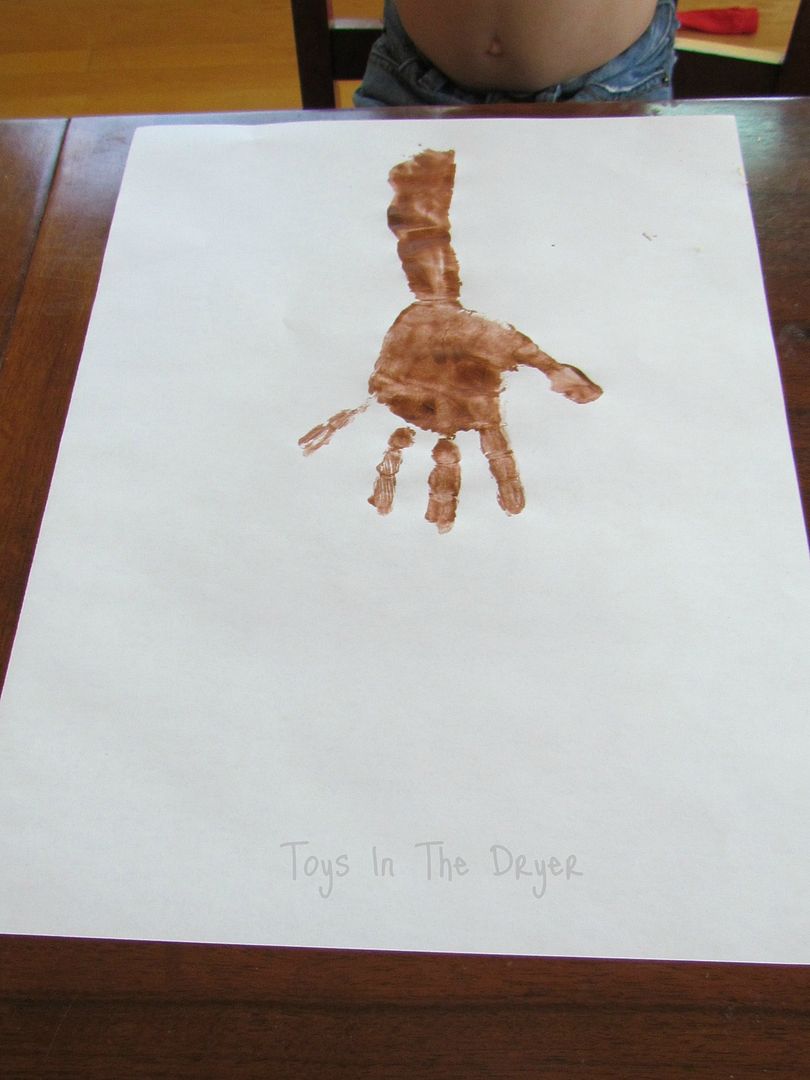
make a tree from handprints
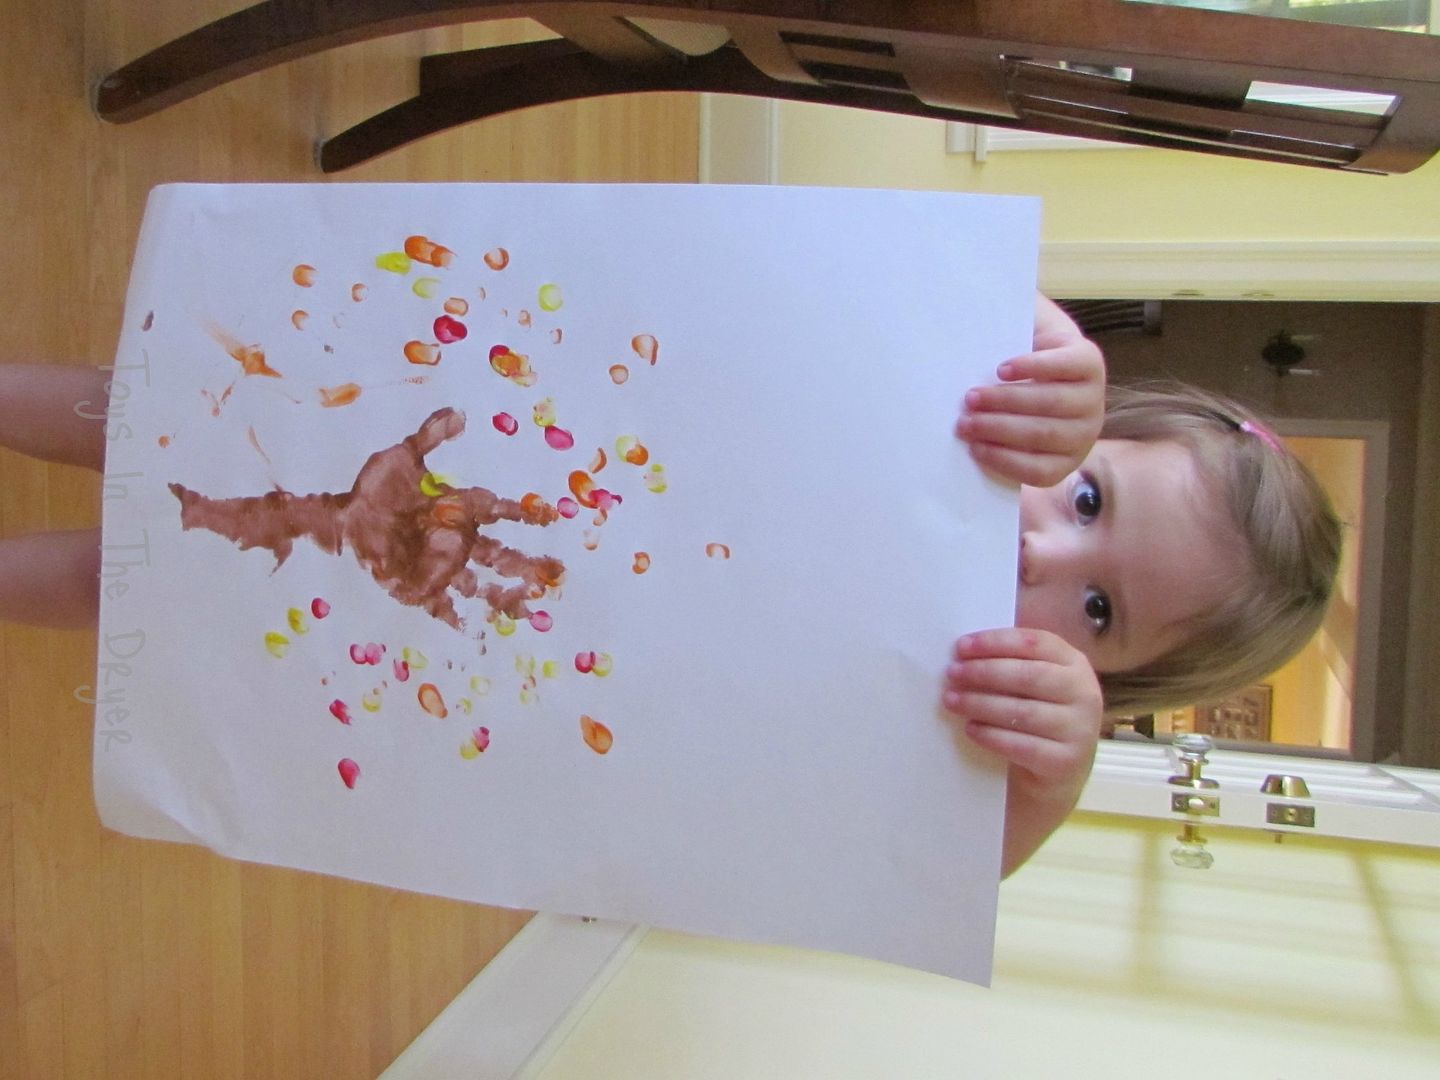
Have your child paint their hand and lower arm brown (or if they are unable to do this you certainly can help out). Then place their arm and hand on the paper to look like a tree with the branches.

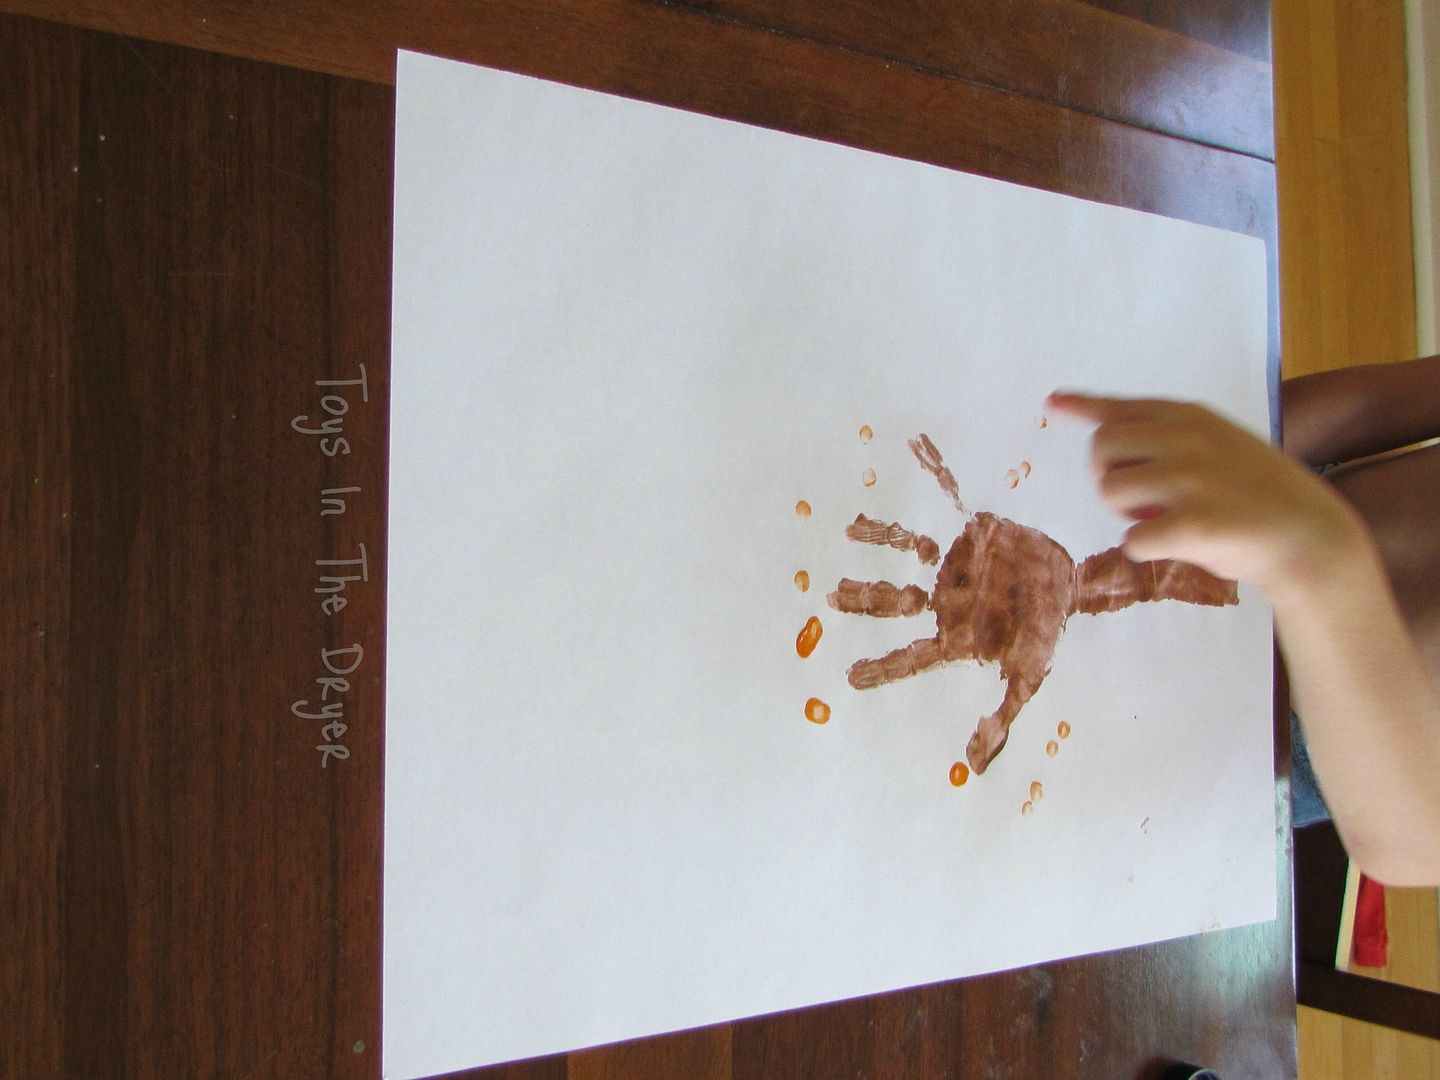
make a tree from handprints
Start with one of the remaining colors (red, yellow or orange) and use their finger tips to dot leaves on the top of the tree.
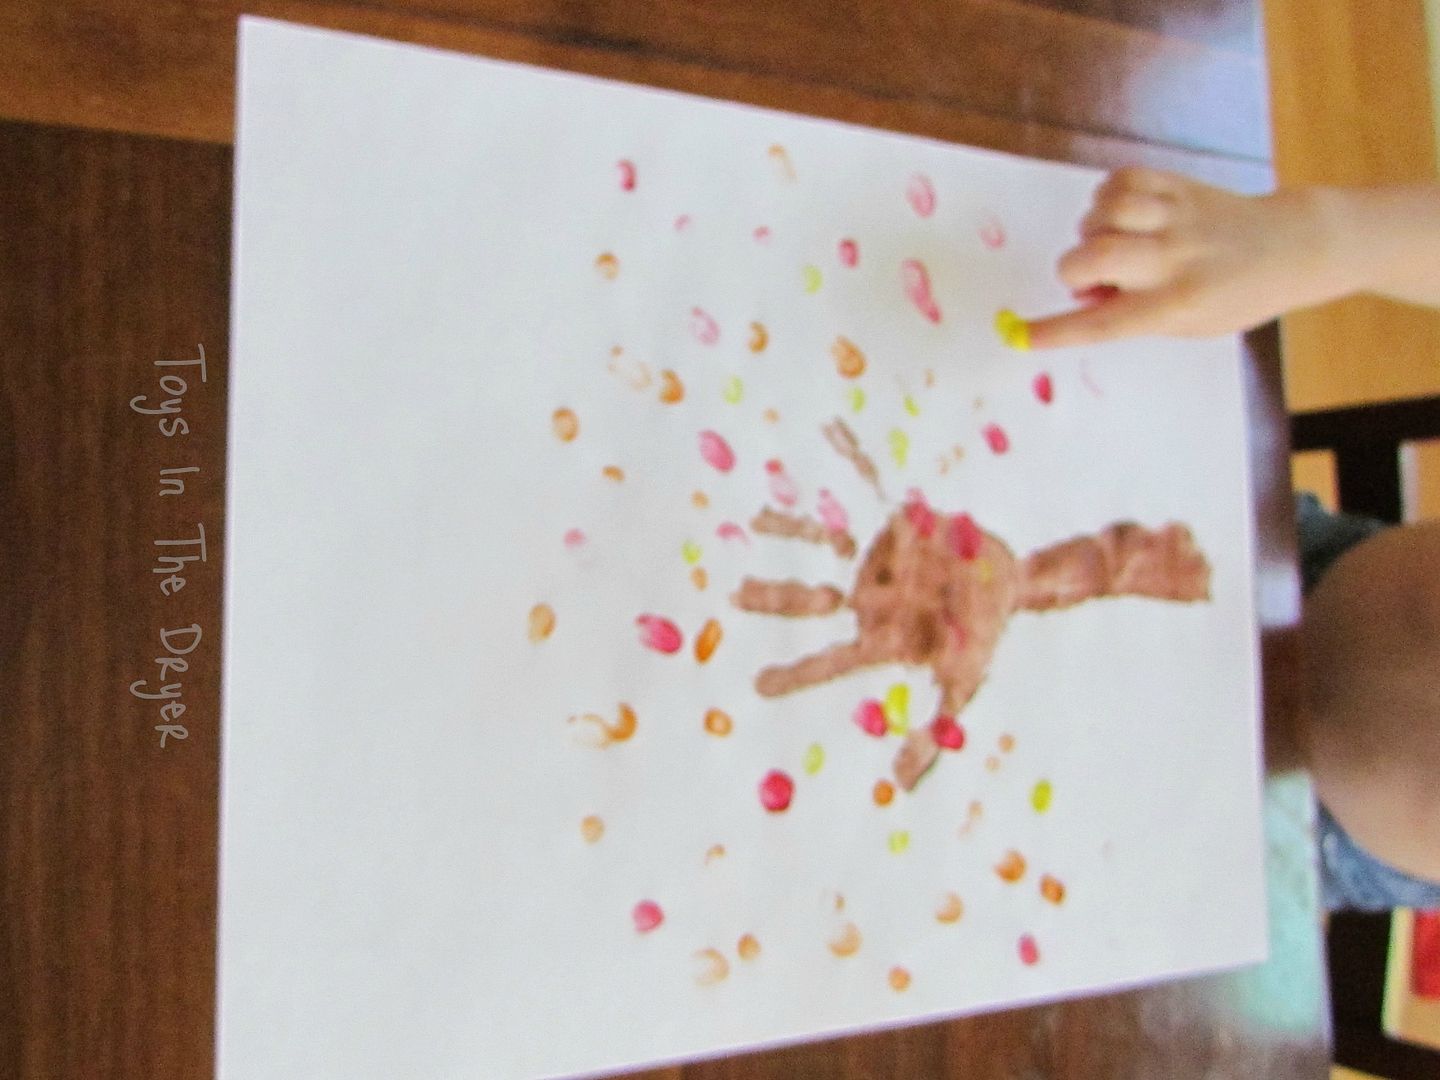
make a tree from handprints
Finish with the remaining colors.
make a tree from handprints
Ta-da...you have a pretty fall colored tree (and a keepsake of their hand print, make sure to date it!)
make a tree from handprints

Friday, November 4, 2011

10 Things we've learned as pediatric critical care nurses

If you've been reading our blog you know that Lindsi and I met at a Children's Hospital where we were both nurses. Lindsi worked there for 5 years, 4 of which were in the critical care units. She is now a stay-at-home mom. Jamie continues to work there in the pediatric intensive care unit, and has been in critical care for 11 years. The biggest thing we have learned during our years is that if you don't have a little bit of humor, you will not survive pediatric critical care nursing. It's a difficult job some days, but one that neither of us regret doing! Without further ado, here is our (humorous) take on 10 (serious) things we've learned while working as pediatric critical care nurses.

Nurse

1) Peanuts, peas, grapes, and popcorn can cause your child to choke. In fact, any food can cause your child to choke. It's probably best just to put a feeding tube in your child's stomach and not give them anything by mouth.


2) Along those same lines as above, young children like to put everything in their mouths including toxic things such as cleaning solutions and grandma's pills. Get rid of all your cleaning solutions, take grandma's pills away (she doesn't really need them anyway), and make sure there are no other toxic things in your house or anyone elses' house. Better yet, just glue your child's mouth shut and put a feeding tube in their stomach. That takes care of #1 and #2!

3) Children can drown in water (even a small amount). Never let your child near any kind of water; no swimming, no baths, and heck, don't even let them drink it!

4) There is a virus out there called RSV (respiratory syncytial virus) that can make your baby VERY sick. Peak season for it is just after the holidays when families get together and pass round germs. It lasts through the winter months.  It's probably best to delay your labor until after the holidays (even if you are technically due).  Then, keep your baby locked in your house away from EVERYONE for the entire winter (who cares if your baby is 6 months old the first time grandma and grandpa see it). 

5) Most babies are born with lack of oxygen at birth, a severe heart defect, a chromosome disorder, or some other major defect. If they are born ok, something else will eventually happen.  It doesn't matter that the REAL statistics say that most babies will grow to adulthood without any kind of issue--we see the worst of the worst cases in the five state area.  Our statistics must represent the general population of the world.

6) MRSA is everywhere. It has been around forever (you just just haven't heard about it till now). Both Lindsi and I carry it, our children probably have it. It is not as bad as the media makes it sound. Believe us, there are other "super bugs" out there that are much worse than MRSA, the media just doesn't know about them yet!

7) Driveways and grandparents are dangerous. We've seen more than one child get run over when someone is backing out of the driveway. Do not let your child play in the driveway when there is a running vehicle. Do not let grandparents drive in or out of the driveway. Better yet, just get rid of your driveway, park on the street, and only let grandparents visit if the kids are locked in a room with you. 

8) Weird and unusual accidents happen.  You never know what kind of thing could cause your child harm.  It's probably best to construct an unbreakable kid-sized hamster ball thingy and keep your child in it.  Provide only the necessities for your child because everything else could cause harm.  Your child can simply observe the world from the inside.  They do not need to participate in it.

9) Yes, there is such a thing as an ugly baby. In fact, some babies are so ugly they are cute. Does that make sense?

10) Some really ugly parents produce some really cute kids (Jamie).  Some really good looking parents produce some really ugly kids (Lindsi).  Wait, did I just say that me, Hubby, and Lindsi's kids are ugly?  I did NOT mean to say that!  I think what I'm really trying to say is that some people should just not become parents!
Thursday, November 3, 2011

Make Your Own Play-Dough

I don't know about your kids but mine love play-dough!  The problem is, it can get expensive because they keep accidentally letting it dry out.  Simple solution: make your own for much cheaper.  Personally, I like the homemade stuff a little better anyway.


Here's what you'll need:
1 cup flour
1/2 cup salt
2 teaspoons cream of tartar
1 cup water
4 Tablespoons oil
food coloring


Step 1)  Mix the flour, salt, and cream of tartar in the pot.


Step 2)  Add the water, oil, and food coloring.  Food coloring is to desired color.

(At this point in time my camera ran out of batteries and I was not about to leave my 5 and 3 year old alone by a hot stove to find new batteries.  Excuse the lack of photo(s) for the next part.)

Step 3)  Cook on medium heat until the mixture is able to remain a ball in the middle of the pot.  The mixture will be liquidy and clumpy at first (and you'll wonder how in the world it is going to turn into play-dough) but it will get firmer as it cooks.  Make sure to keep stirring as it cooks.

(At this point in time I realize that my cell phone is sitting on the counter behind me.  It doesn't take the greatest of photos, but it will work in a pinch.  Excuse the crappy cell phone photos.)

(Yes, I am one-handed kneading for the purpose of this photo)

Step 4)  Dump the clumpy play-dough mixture on the counter and knead immediately until it is smooth.  It will be very warm but not hot.  Be careful of tiny, sensitive fingers if your kids want to knead it.


You now have homemade play-dough!  Enjoy!  Store in a plastic baggie in the fridge to keep it fresh and lasting for a while.


*This play-dough can leave a slightly oily residue behind.  Keep that in mind when you are playing with it.

Do your kids like Play-dough?  What types of things do they make with it?

Wednesday, November 2, 2011

Make a Thankful Tree

Thanksgiving is around the corner (at least it is in the U.S.) and what better way to get your kids in the spirit than to create a Thankful Tree together. I saw something similar at a local craft store and they wanted $100 for it....my entire cost $2.97

Here is what you need:
A tree branch (preferably one with lots of twigs)
A bucket or pot to put the tree in
Sand (or I used a foam ball) to secure the tree in the pot
Spanish Moss to cover the base of the tree
A marker
Hot glue gun
Construction paper leaves (or foam leaves, like I used)

Step 1:
Cut out leaves using construction paper (or cheat and purchase foam ones at a craft store).
Ask your kids to list things they are thankful for.
Write them (or have them write on it if they are able) on the leaves, using one word.
thankful tree
Step 2:
Secure tree branch to bucket or pot using your sand or foam ball.
thankful tree

Step 3:
Cover the base of the tree with Spanish moss.
thankful tree

Step 4:
Glue leaves on the tree. (Make sure the adult does this part)

thankful tree

Tuesday, November 1, 2011

Healthy alternative to pop/soda

Do your kids love pop/soda?  Do you worry about the amount of sugar and calories they are consuming because of pop/soda?  Try this healthy, fun alternative!


You'll need:
  • Seltzer water (not tonic water or club soda--seltzer water)
  • Any kind of fresh fruit or 100% fruit juice
  • Small strainer (optional)
  • Small blender (if using harder fruits such as strawberries or apples)
The easy way of making pop/soda alternative:
Mix 100% fruit juice and seltzer water to taste.  That's easy isn't it?

The fun way of making pop/soda alternative:


1) Squeeze citrus fruits into the seltzer water.  If you're like me, squeeze them over a small strainer to avoid pulp in you "pop/soda" (I HATE pulp!).


2) Smash semi-hard fruits through the strainer so that the juice goes through.  Above, I used a kiwi.  (Yum!  kiwi/lime was good!)

3) Puree harder fruits such as strawberries or apples in a blender than smash them through the small strainer to the juice goes through.  (Sorry, no photo)


Add some ice and enjoy!  If you use fresh fruits you may have to add a pinch or two of sugar (or sugar substitute) to sweeten up your drink.  I guarantee the amount of sugar you add will still be less than store bought pop/soda!

How much pop/soda do your kids drink?  Do you think they'd try an alternative?
Related Posts Plugin for WordPress, Blogger...